
Earlier this week, I posted a picture on the Zentangle Mosaic® app of a holder I made out of an Apprentice tile (4.5 inches square) to keep my brand new 2.5-inch square business cards from VistaPrint®. 
This post caused several people to ask how I made the holder, and I promised to post directions here on my blog.
Thinking back to a four-piece bijou puzzle I tangled for Valentangle2017 on Facebook, I thought it might be better to create a bijou-sized holder instead of the business card holder. Where the business cards are 2.5 inches square and need the larger Apprentice tile, bijou tiles are only 2 inches square, so a standard 3.5 inch square tile is plenty large to make a holder. No matter what size holder you need, the procedure is the same.
Step 1: Mark the center and diagonal lines.
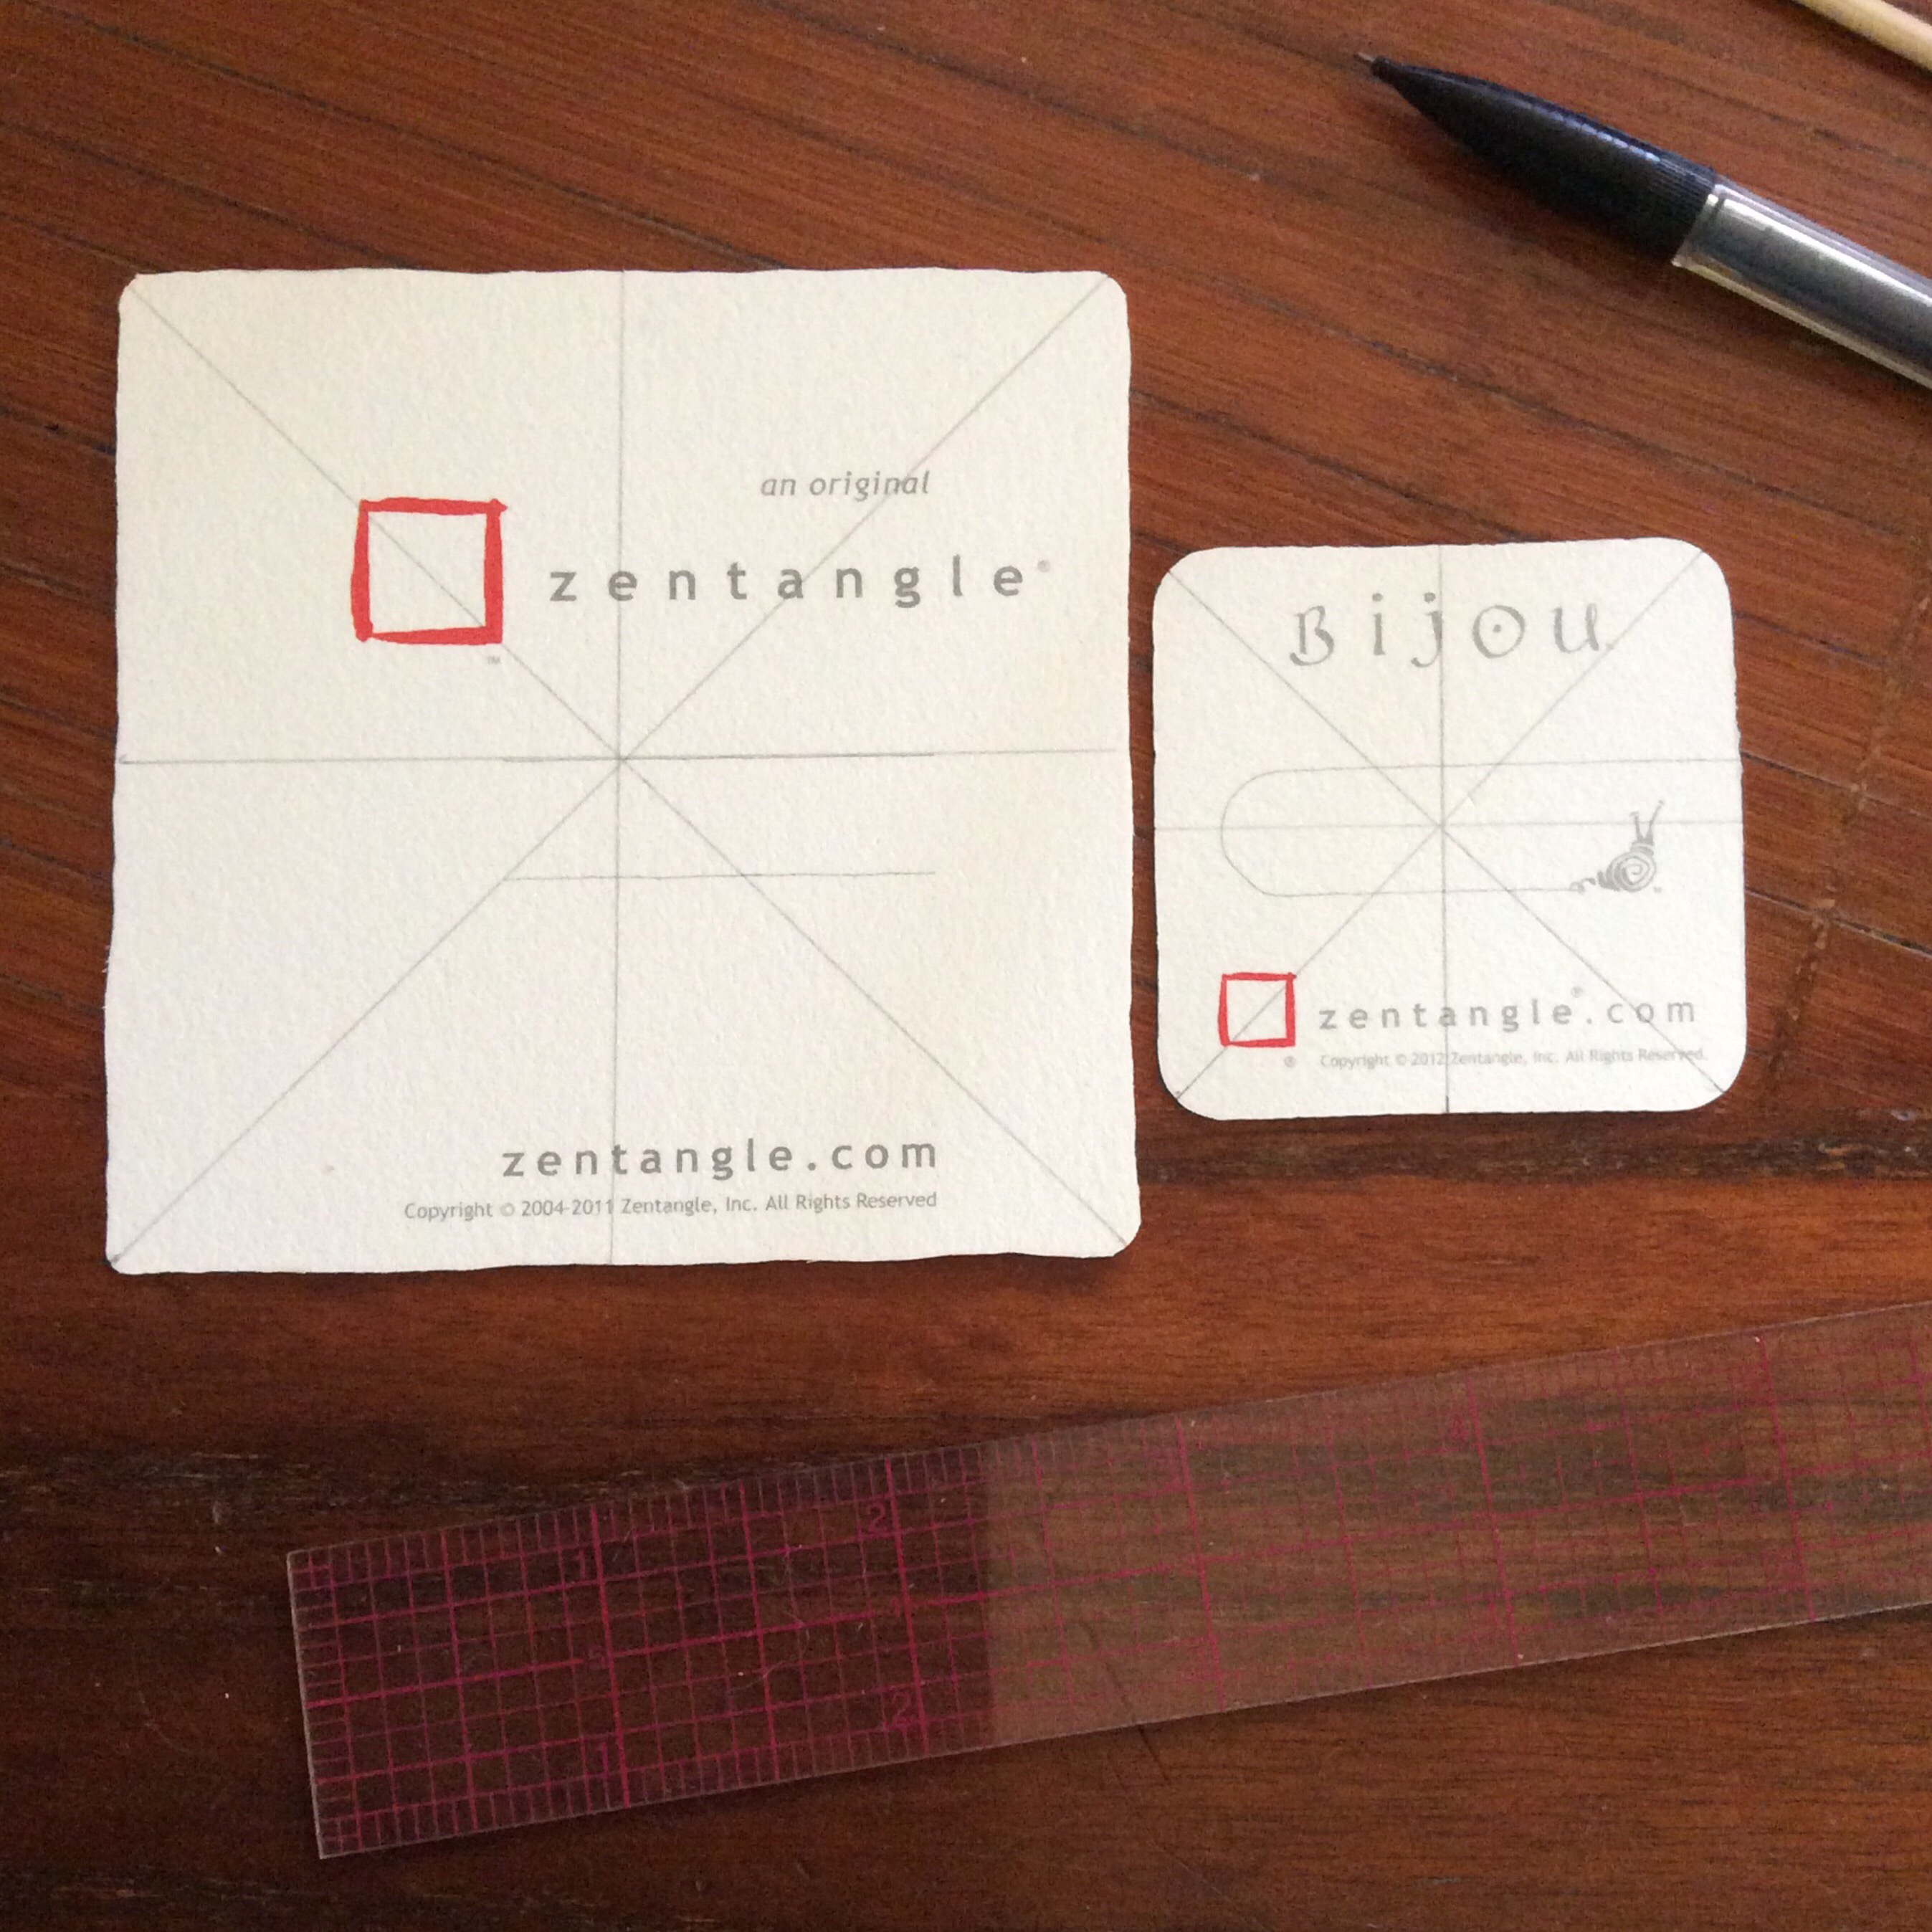
With a pencil, find and draw the diagonals and centers on the backs of both your “final size” tile and the tile from which you will make the holder. Measure for accuracy. Your tile will resemble a squared round pizza.
Step 2: Line up the two square tiles, then trace.
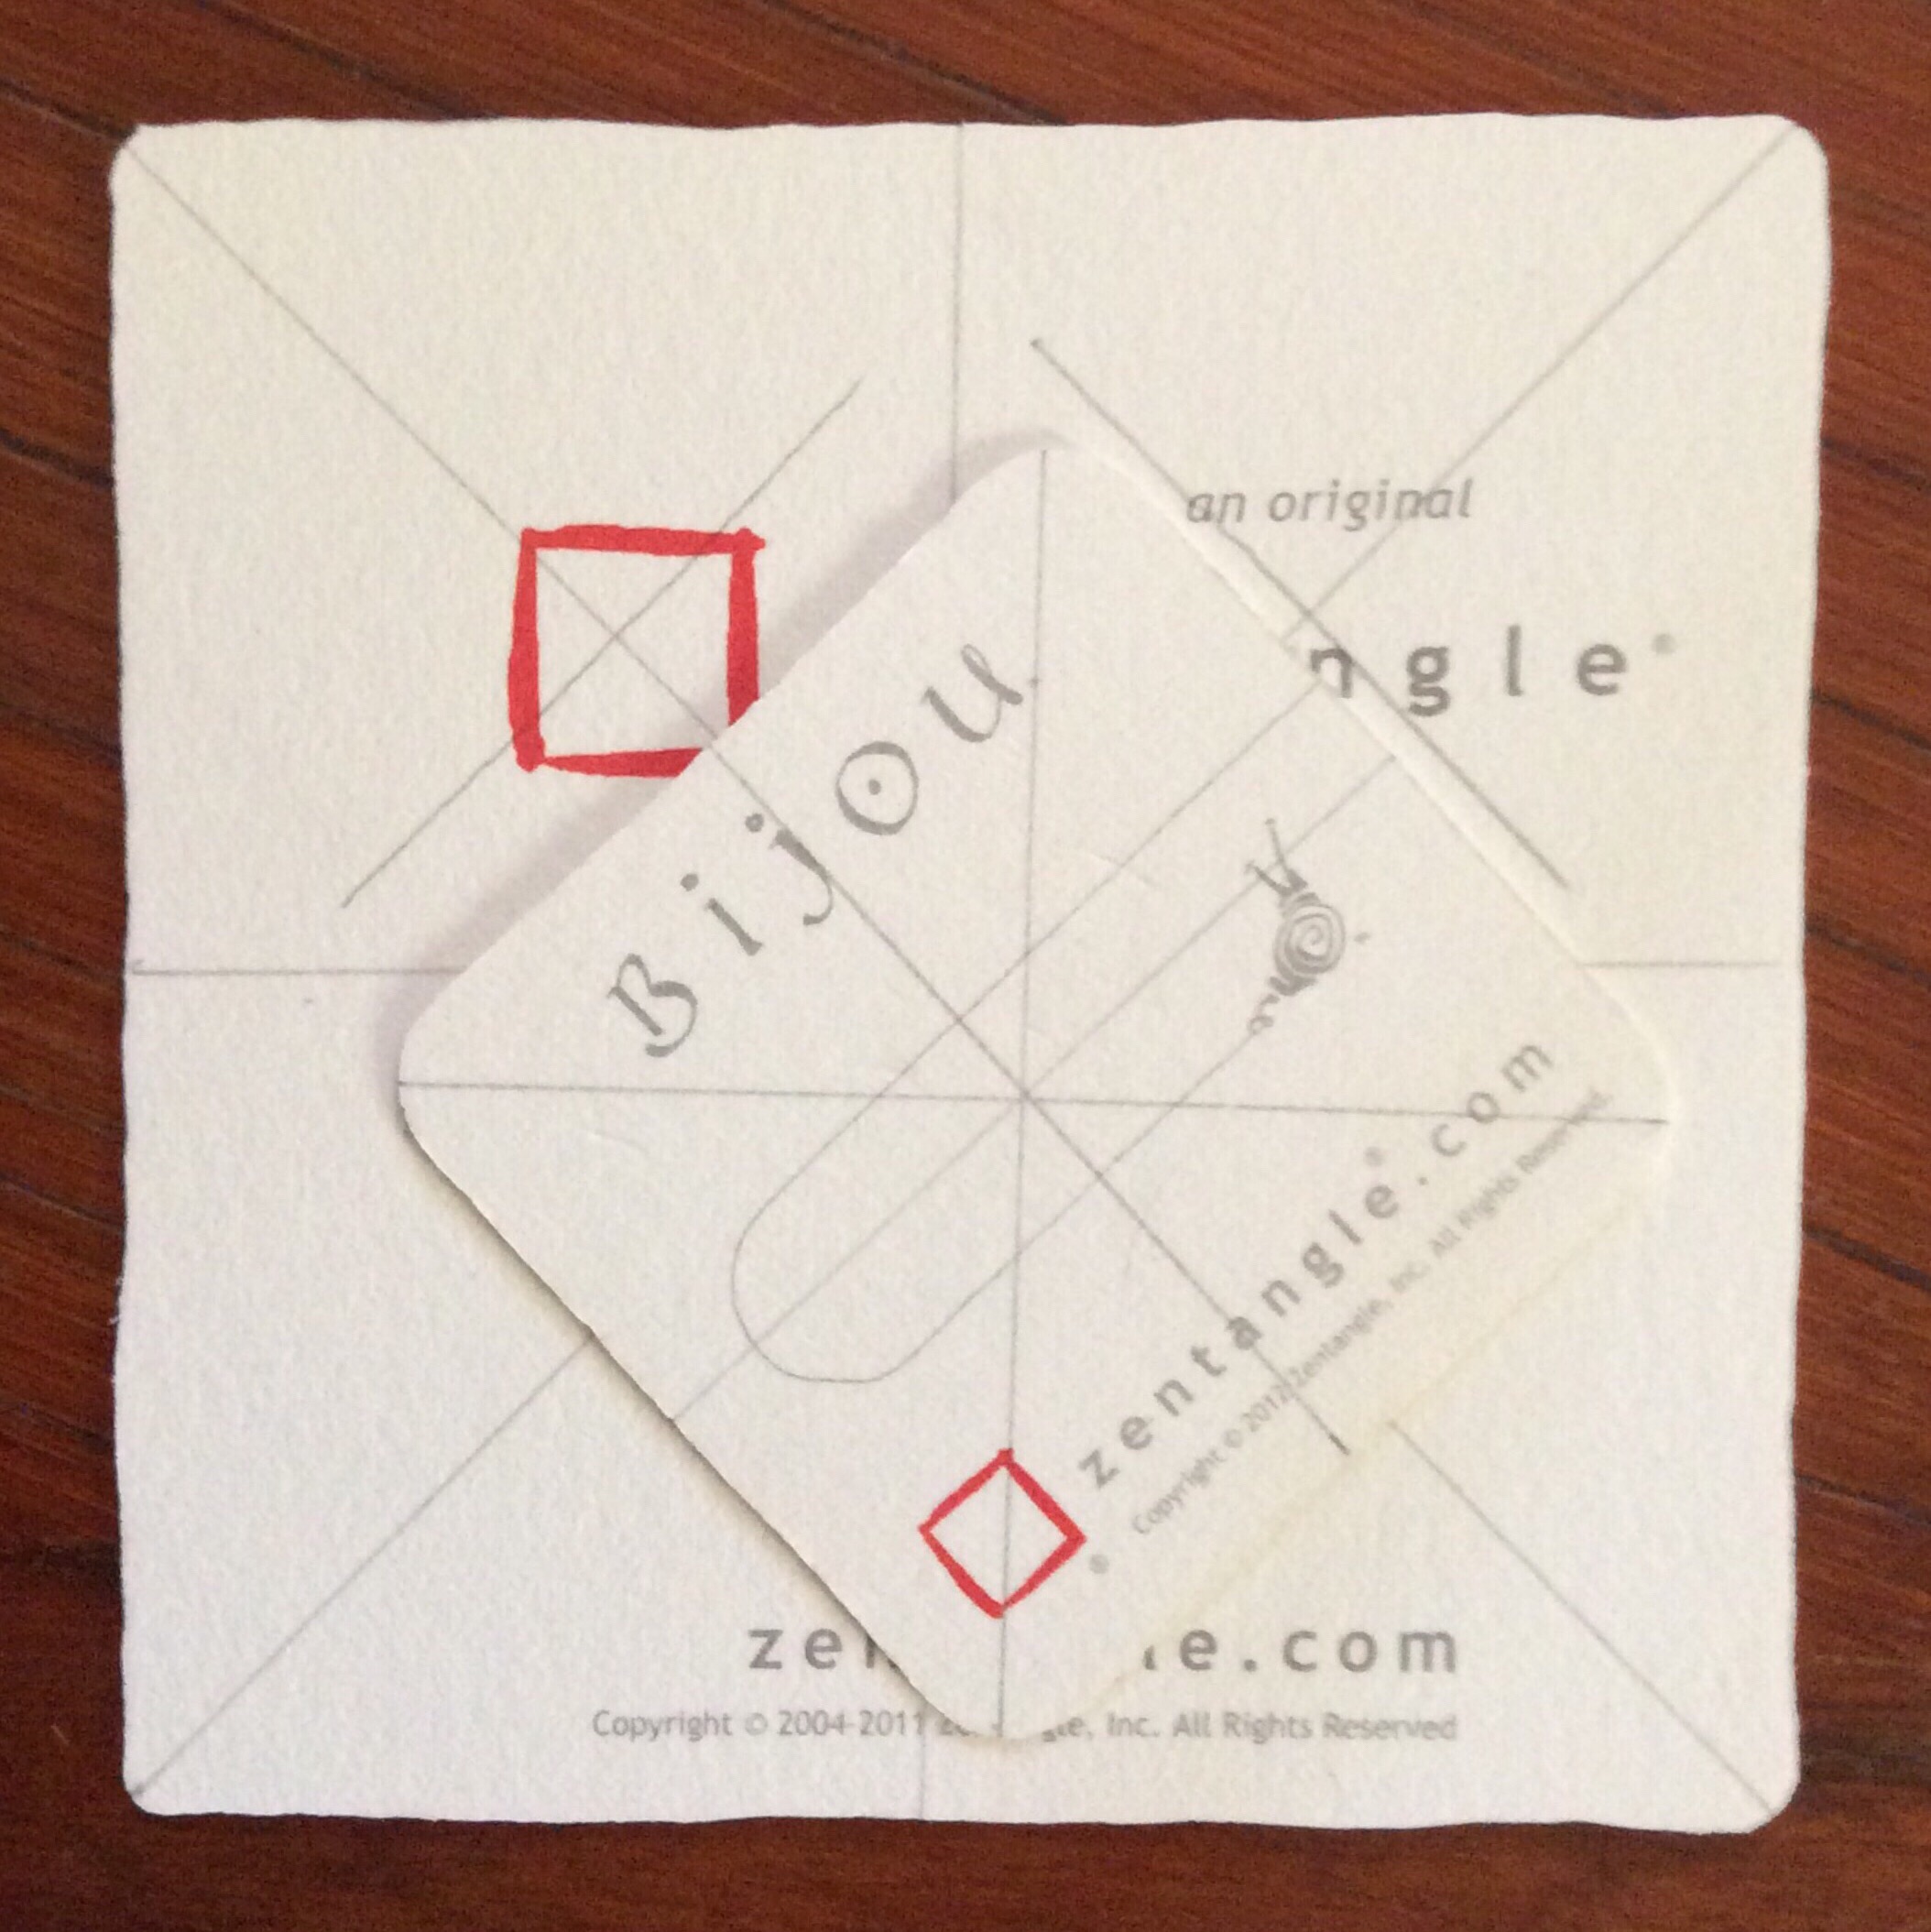
Turn your bijou 45 degrees, and match up the bijou’s diagonal lines to the standard tile’s center lines, and the bijou’s center lines to the larger tile’s diagonals. It may not be a perfect match, but match as closely as possible. Once the lines are matched, trace the bijou onto the larger tile.
Step 3: Re-draw 3/16-ths of an inch away.

Aura the bijou outline 3/16-ths of an inch away from the center on all sides.
Step 4: Score for folding.

Line up a ruler or other straight edge tool with the drawn lines. With your favorite paper scoring tool (I use a bamboo skewer), score just outside the pencil lines, going from one edge of the larger tile to the other. Do this for the bijou tracing and for its frame.
Step 5: Fold along scored lines.
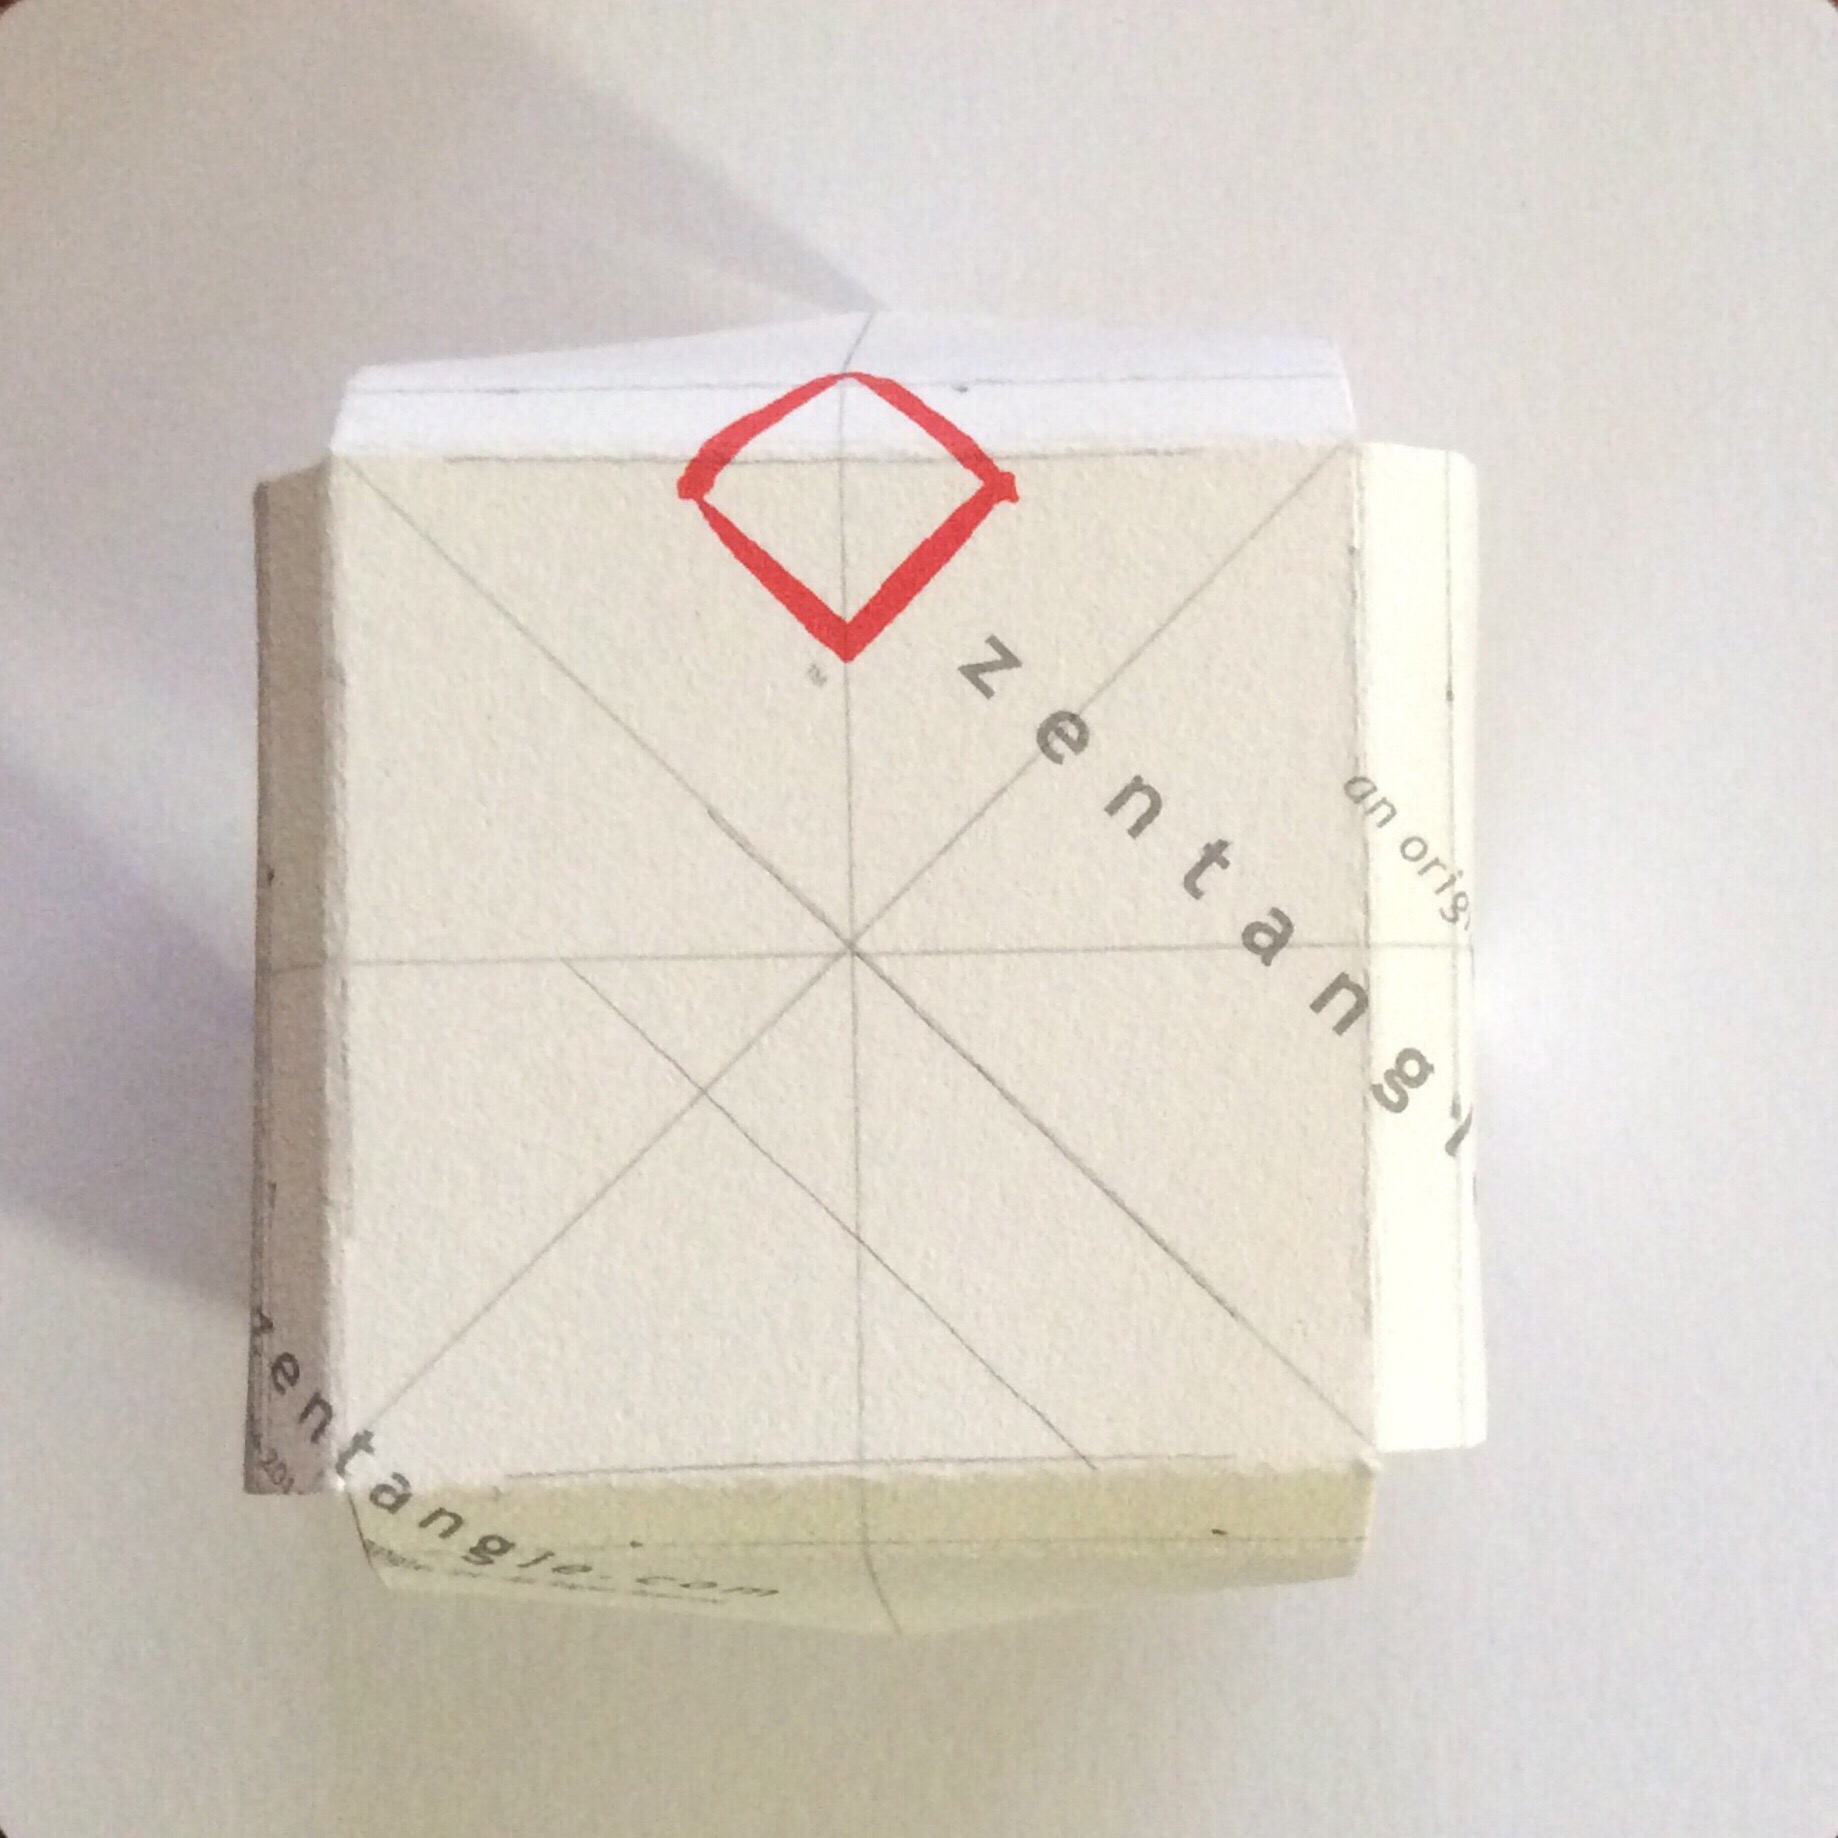
Step 6:
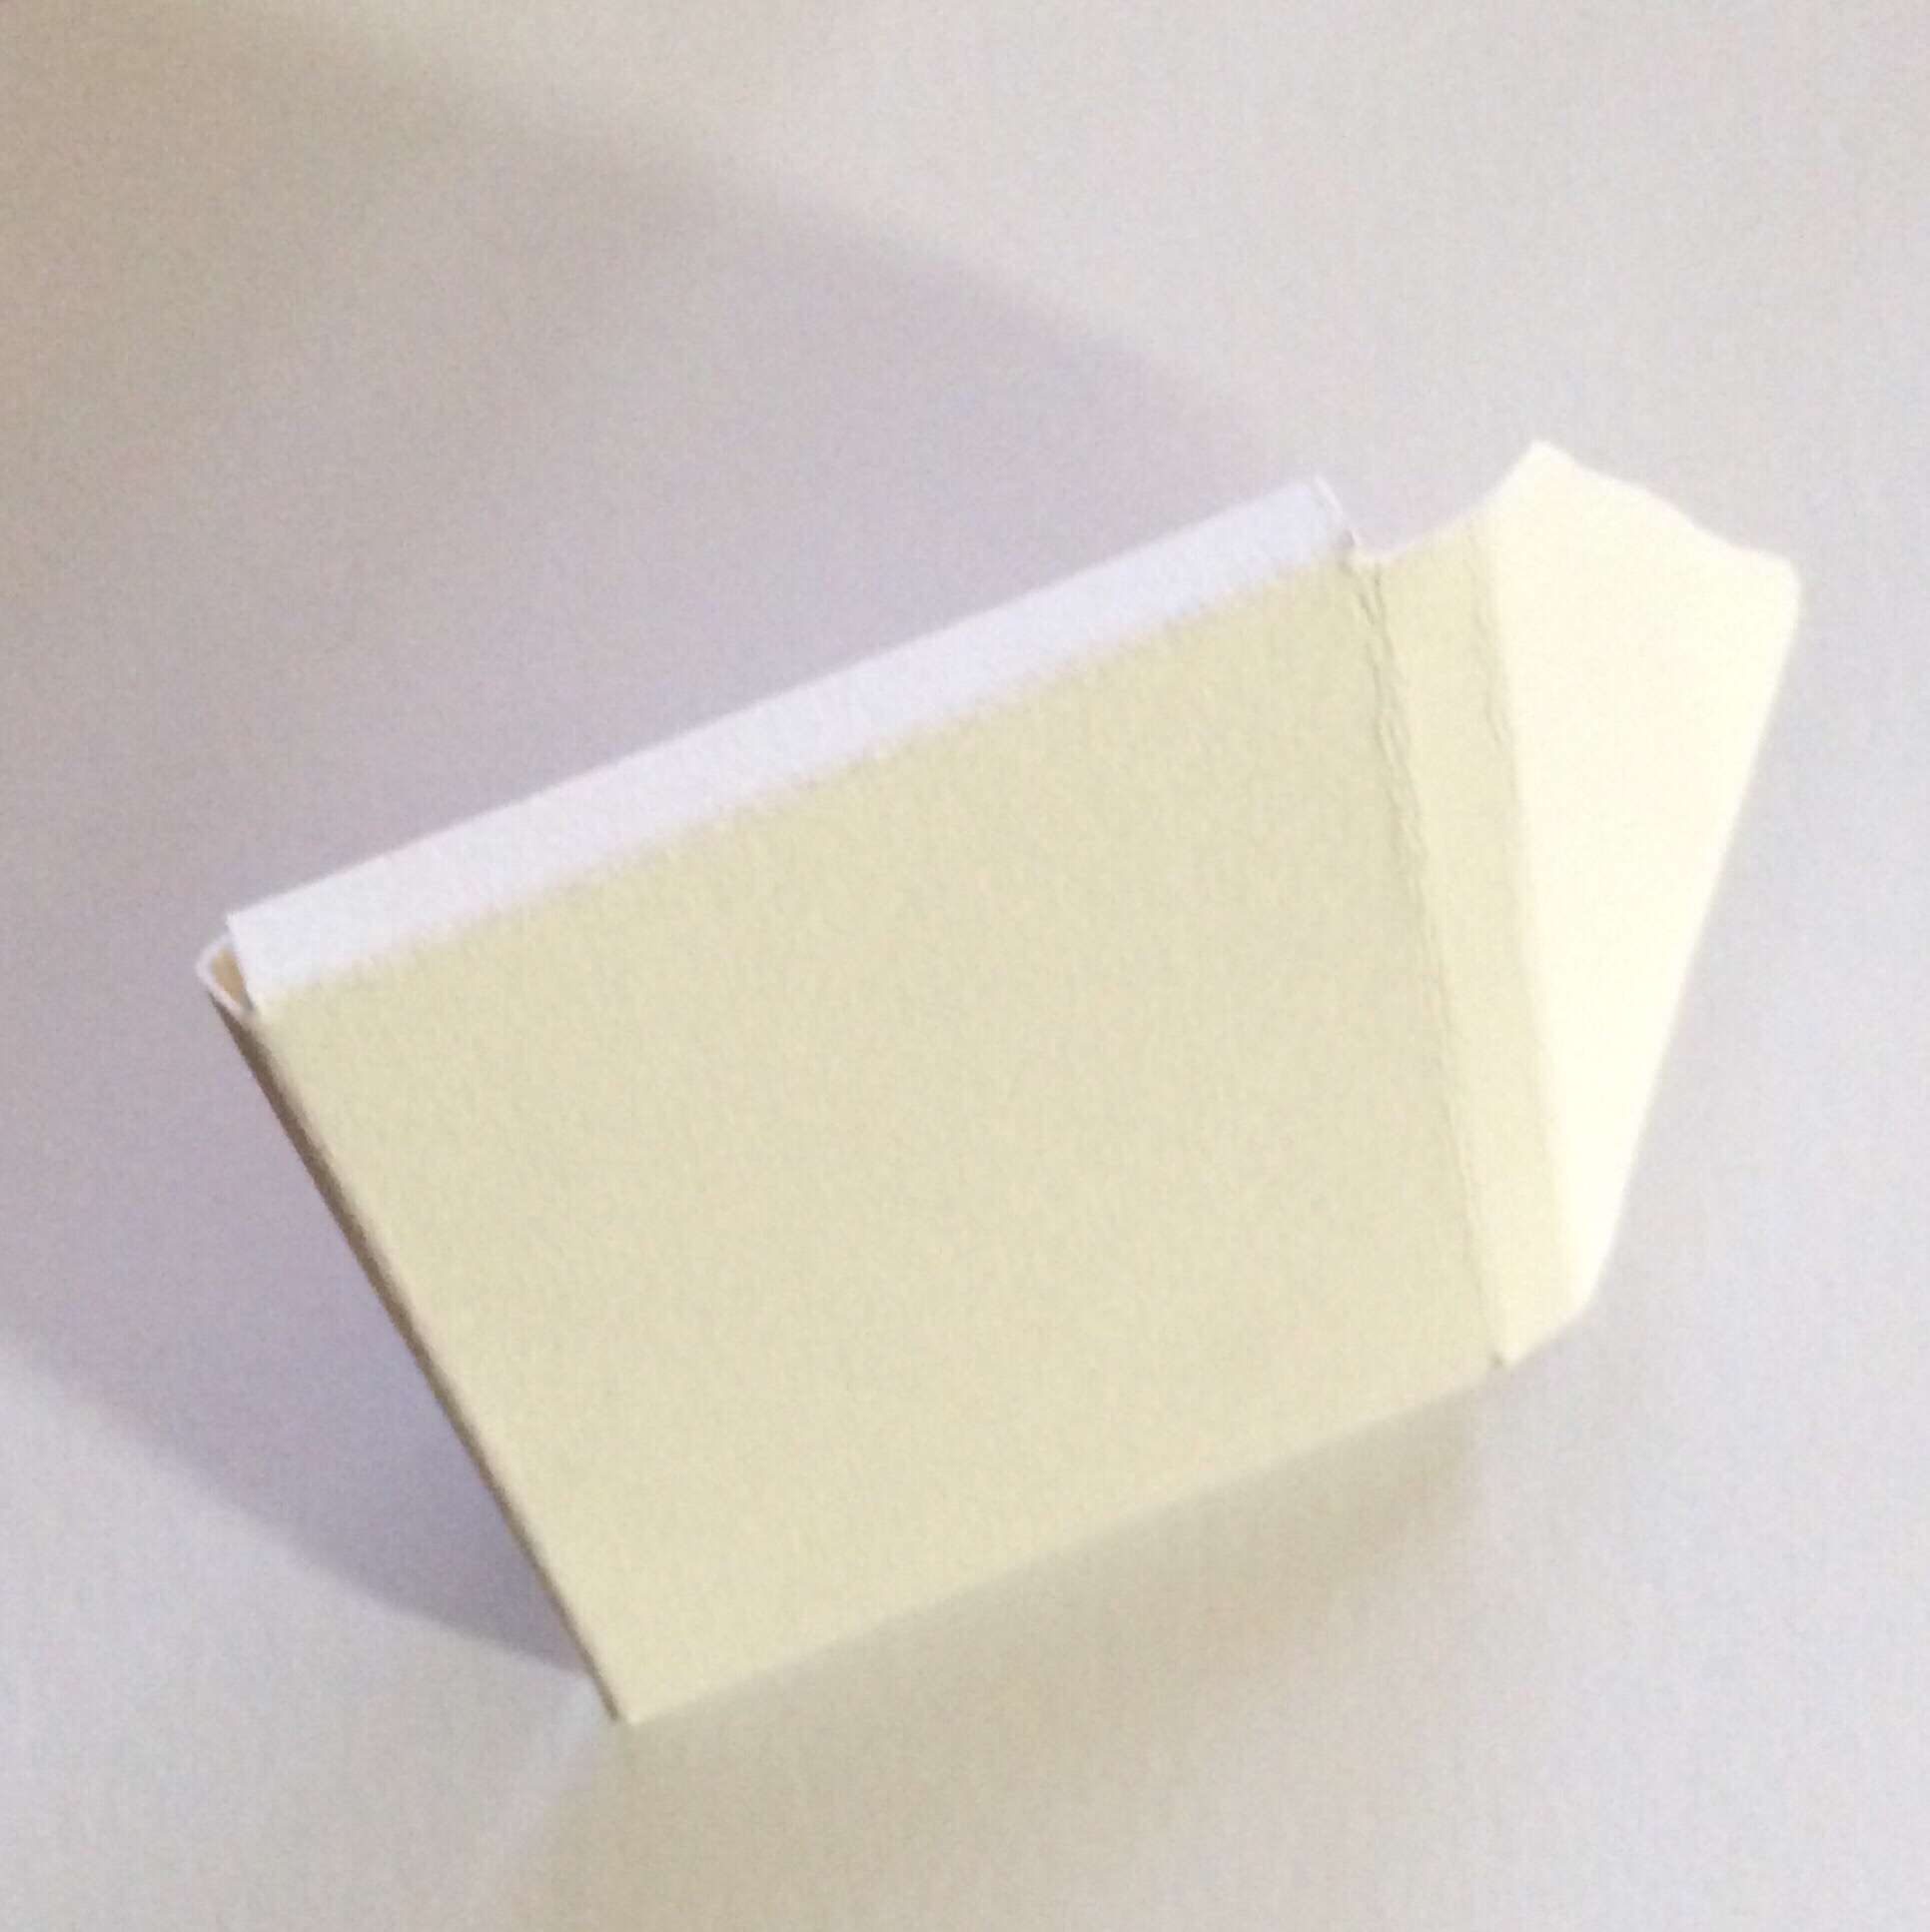
Re-fold the tile so the clean side is to the outside. Sharpen the fold lines by pressing on them again with your fingers or with a smooth hard object for a sharper crease.
Step 7: Tangle.
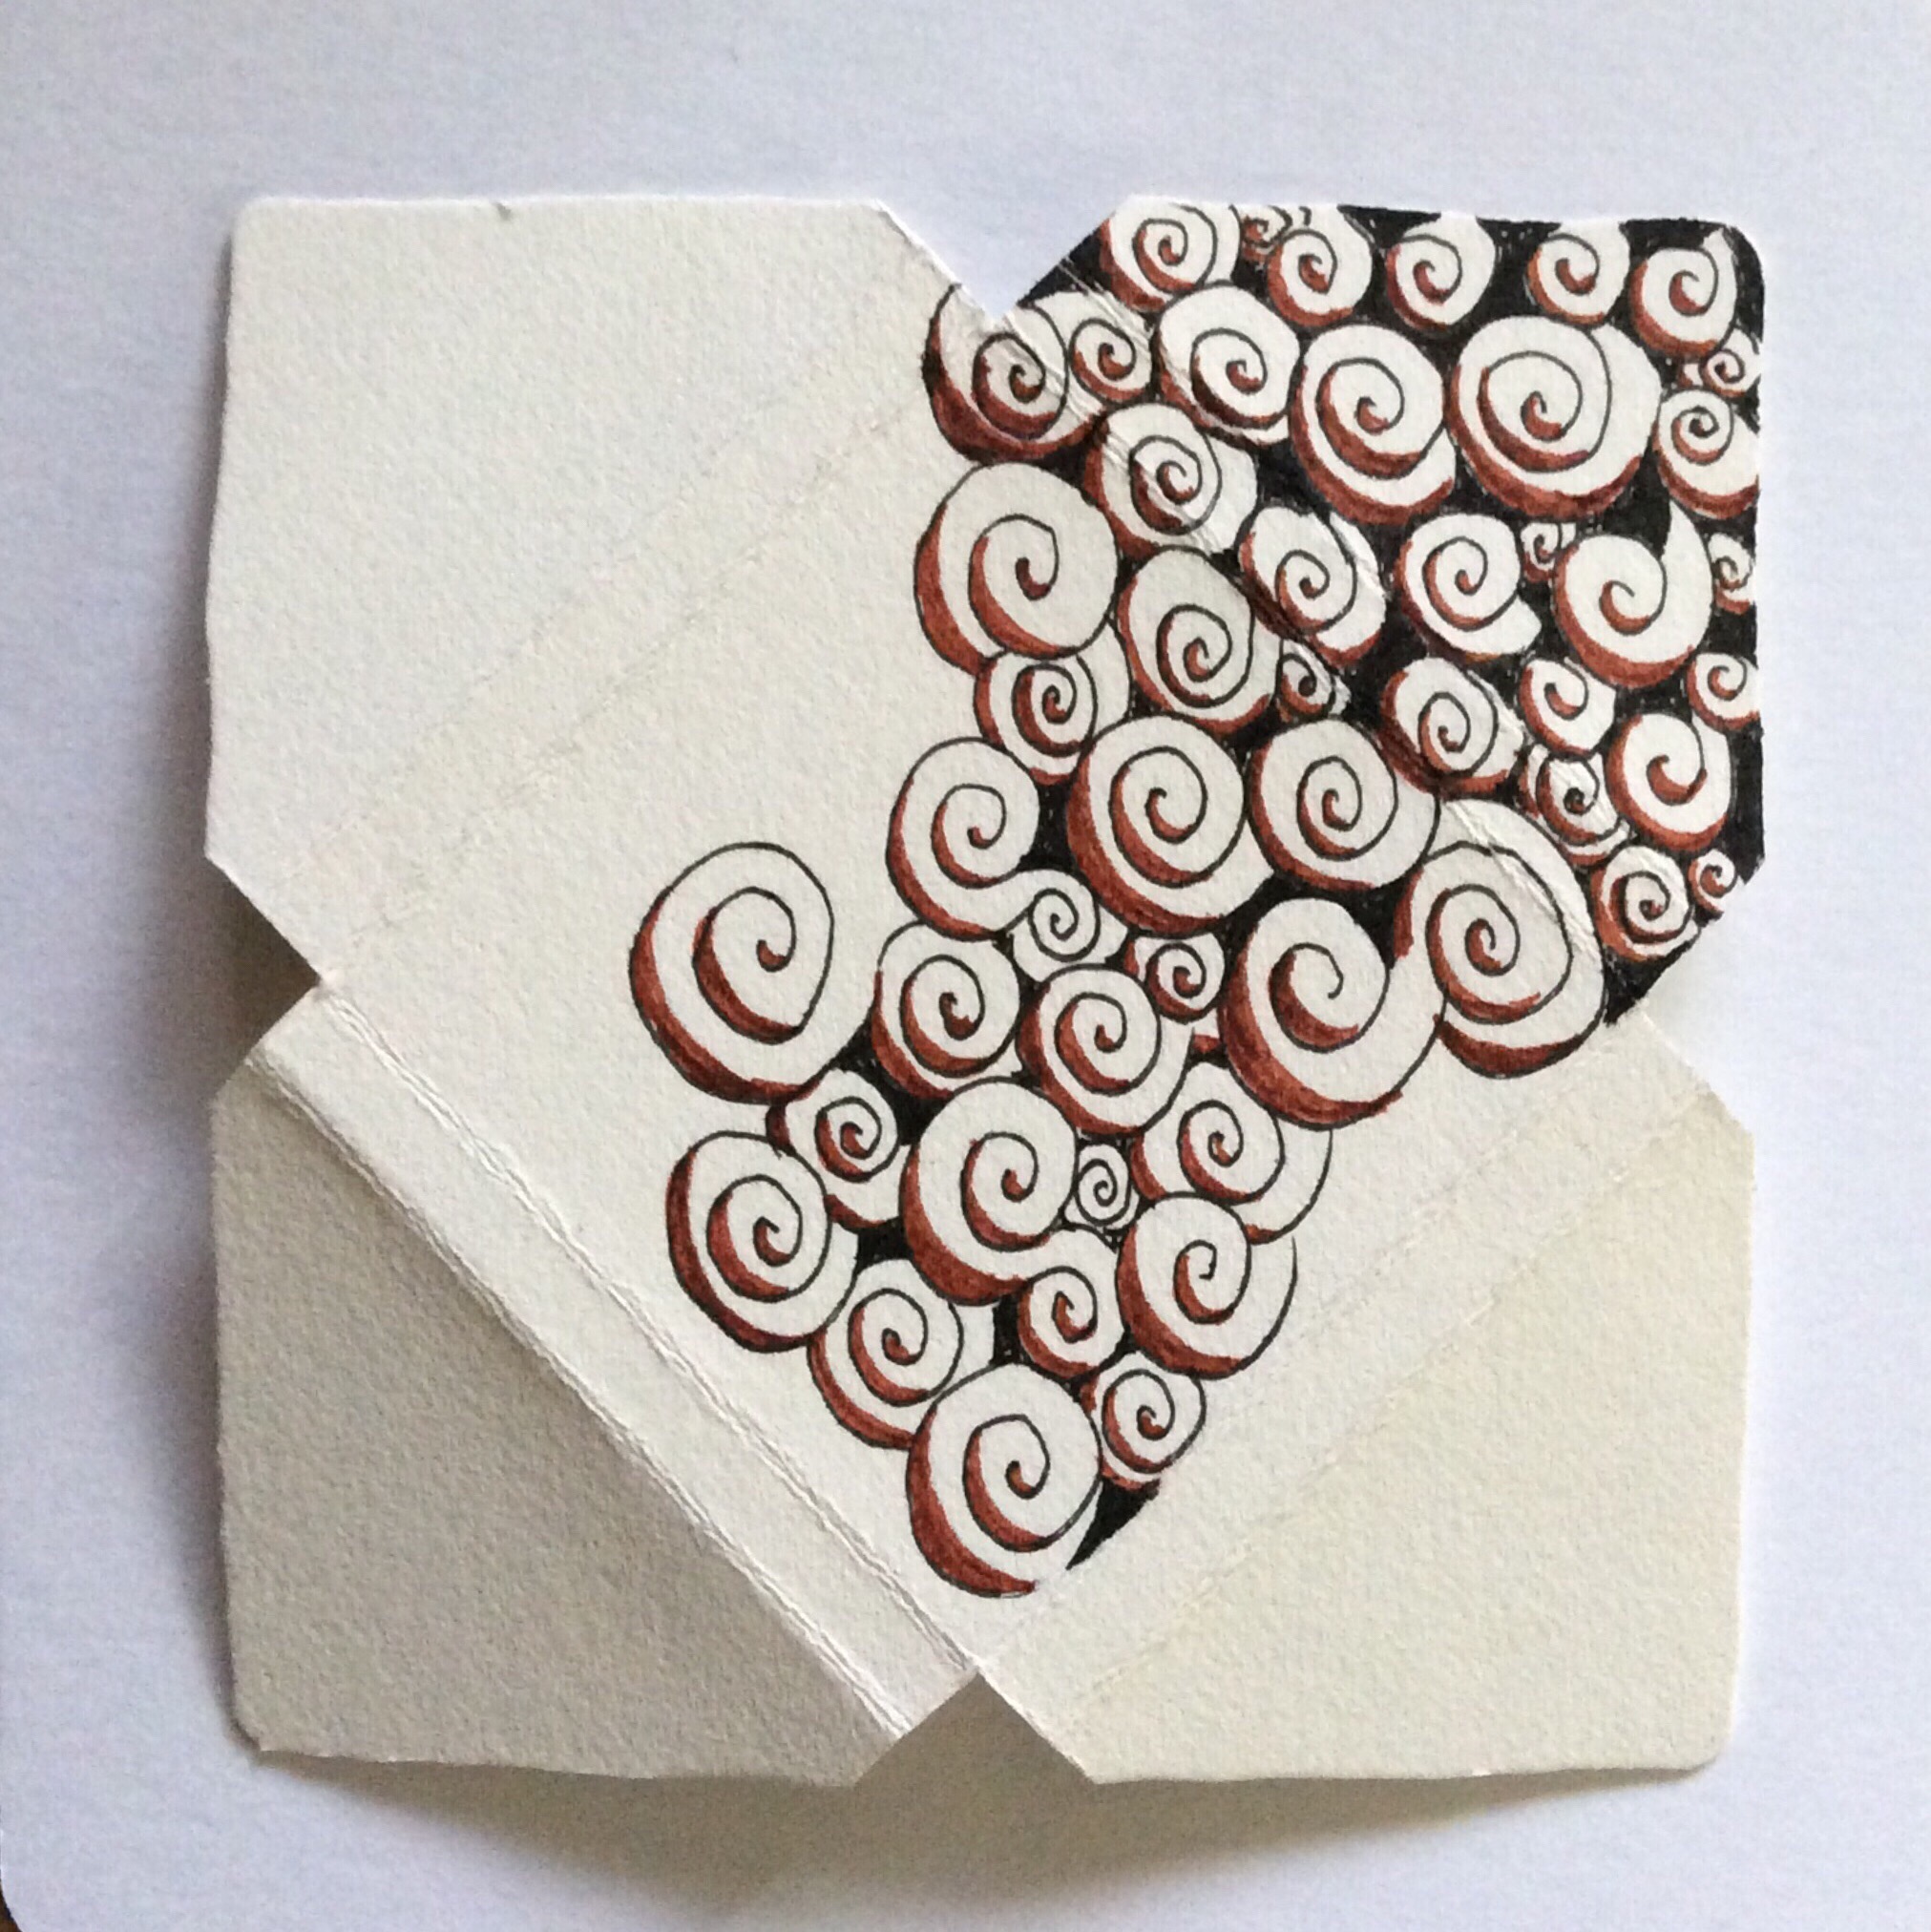
Unfold the box and tangle it any way you like. Remember that three flaps will fold over each other in the box to contain the bijou tiles. You may want to wait until the holder is glued together before tangling the back.
Step 8: Cut some filler.
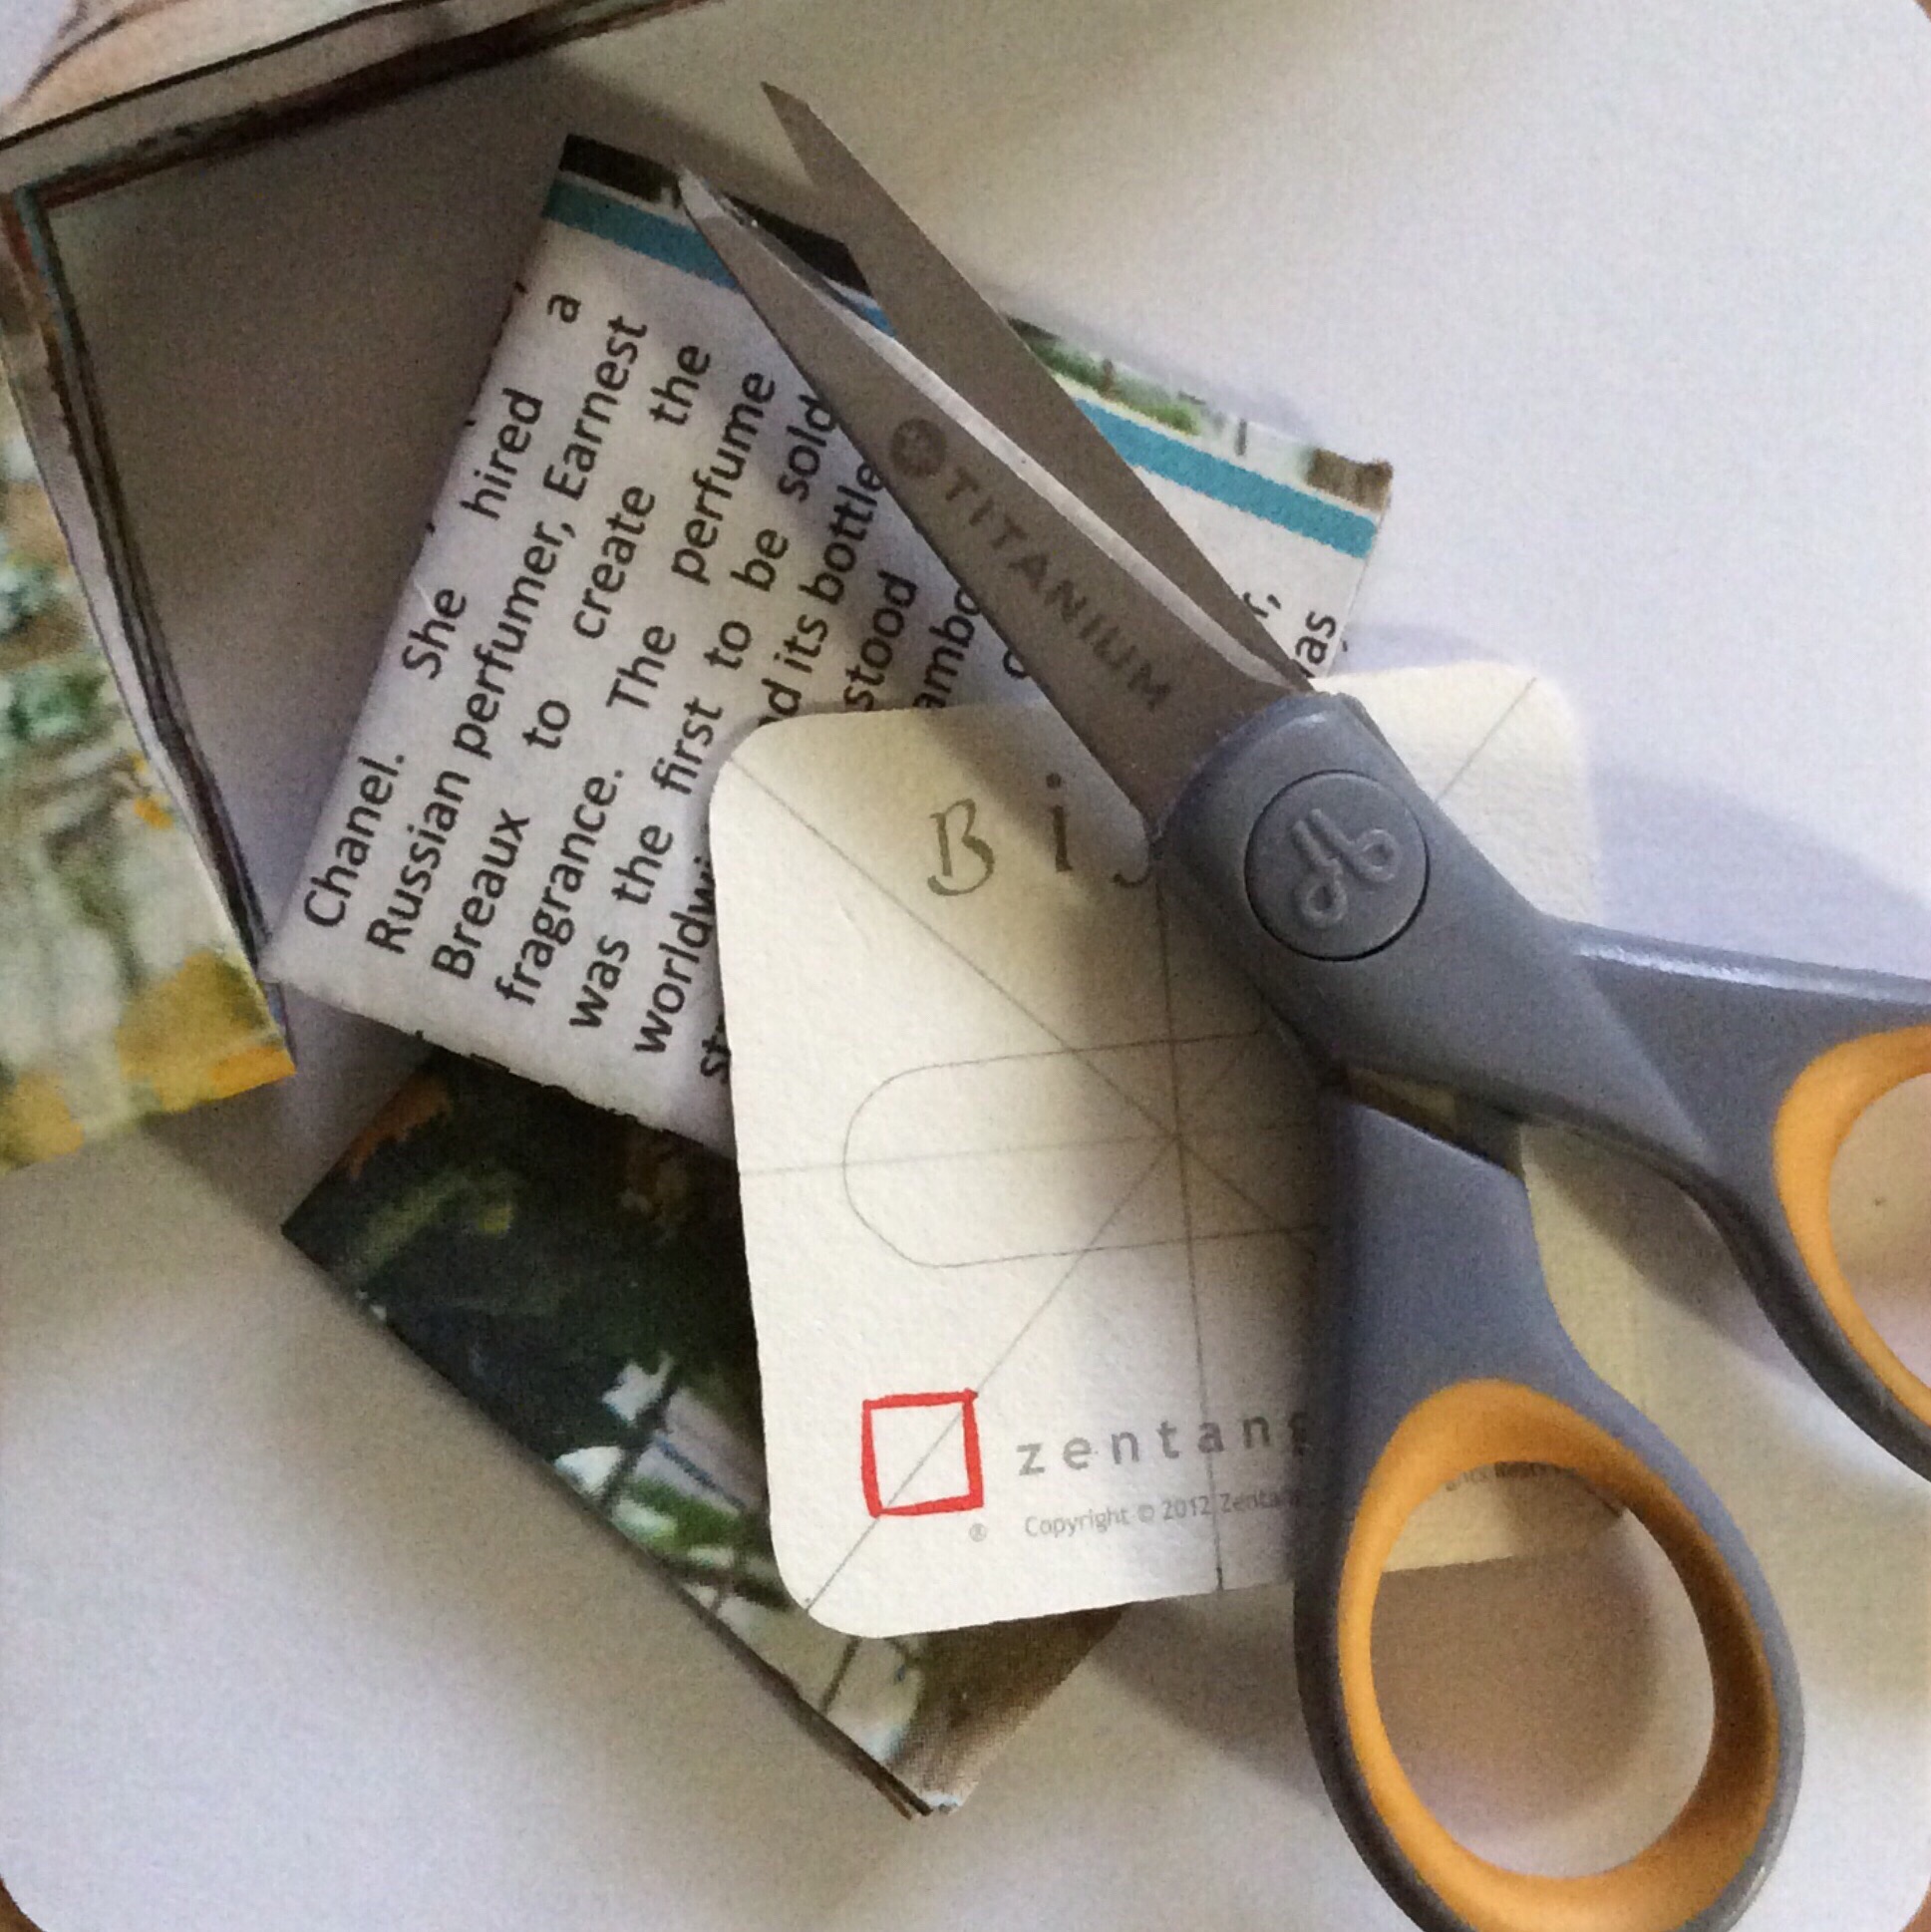
Before going further, take some time to cut some bijou-sized filler for your holder. I generally fold a newspaper page several times and cut out a section the same size as what I plan to fill with–such as bijou tiles or business cards. While you are at it, cut a piece of waxed paper or baking parchment to the same size. Slide this between your filler and the flaps. The filler makes it easier to glue the flaps together and later tangle the box, as well as provide a surface to cut into if you plan to make a flap tuck for your holder. The square of waxed paper or parchment keeps the filler from being accidentally glued inside the flaps when the glue spreads out inside.
Sometimes, I just carefully wrap bijou tiles or cards in waxed paper and slip them into the holder before gluing. This works best if I use tiny wafer-thin magnets as a closure. The waxed paper does nothing to prevent the X-acto knife from cutting into a good tile or business card!
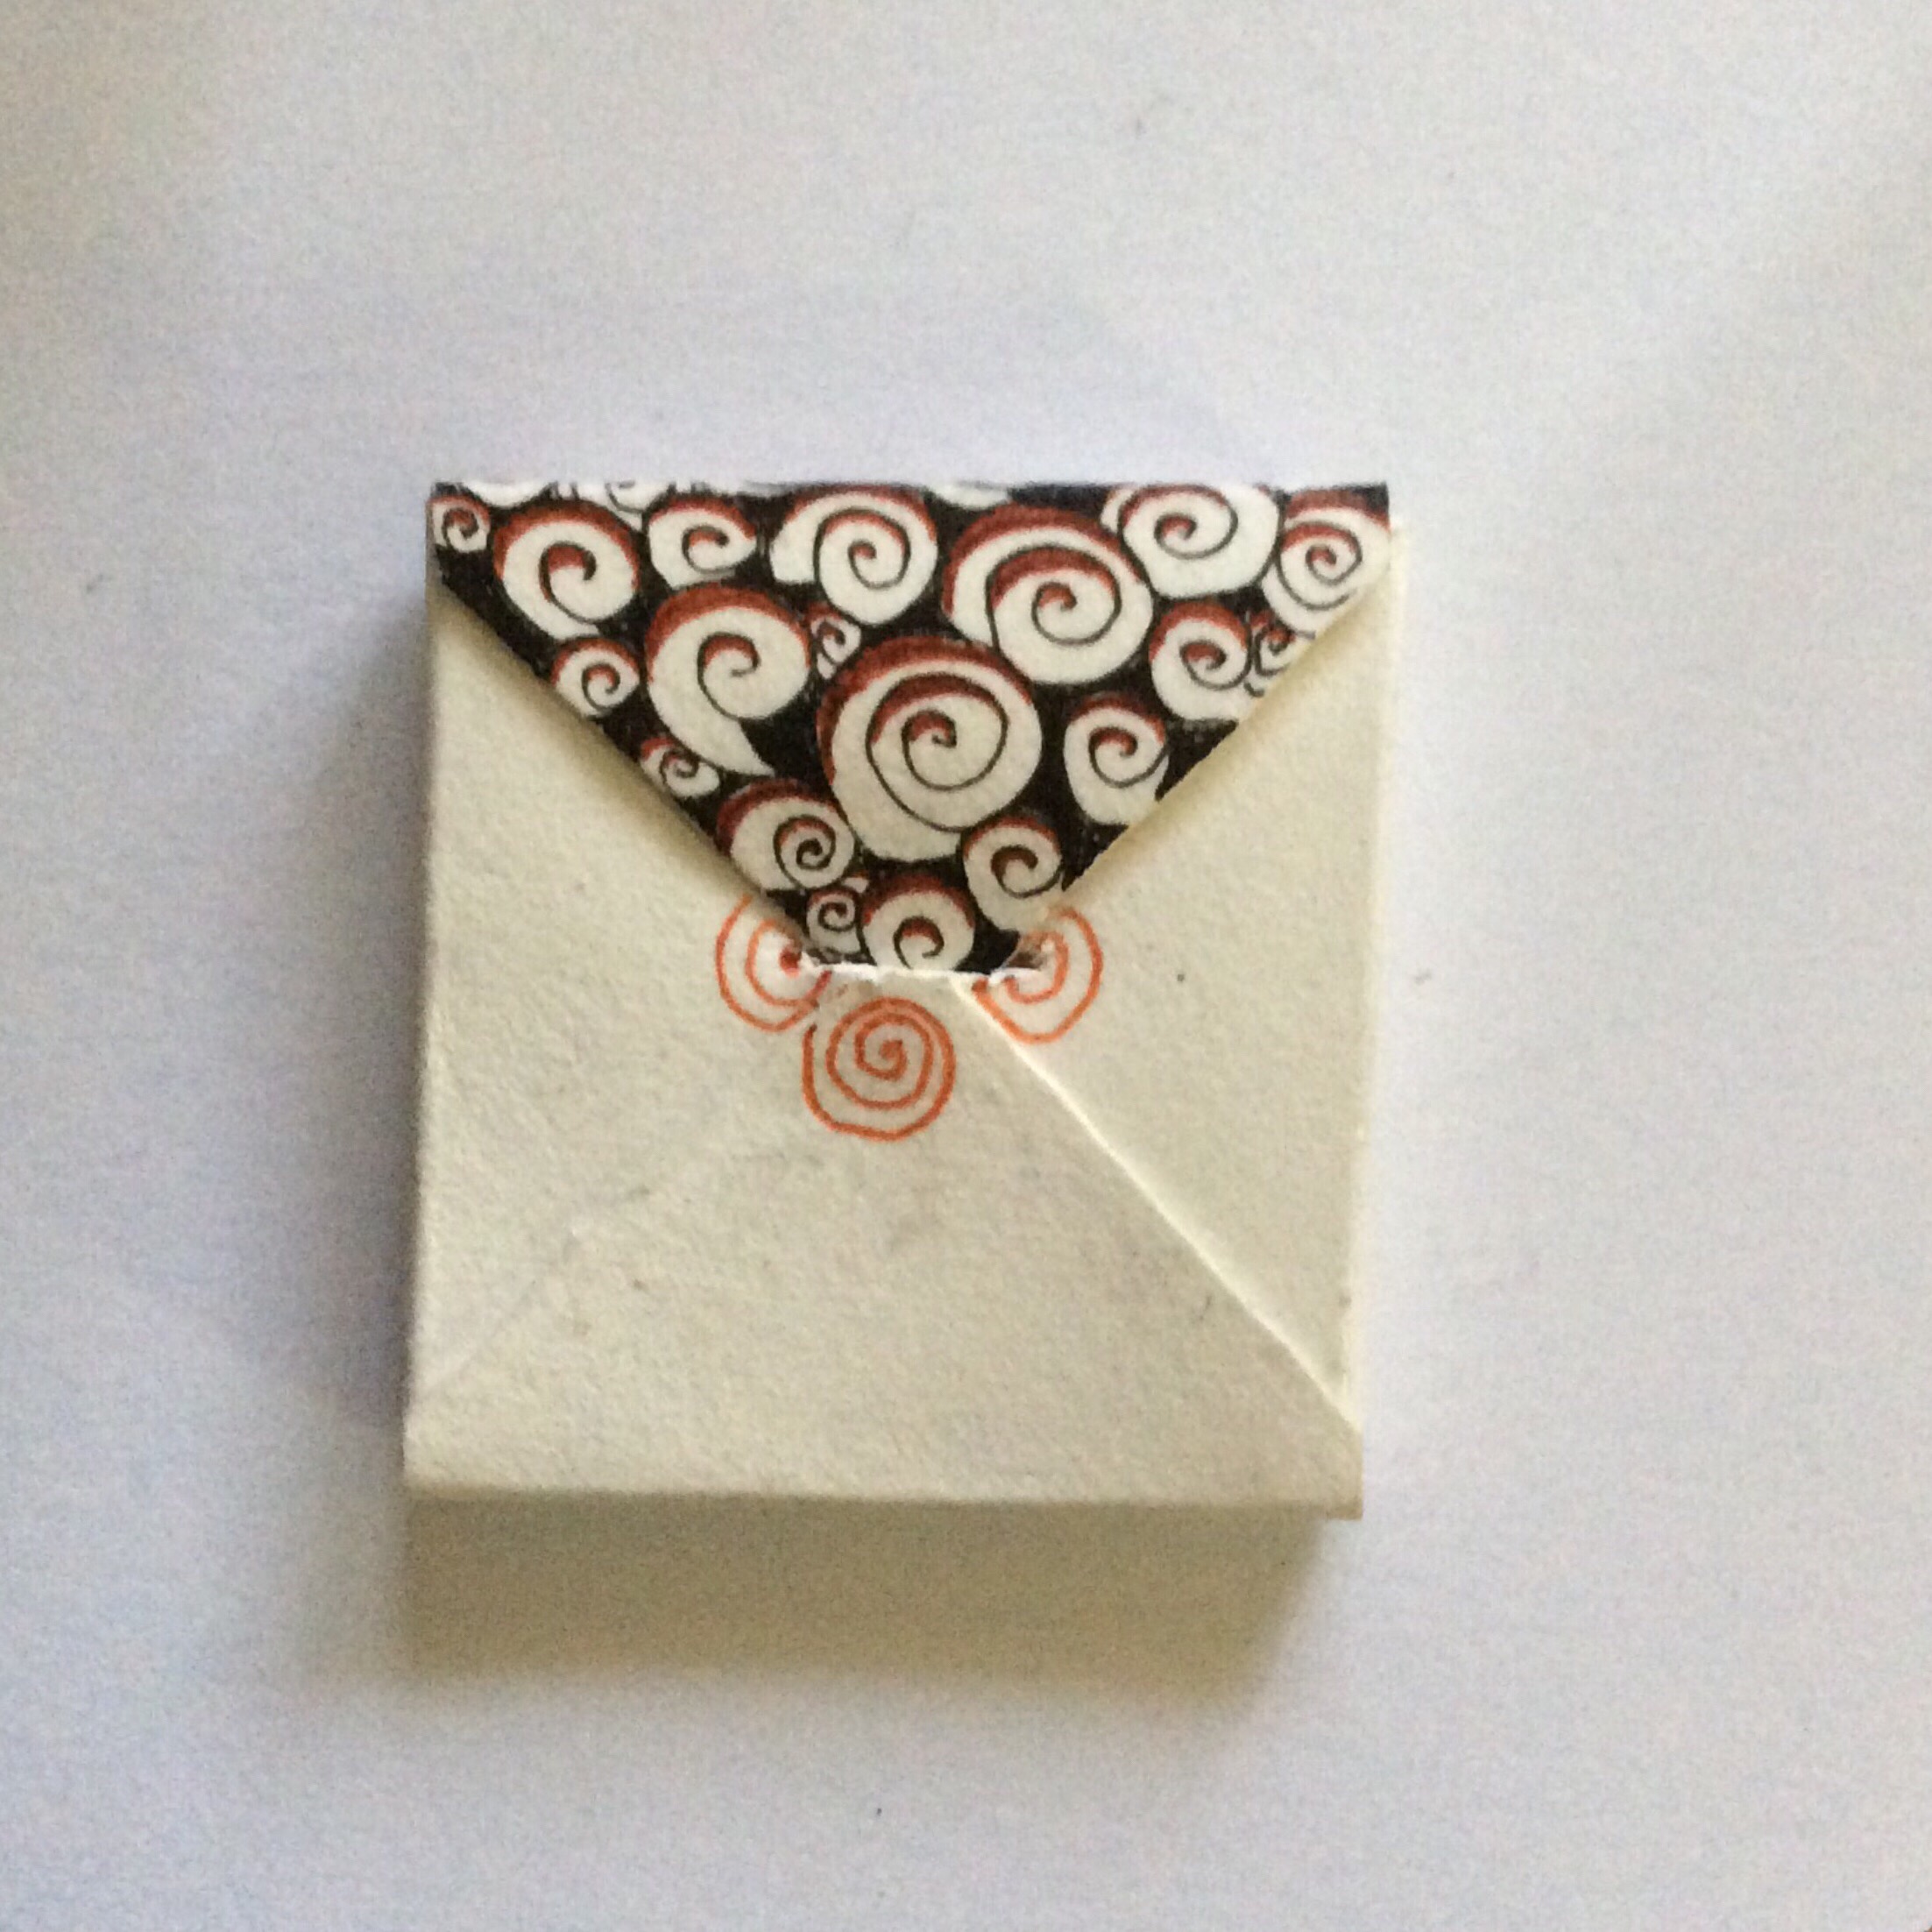
Step 9: Glue flaps together.
Overlap the two side flaps and glue them together. Next, bring up the bottom flap and glue it in place so the section resembles an envelope. This is far easier to do and let dry with filler inside.
For gluing, I use the same thing I use to seal my artwork–Mod Podge® Matte water-based sealer, glue, and finish. It works great as a glue and as a sealant to protect the paper from wearing too quickly, and to keep my artwork looking fresh longer.
Once the glue is dry, you may want to tangled the back. You can wait until after you have sealed your holder, but you will need to seal the work again, as even Micron® ink can smear when used over the Mod Podge.
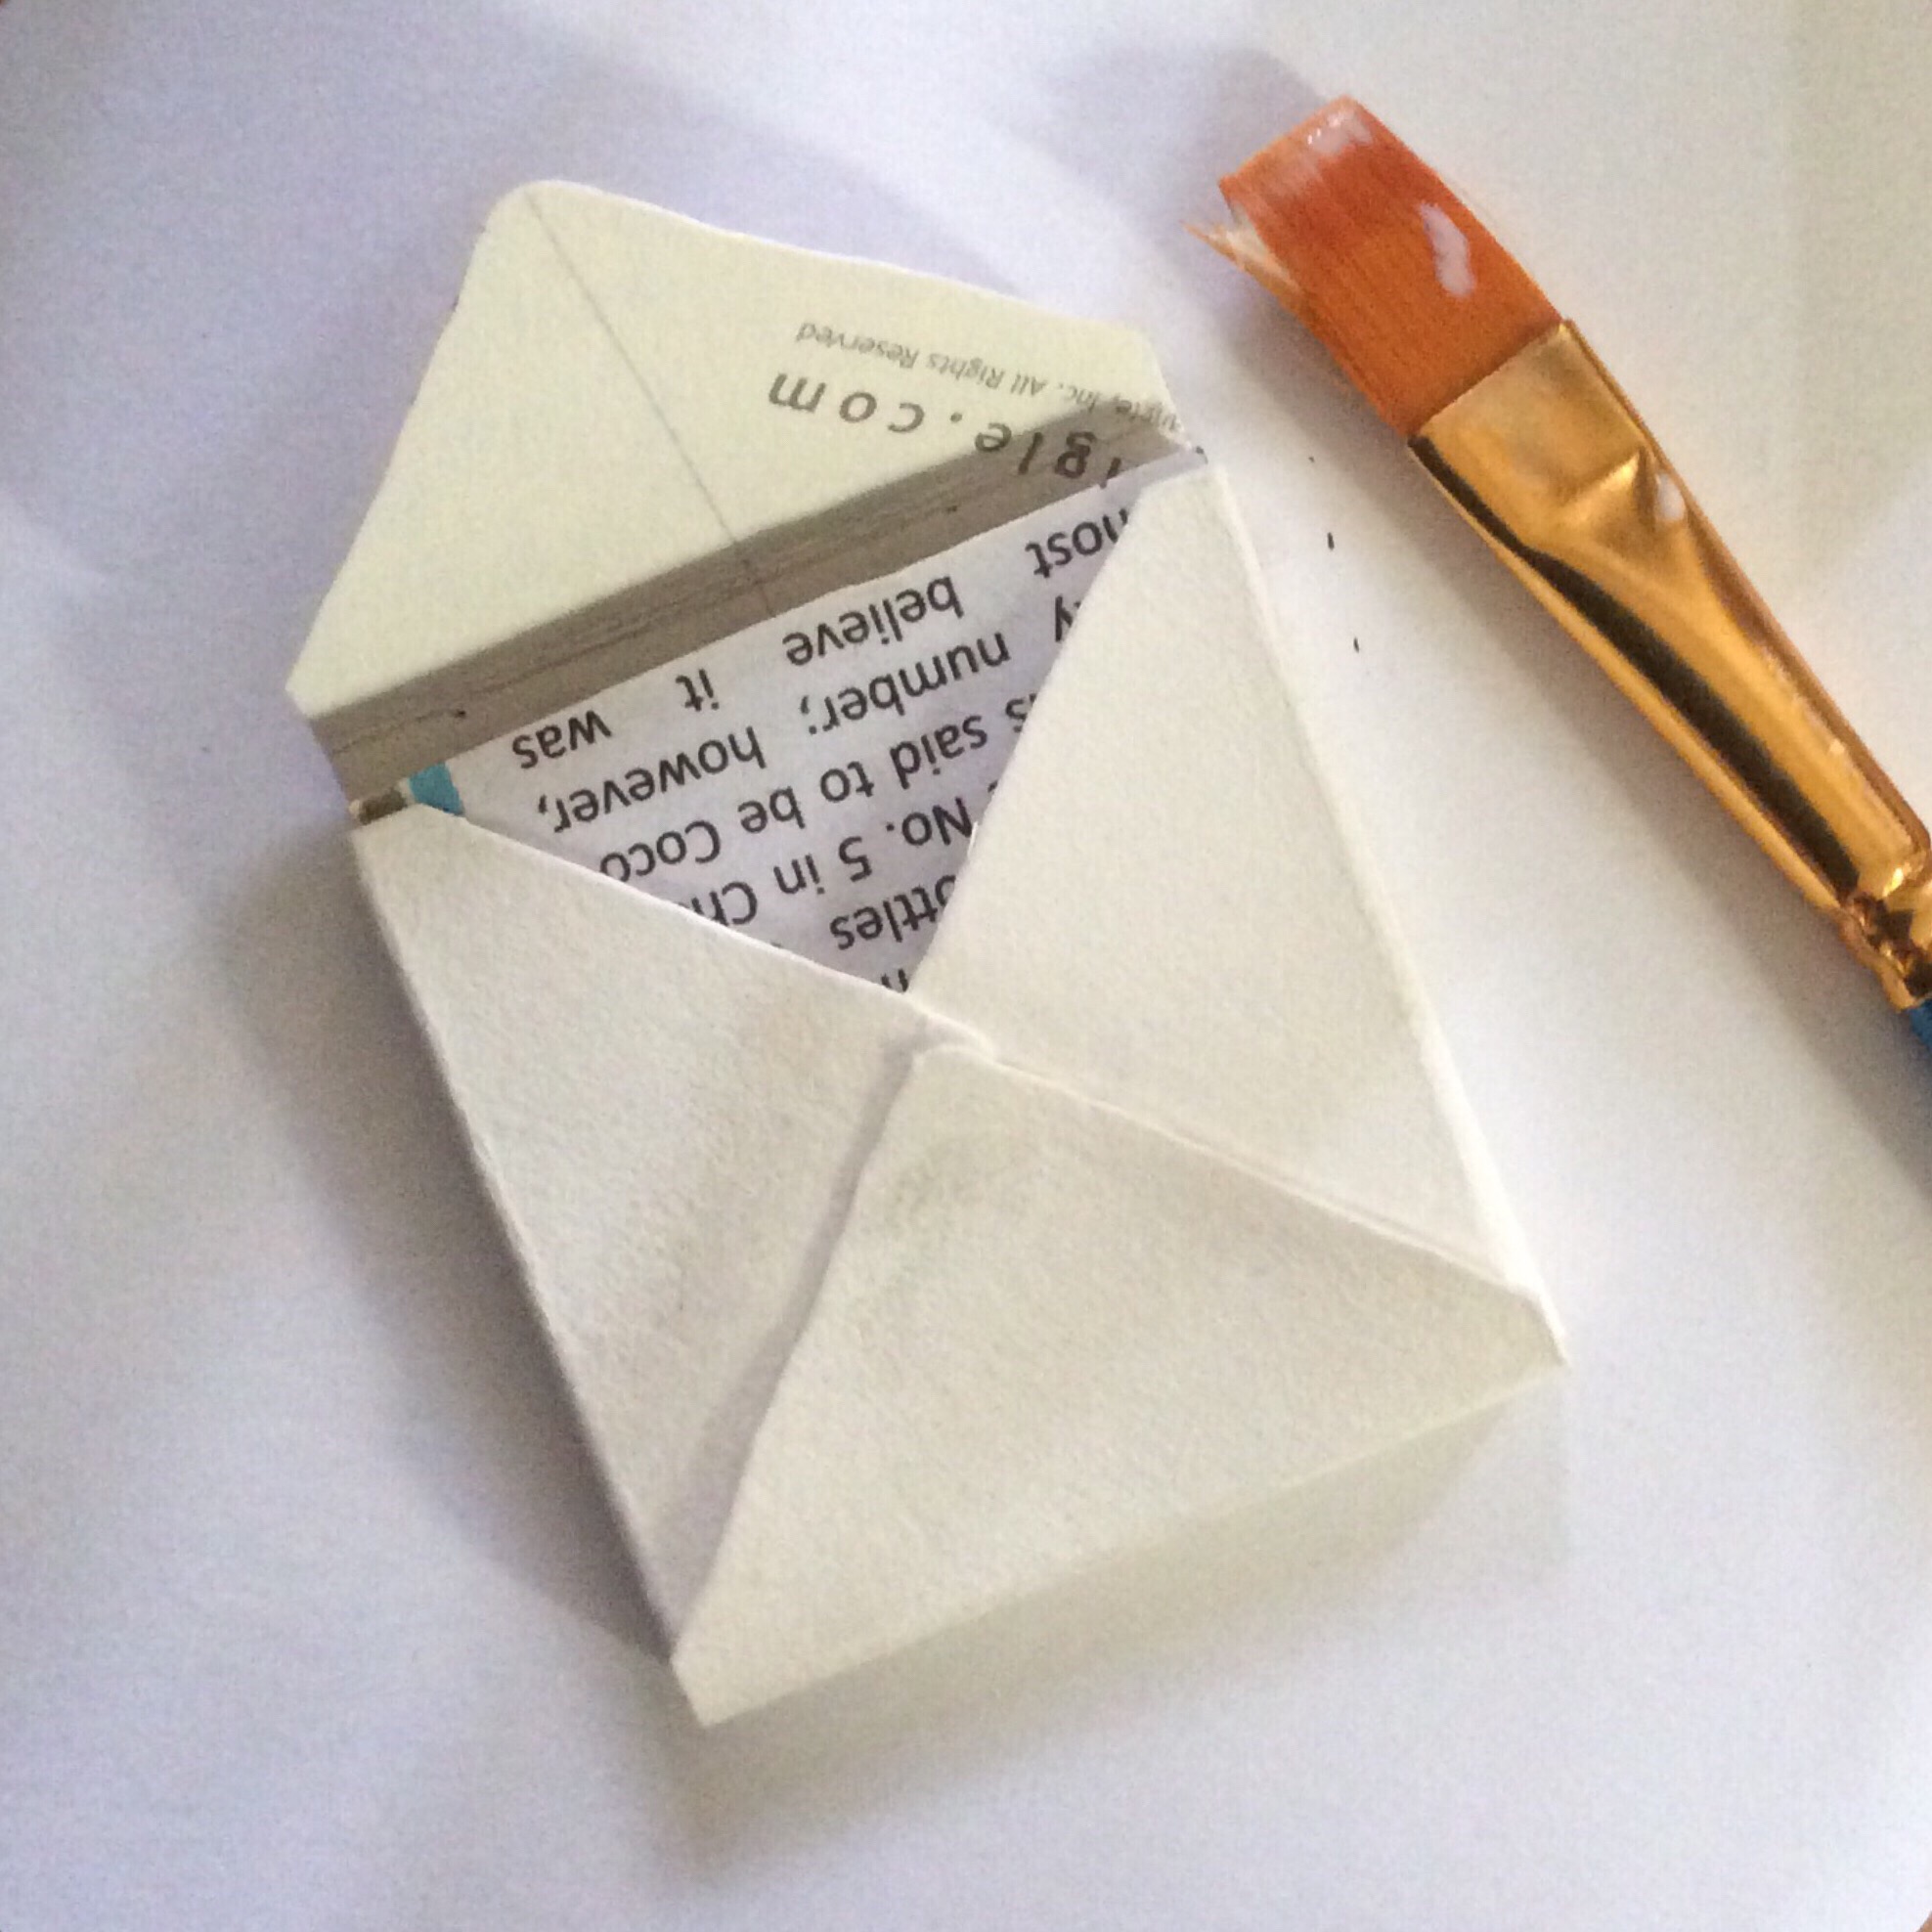
Step 10: Seal your work.
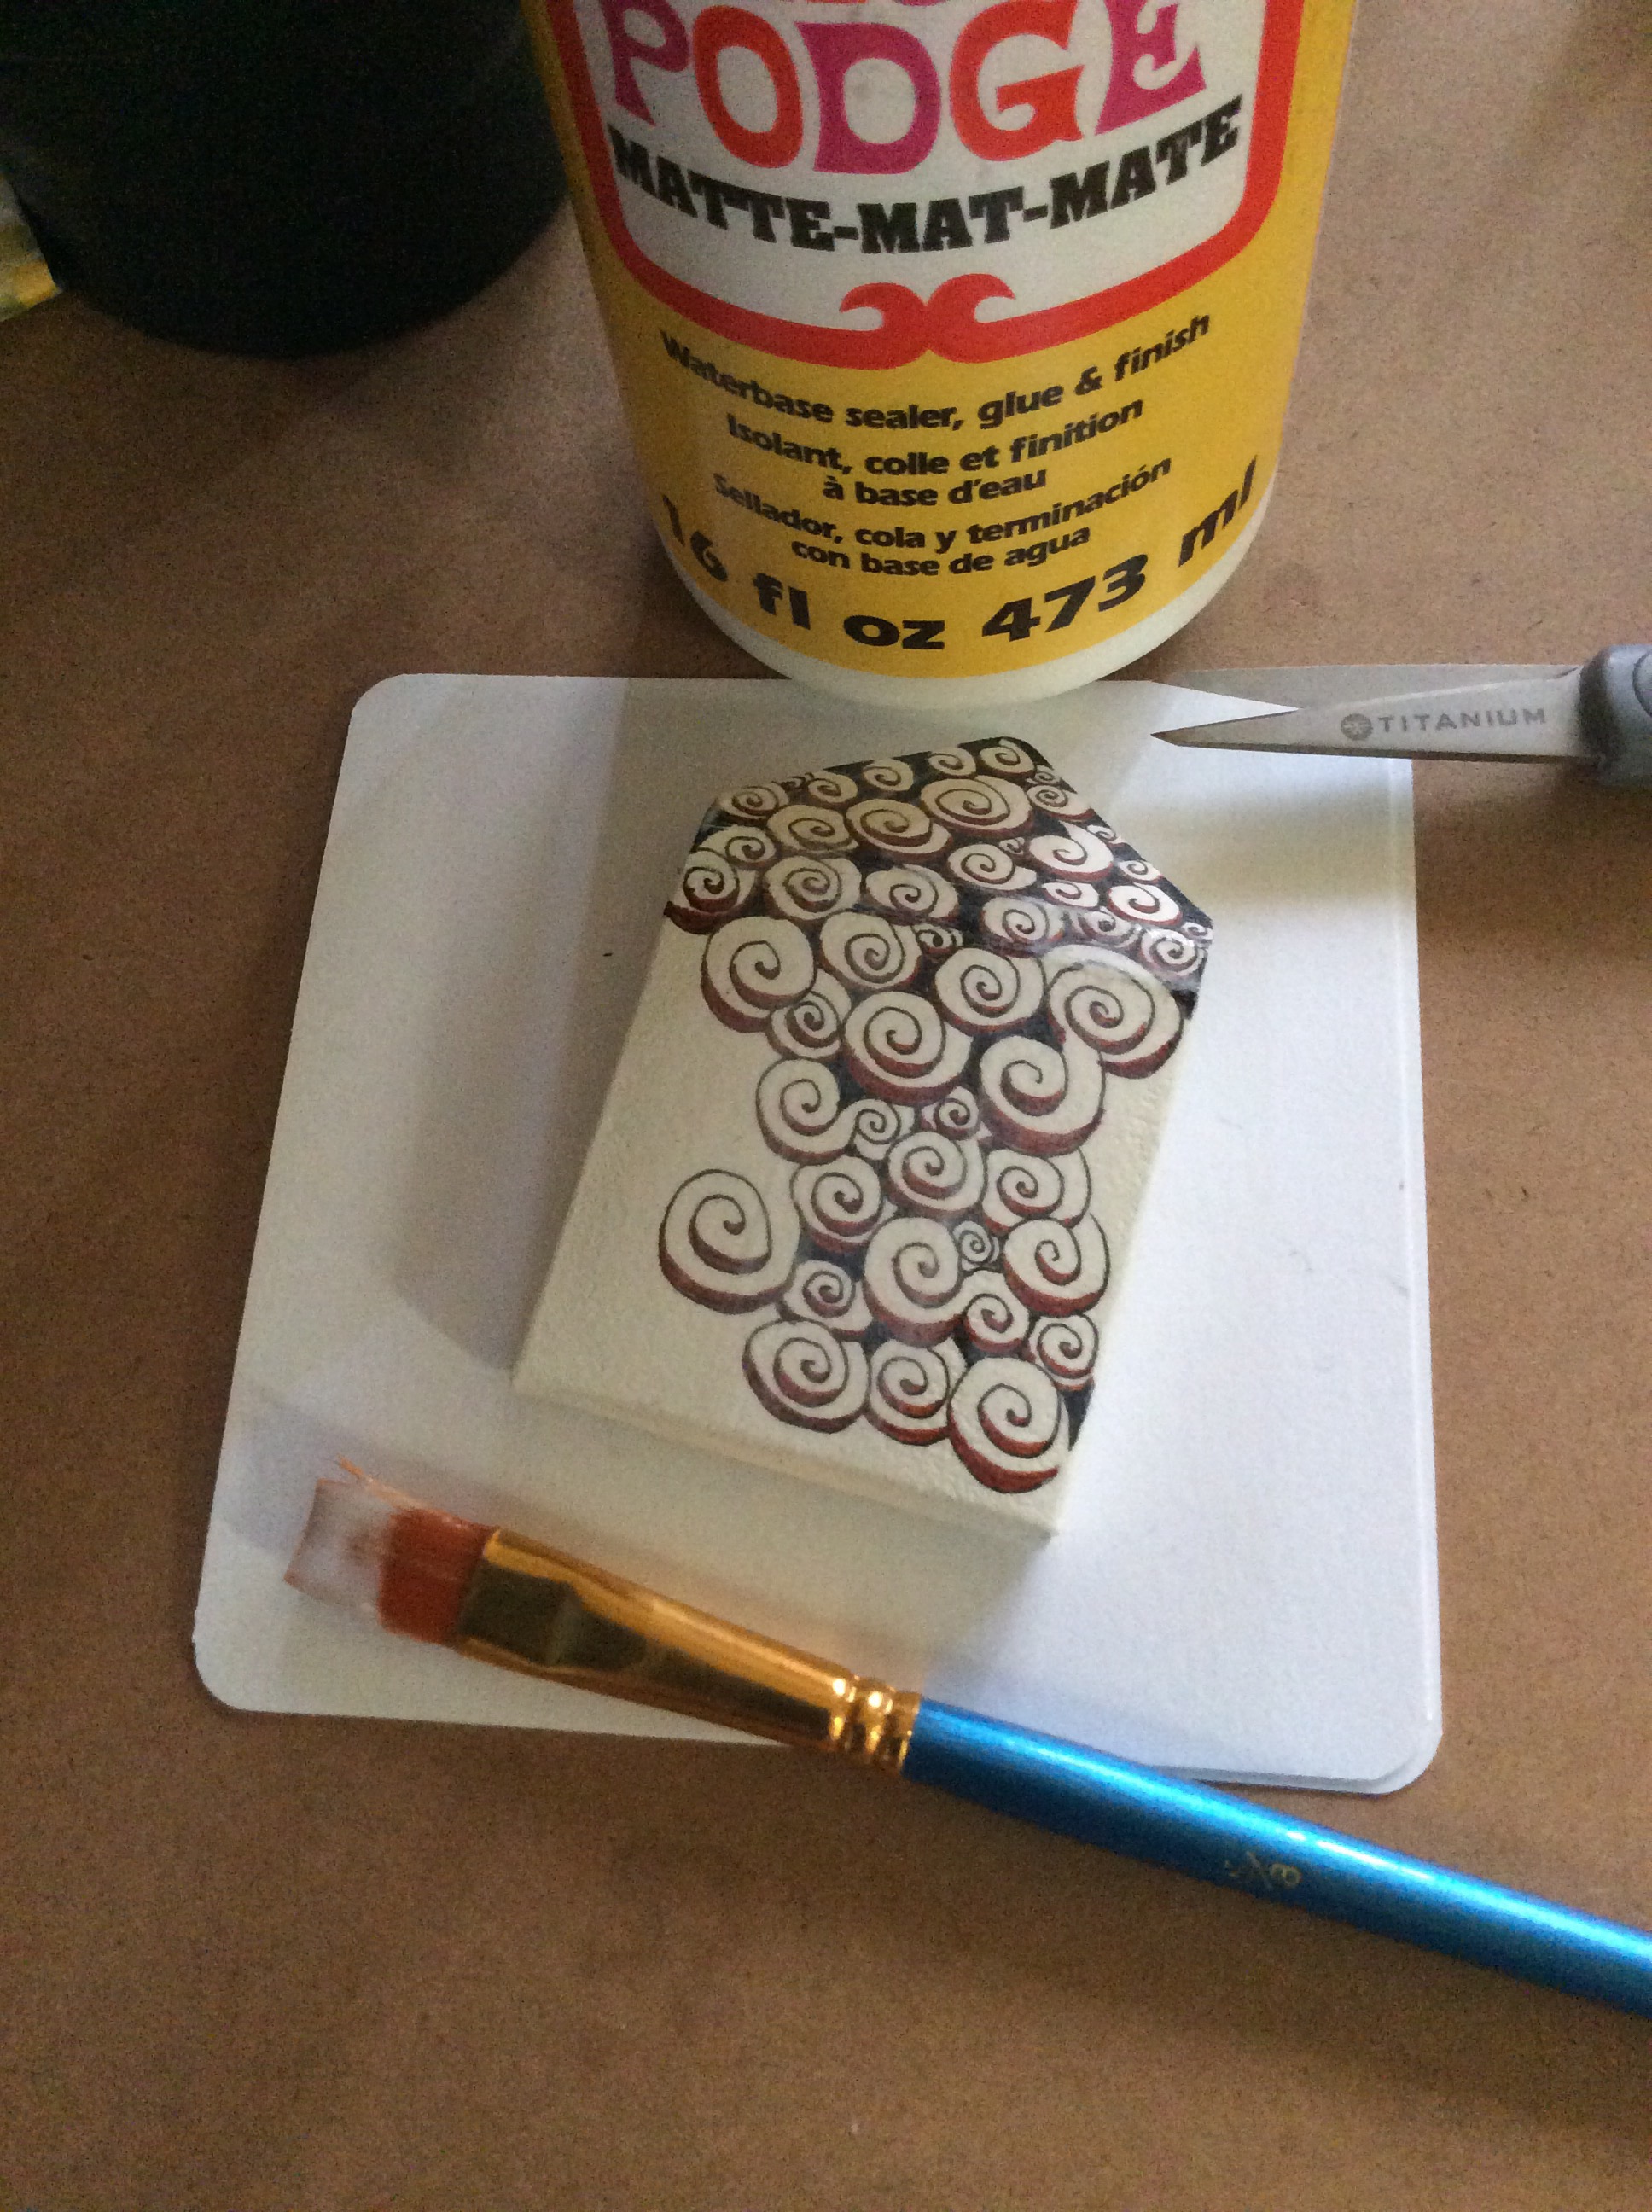
To protect your artwork and to extend the life of your holder, seal the entire surface–front, back, sides–with a protective sealer such as Mod Podge Matte or Mod Podge Glossy. Using an inexpensive art brush, cover the front and sides with the sealer, wipe away excess at the edges with a damp cloth, and allow to dry completely.
When dry, flip the holder over and brush the back with sealer. Wipe away any excess, as with the front. If you like, erase any pencil marks from the inside of the loose top flap piece, and seal it, too.
Give the holder time to dry completely before continuing. Mod Podge is dry to the touch in minutes, but could take half an hour or longer to dry through layers.
Step 11: Flap closures.
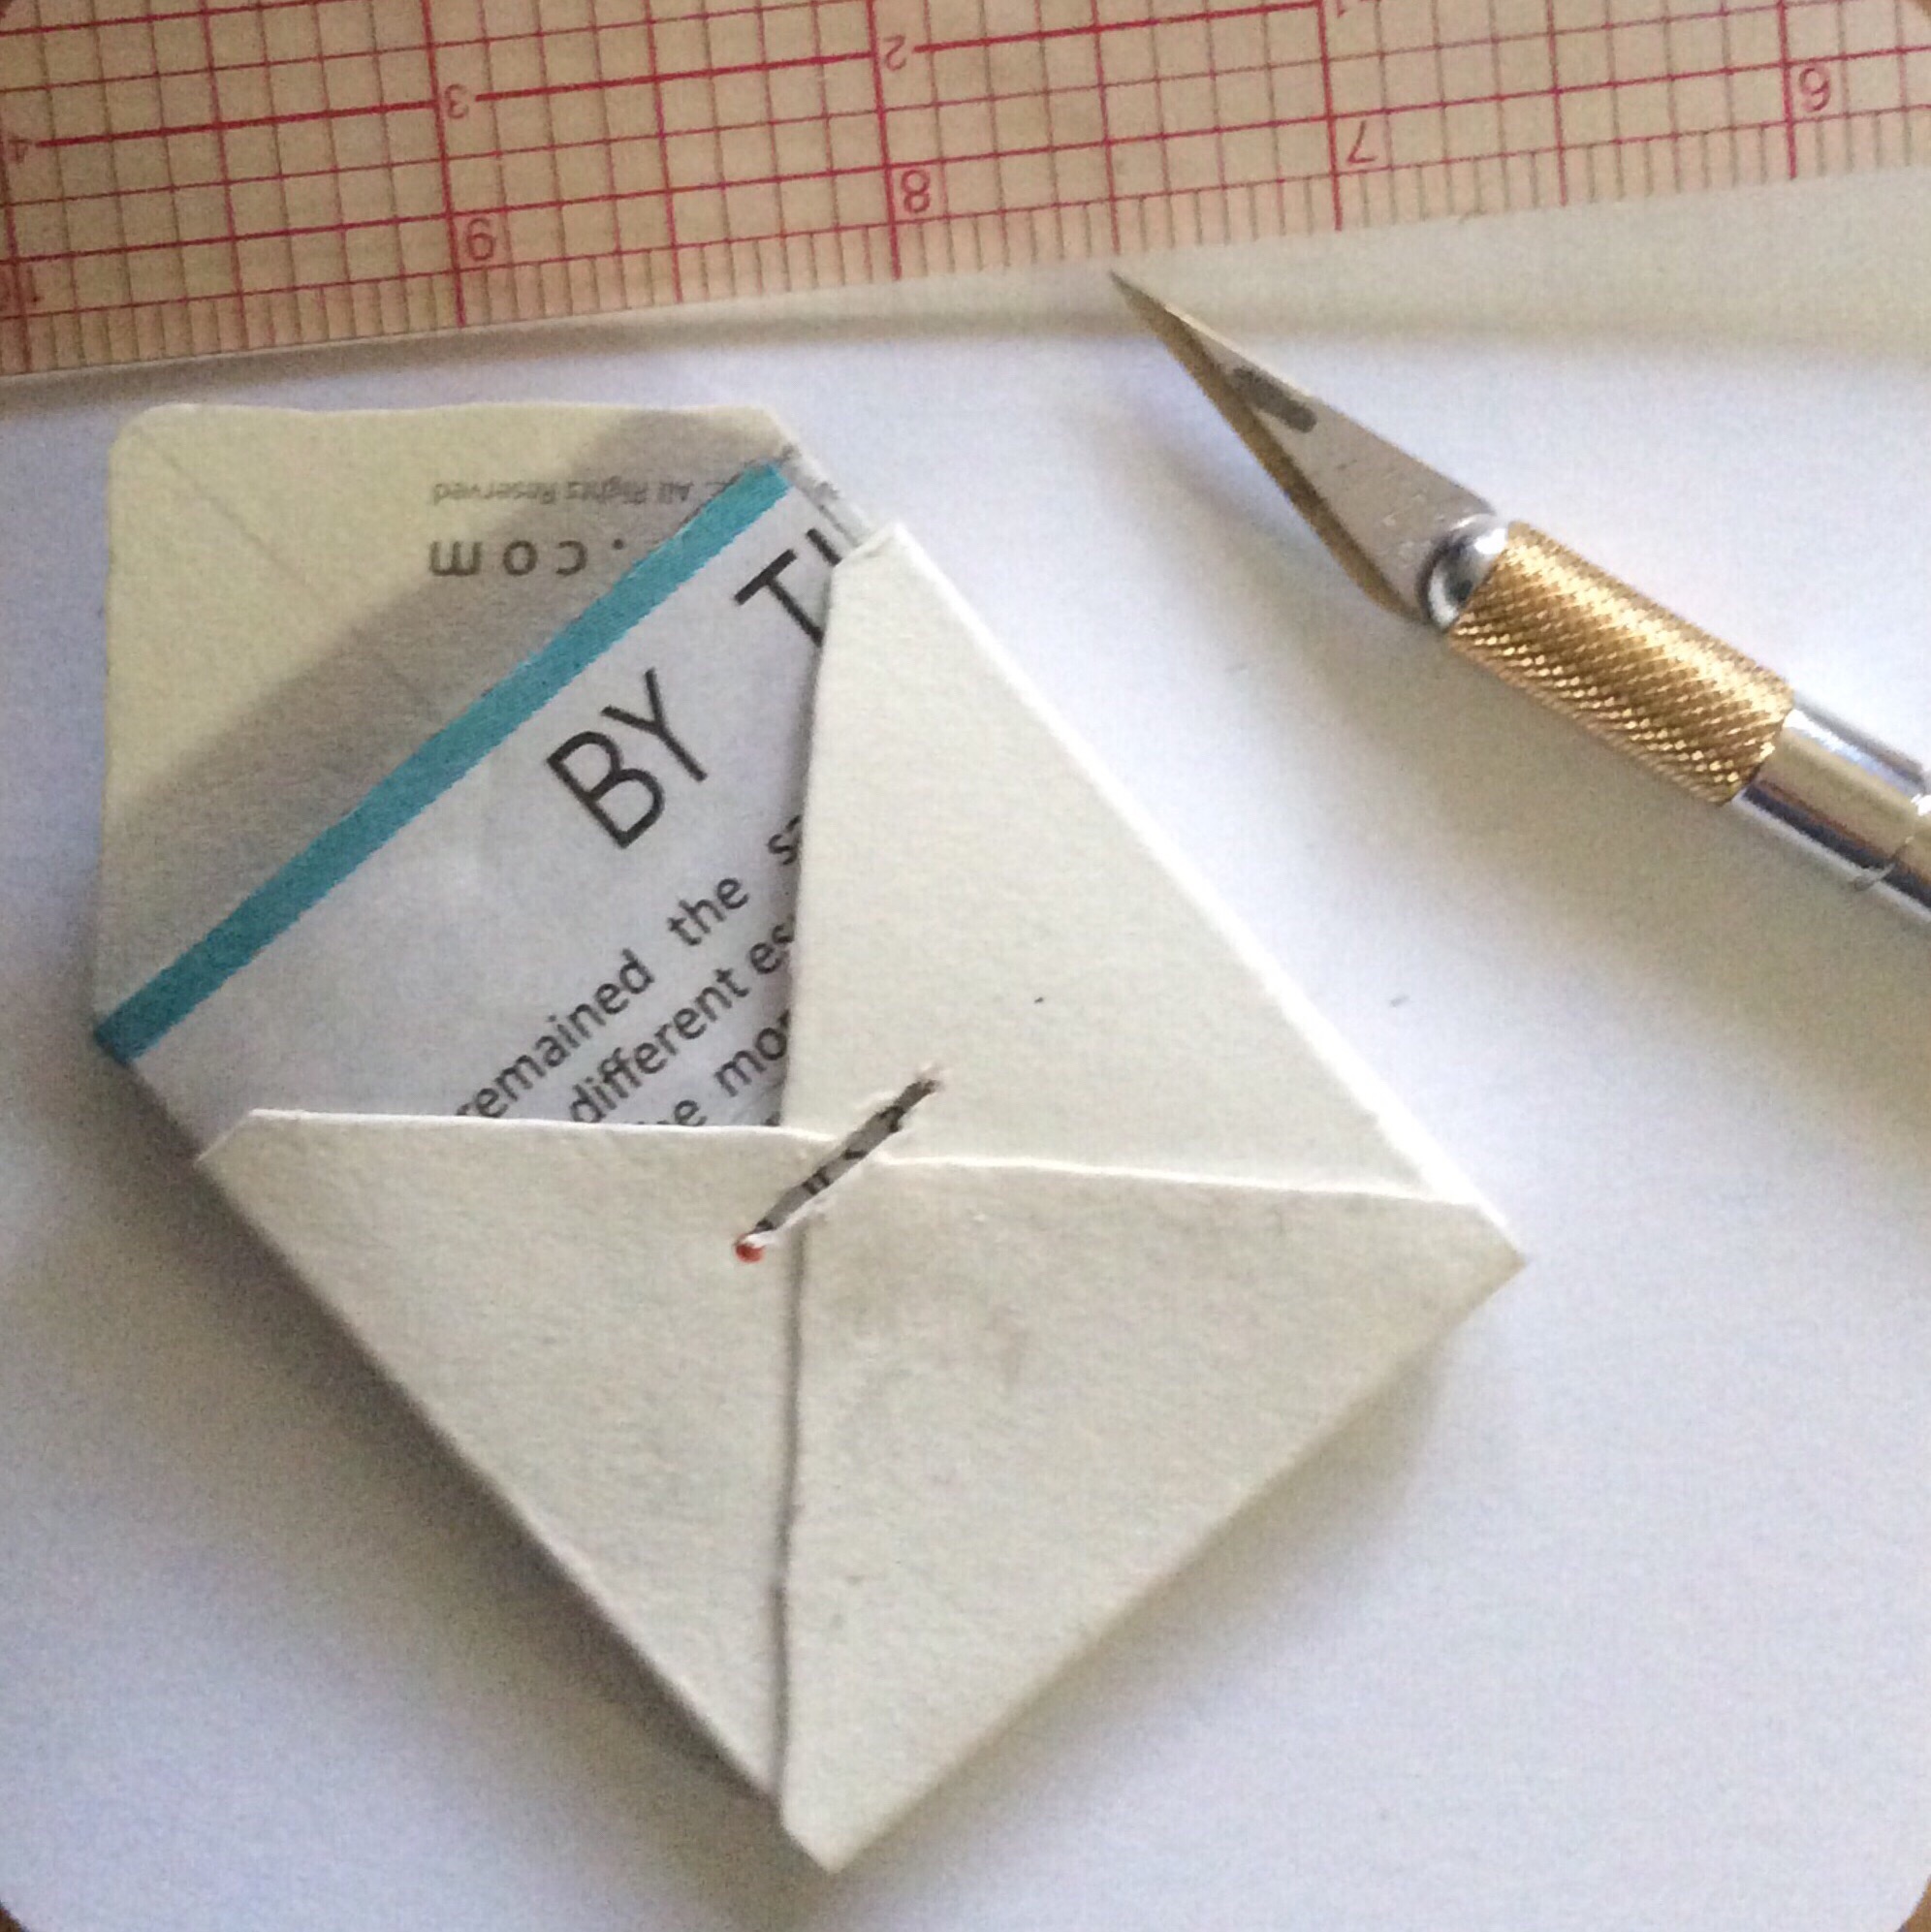
Once everything is completely dry, fold the top flap over, and make marks to either side of where you want to cut a flap tuck. Using a straight edge and an X-acto knife, cut two parallel lines close together through all thicknesses.
I didn’t wait long enough, and the damp glue not only got all over the knife edge, but also created some problems for cutting through damp paper fibers. The result is a slit that is more ragged than it would have been if I were a little more patient.
If you prefer to use magnets or Velcro as fastenings, this would be a good step to apply those closures.
Step 12: Decorate back, if not done earlier.
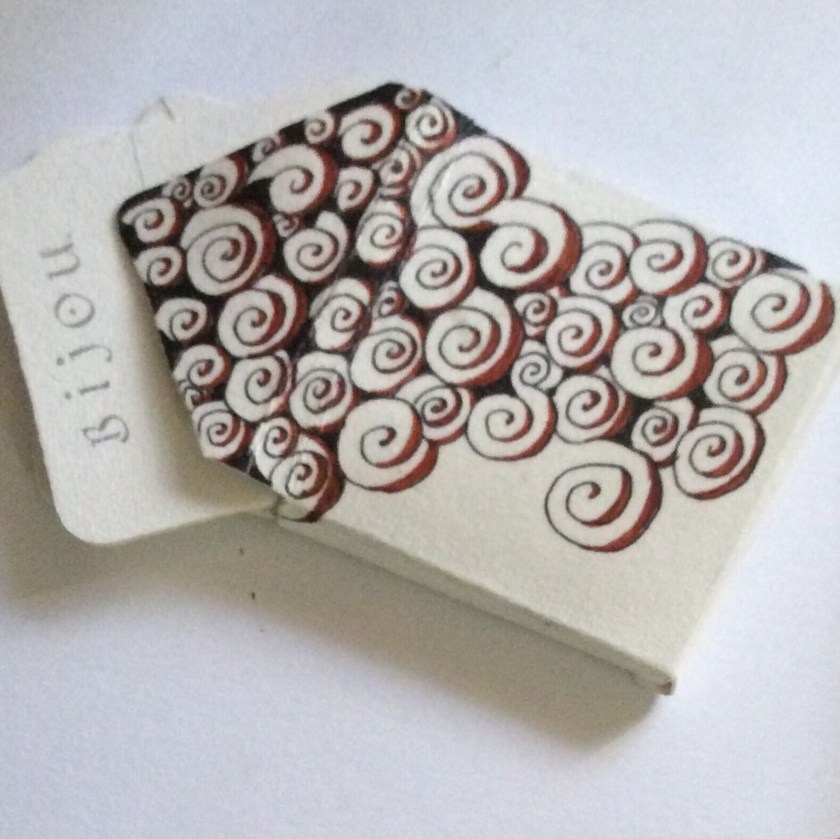
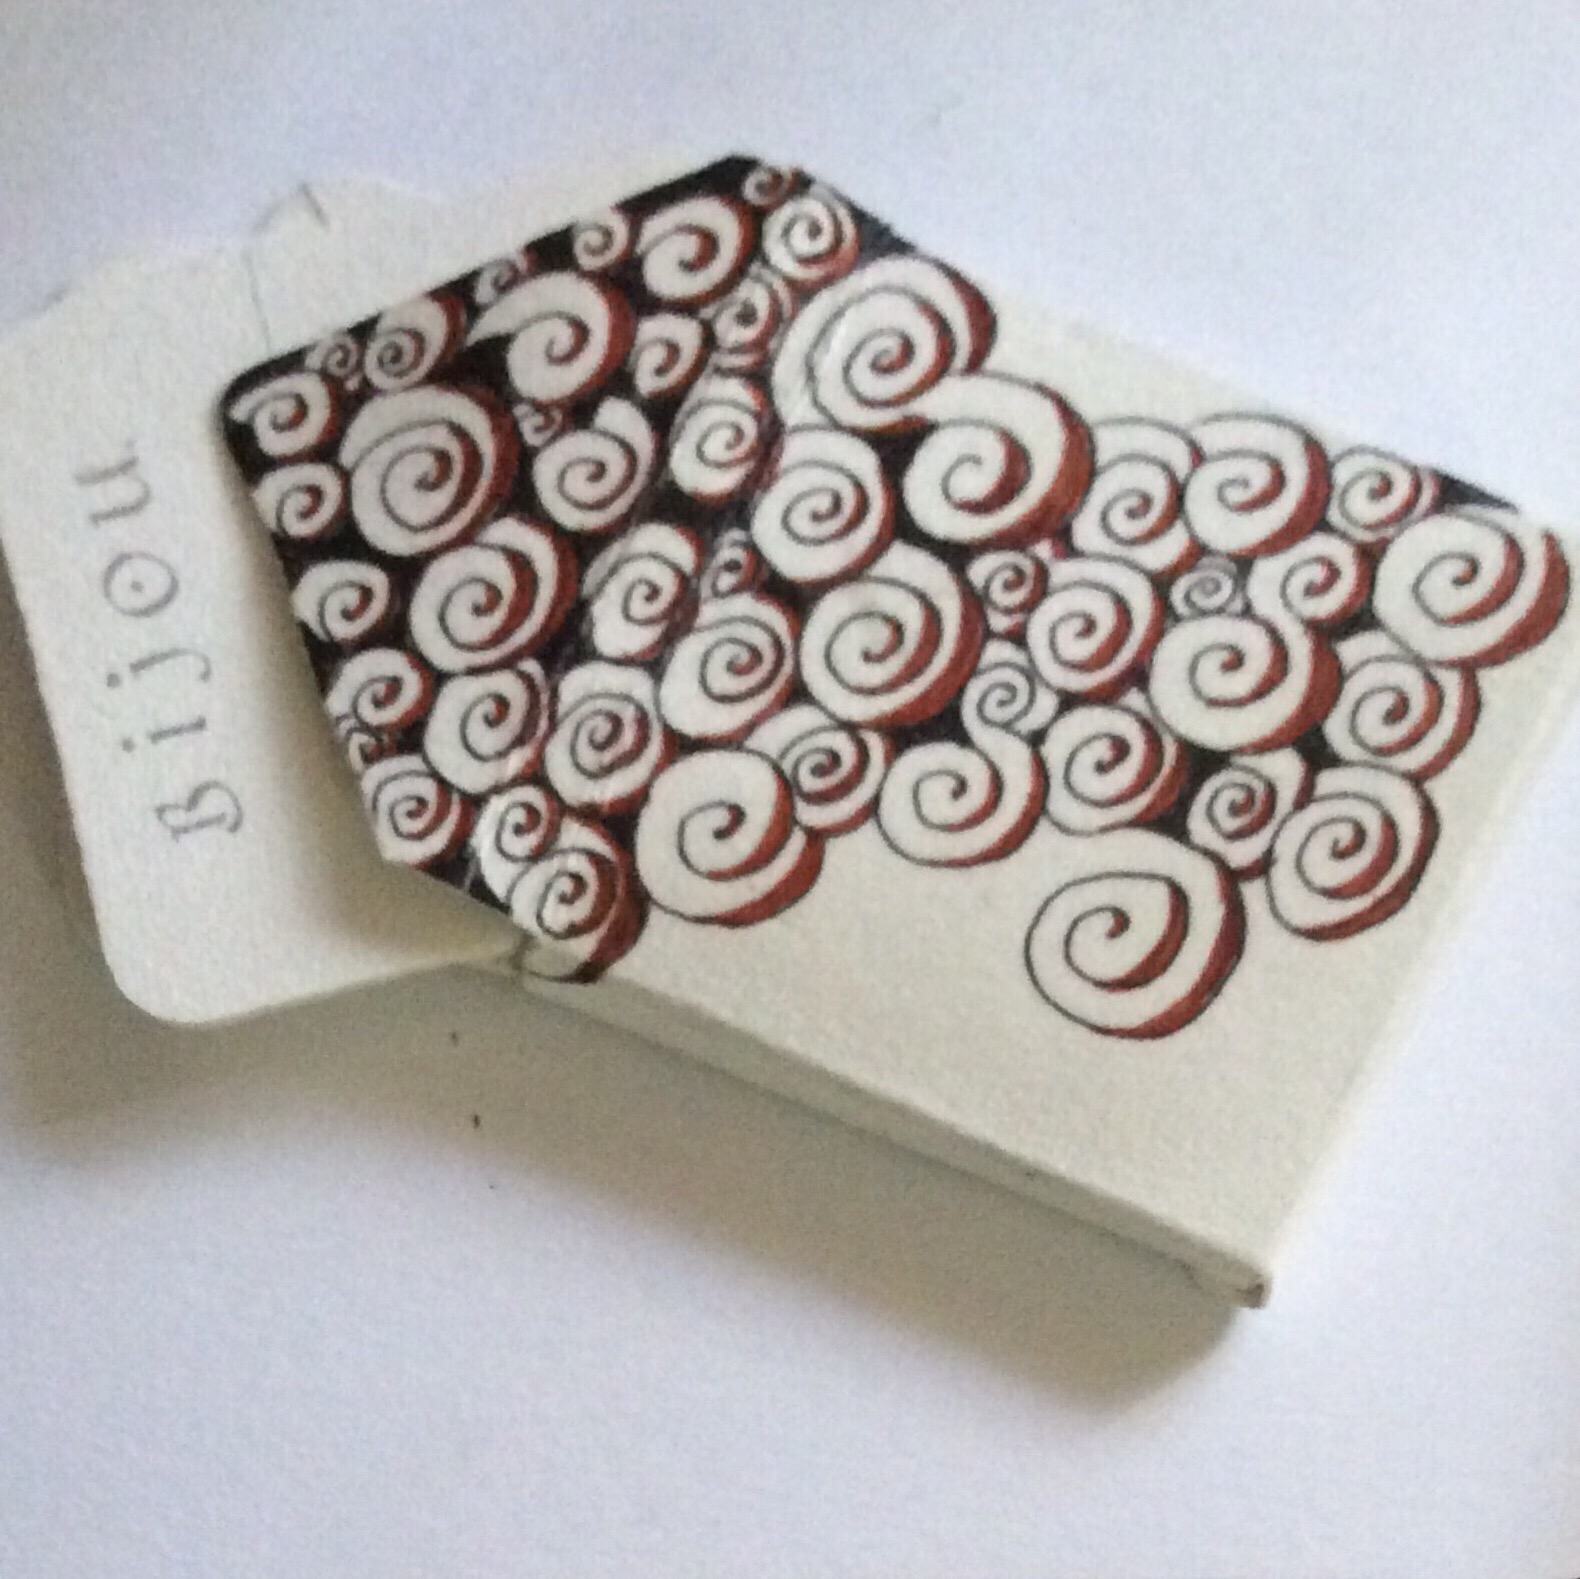
All I wanted to do was add a bit of printemps around the flap tuck. You may choose to tangle the whole back, if you haven’t done so in an earlier step. I was going to leave the back untangled, except for the flap which I tangled with the front. However, I got finger smudges along the flap tuck because I cut too soon. I wanted to cover them up a bit.
And the holder is done!
Hope this gives you some ideas about what can be done with tiles, other than draw on them. There are so many beautiful, creative art works by tanglers all over the Internet. Maybe you will add to them to inspire others!
Until next time, Happy Tangling!
