Posted in Art, Zentangle

It’s SoDeceiving! A New Jutta Gladnigg Pattern

A new pattern from Germany’s Jutta Gladnigg was shared on The Zentangle Mosaic® app recently, and I immediately asked for permission to share it. Jutta has the most amazing eye for finding patterns in unexpected places. This one is based on a logo she spotted on a business vehicle while waiting to cross a busy street. The 3-D effect caught her eye, and she was determined to deconstruct it for tangling. 


Jutta uses bold shading with softer, darker graphite than many tanglers use, and it is that darker shade that give her work such depth and dimension. 

Below is NY tangler and CZT Jody Genovese’s interpretation of SoDeceiving, beautifully filled with the Printemps pattern. Using General’s Charcoal White pencil really brings out the roundness of the columns and adds so much light. 

  This tile was created by Jutta and German tangler and CZT Nadine Roller, incorporating two of Nadine’s beautiful patterns. 

 
My own efforts with SoDeceiving took a rather different direction as I played with variations inspired by the tiles above. 

  
I continue to play with this marvelous pattern. A quick-and-dirty curved version is giving me still more ideas to play with, this one filled with ‘Nzeppel. 


Visit Nadine’s website to see her wonderful patterns, read her blogs, and get some wonderful inspiration and lessons. Although mostly in German, there are English language portions, and her step-outs are so clear that language is not a problem.

Today, Jutta has just posted a new flower-like pattern that she shared for the first time on the Zentangle Mosaic® app. Hopefully, she will allow me to post the step-out for it here. You are going to love it! 

Until next time, Happy Tangling! 

The Zentangle Mosaic app is available for the iPhone/iPad from the Apple Store, and for Android devices from the Google Play Store.

Follow Jutta on Mosaic as JuttaGladnigg, Nadine as NadineRollerCZT, Jody as JodyGenoveseCZT, and me as DrEllieCZT. 

Posted in Art, Zentangle

Color My World Blue!

It was a picture-perfect Caribbean day this afternoon–deep blue sky, lagoon waters more blue than green for a change, and light just seemed to flow all around, even in the shade of a rom open to the sky.

I had just finished tangling another tile, and was photographing it for upload to the Zentangle Mosaic app when I noticed the iPad was turning the picture blue. This had happened once before in recent weeks, and I hadn’t noticed the color until it was too late. This time, I did notice a very pale blue tint to the photo, and took the photo again. And again. And … We’ll, you get the picture. I tried moving outdoors–same blue. I moved to a different room–blue. And then I noticed all the shadows indoors and out had a definite blue tinge. 

An hour later, and long after I posted the tile, the blue was gone. 

Normally, I am pretty aware of light–it’s color, it’s texture, it’s luminosity, if you will. So I am not sure why I paid so little attention to changes in light color since moving to the island four years ago. Thankfully, today I did notice, and this will change how I perceive the island forever. 

Latitude, as one friend suggested? Reflection of ocean and sky? Just the right weather conditions?  A mix of these and more? Something new to research and explore as I tangle away. 

The tile here was part of a sort of challenge on the Zentangle Mosaic app by the founders of Zentangle. The idea is that we all run into stumbling blocks occasionally regarding what to tangle. The suggestion was to draw a frame that is far from the edges. Next step, aura it–outline it bigger on the outside. Next, draw a Mooka pattern–or a Zinger or other “long-stemmed” pattern starting at an interior corner and moving behind the frame so its “head” rests on top. Then embellish. Just a few simple steps to start the creative juices flowing. Before you know it, you have a completed tangle! 

When I draw challenges or challenge-like tangles, I like to keep things very simple. If I don’t, i keep adding elements until the pattern looks cluttered. Maybe that’s a reflection of what is going on internally, but I don’t always like the effect of dumping my clutter onto a tile. So I minimize. The benefits of meditation are still there, as I still need to focus and concentrate to keep lines straight and relatively even distances. But I stop long before I might if tangling completely from my own mind with no suggestions from outside. 

We each have our own style of tangling, especially under unique situations. This is my “challenge style.” And sometimes it turns blue. 

Posted in Art, Zentangle

A Sleepless Night

The night before last, I got no sleep. Zero minutes of sleep. None. 

Although insomnia hits me often–averaging every second night–I usually get at least two hours of sleep in. I know this because my Fitbit tells me so. But that night, nothing was allowing me to fall asleep.

Why am I telling you this? Because something interesting occurred and was “recorded” by my Fitbit: for the hour or so of tangling to help me relax, the app decided that all it’s measurements showed I had slept for 49 consecutive minutes! 


No, I wasn’t actually sleeping during that time. I was tangling, and was apparently deep enough into a relaxed, meditative state that Fitbit believed I was asleep. Since I have my sleep measures set to “sensitive,” the device doesn’t count any periods of movement of any kind as sleep time. It calls it restless time, possibly because the app has no way of knowing if I am simply in a less deep state of sleep or if I am in a waking-up state. So it does not count those periods as sleep. Since it is hard to draw without moving, all my other body signs must have fooled the app into thinking I was in an actual sleep state. 

Even though I already experience the restful nature of Zentangle, it was both surprising and welcoming to have the meditation state and time confirmed by a scientific device. Just another reason to tangle on! 

Posted in Art, Zentangle

A New Zentangle: Way Bop

For some time, I have been seeing a wonderful pattern drawn by CZTs (Certified Zentangle Teachers) appearing in the Zentangle Mosaic app on my iPad. It is intricate, beautiful, and full of tangling possibilities. The tangle is called Way Bop, an interesting name selected during a CZT-only event in 2016, when it was first introduced. Often, when Zentangle puts out a brand new pattern, the step-out is first provided only to CZTs to teach in their own workshops. After a while, the step-out is made available to everyone else. 

Some patterns are relatively easy to deconstruct. This was not one of them for me, and I was delighted when the step-out was made public this past week in the Zentangle blog newsletter (click to view it). Along with it came a variation with a heart motif for Valentine’s Day. If you are an avid tangler and subscribe to the Zentangle app for iOS or Android, you also have access to an exclusive video showing founder Maria Thomas drawing and embellishing this pattern while founder Rick Roberts narrates. 

Because this is still a very new pattern for me, my interpretations are still elementary and awkward. Despite this, my attempts are not too bad–not as elegant as they may later become, and lacking any great artistic qualities, but pleasant and intricate enough for early tries. 

The one on the right was drawn as a Valentine, based on the heart variation step-out of Way Bop. On the left is a first shot at something more intricate than the simplest result.

Looks difficult, doesn’t it? Well, here are copies of the Step-outs from the newsletter to show you how easy this pattern becomes once the steps are logically presented. Just follow the arrows! 

Way Bop Step-out
Heart Variation of Way Bop

The spaces created by the Way Bop pattern can be filled with other patterns, surrounded by tangles and embellishments, colored in–so many possibilities! 

For a recent 14-day FaceBook-based Zentangle challenge for Valentine’s Day (search with Valentangle2017), I tangled an impression of my home here in Sint Maarten. I had been playing with Way Bop for less than an hour when I drew this as a meditation in my sketchbook. It shows the garden, the view of the lagoon, and the “rippled tile” tin roof. The challenge theme was “Home is where the heart is.” 

Just drawing this pattern is soothing and meditative. Adding elements to enhance the tangle is challenging, fun, and meditative in its own right. 

If you are on the island of St. Martin in the Caribbean, as resident or visitor, feel free to contact me. In two months, I will be attending a certification seminar in Rhode Island, earning my certification. I will return home to my island as a CZT, ready to spread Zentangle to everyone who wants a meditative methodology that results in a small work of art, especially to those who are convinced they can’t draw. I can’t draw, but I can tangle! 

My Island Home: “Home is where the heart is.”
Posted in Art, Meditation, Zentangle

A Zentangle Challenge

Instead of “what is Zentangle? Part4,” today I am posting a Zentangle tile I am submitting to a weekly challenge from “I Am the Diva,” a Zentangle blog on Blogspot.

For this challenge, each tile was to use two tangles–Paradox and Diva Dance– in an almost interwoven fashion as demonstrated by Zentangle founders Rick Roberts and Maria Thomas in a new YouTube video.

I am posting my submission to the challenge here so you can see that, for Zentangling, you really don’t need to be artistically inclined. Enjoy!

IMG_0487.JPG

One note about the video below. Some of the Zentangle videos are available only to users of the Zentangle Mosaic app or Certified Zentangle Teachers (CZTs).  If this video doesn’t work for you, there are plenty of instructional Zentangle videos from the founders and many CZTs. Hope this helps!


One

Posted in Art

What is Zentangle? Part 3

Zentangle is a method first and foremost. It is a set of steps that enable the participant to achieve a state of meditation that results in relaxation and a small work of art to be proud of. Zentangle is also the resulting product, or tile. 

The method itself consists of eight steps. The first four steps will be discussed in this post. 

The first step in the method, as I currently understand it from books, is a preparation and centering step. After materials are gathered and the tangler is settled into theplace to create, the tangler begins to relax by taking what yoga instructors would call cleansing breaths. This begins the relaxation. In this step, the tangler takes time to appreciate and be grateful for the work space, the time, and the materials. This gratitude and appreciation  helps him or her focus on the positive parts of one’s life and environment and helps the inner self to influence inspiration and creation. 

Step 2 is to draw a dot at or near each corner of the square tile, using a light hand and a light graphite pencil. These four dots are called corner dots, for obvious reasons. This step serves two purposes: to eliminate a blank drawing space, and to begin to define that drawing space. 

Step 3 is to draw (lightly and still with a pencil) the border by connecting the dots into a sort of frame in which the rest of the work will go. The border is loosely defined by the corner dots. The lines connecting the corner dots can be straight or curved. The only rule is to quickly join consecutive dots into a framing border. 

Step 4 is to draw a string inside the border., still using a pencil. A string is one or more lines that create smaller work spaces. In most “how-to” books on Zentangle, the first string is a Z (for Zentangle) that goes diagonally from one side of a border to another, as in the first picture. However, the shape(s) of the string are only limited by the tangler’s imagination (second picture). And when imagination doesn’t help, there are many places on the internet to find inspiration. One of these is TanglePatterns.com, another is Zentangle.com (the official Zentangle site created by Zentangle founders Maria Thomas and Rick Roberts). 

The sections formed by the string are generally used to fill with a different pattern in each area (see photo below, which is also shown in the previous post). 

Among the reasons for using a string to define smaller areas within the workspace is that smaller spaces are less intimidating to many tanglers. Instead of seeing the entire work space as a single “canvas,” which can be almost as intimidating as a completely blank tile before the Step 2 dots are added, the tangler sees smaller spaces to fill up. 

A note on the drawing of corner dots, borders, and strings: use a hard pencil and draw as lightly as possible. Hard pencils are H, 2H, 3H, and so on. Hard pencils produce a lighter line than softer (B, 2B, 3B, etc.) pencils. The softer the pencil, the darker the line and the harder it is to hide later. Any school or home pencil usually fits the bill for the harder pencils, as soft graphite is generally found in pencils specifically for drawing.

The reason for a harder rated (lighter toned) graphite pencil is that you want the dots and lines to act only as guides that disappear into the final drawing. Erasers are a no-no in Zentangle. Light lines can be blended into the final artwork or simply disappear as patterns are drawn. In the tile on the left, you can see where the string is shaded into the patterns to produce soft borders between pattern areas and to give the tile a bit of depth. If I had wanted “harder” borders between the patterns, I could have left the original lightly drawn string unblinded. In many cases, the patterns themselves clearly define the string areas on their own. In this particular tile, the string is easy to “see” even without the shading because the patterns simply don’t cross over the line. It is OK to cross a string line, but I didn’t want to do that in this “lesson 1” tile so that the boundaries created by the string could be clearly seen. 

The point about using a hard pencil lightly is that, as a tangler becomes more experienced and confident, she or he may not want the string, border, or corner dots to be so obvious. In the tile on the right, I drew patterns along the string, often using both sides of the string, to create the borders. It is still easy to see the different sections filled with different patterns, but the string is much less obvious. Because I drew the string so lightly, it is almost impossible to see the original pencil line that broke the tile into sections. 

Bottom line: the corner dots, border, and string should be drawn just dark enough to remind you where the sections break, but not so dark that an area where you decide to jump a line shows up to “ruin” a pattern element. Who wants to see a heavy line going through a beautiful petal or leaf in a weird place? 

Before you pick up a pen to draw patterns on a tile, four steps of the Zentangle Method set the session tone and break the tile into small work areas. Step 1 is Gratitude and Appreciation.  Step 2 is Corner Dots. Step 3 is Border, and Step 4 is String. The drawing begins in Step 5, called Tangle. But that discussion is for the next post.

Until next time, Happy Tangling! 

#educ_dr

Posted in Art, Meditation, Zentangle

What is Zentangle? Part 2

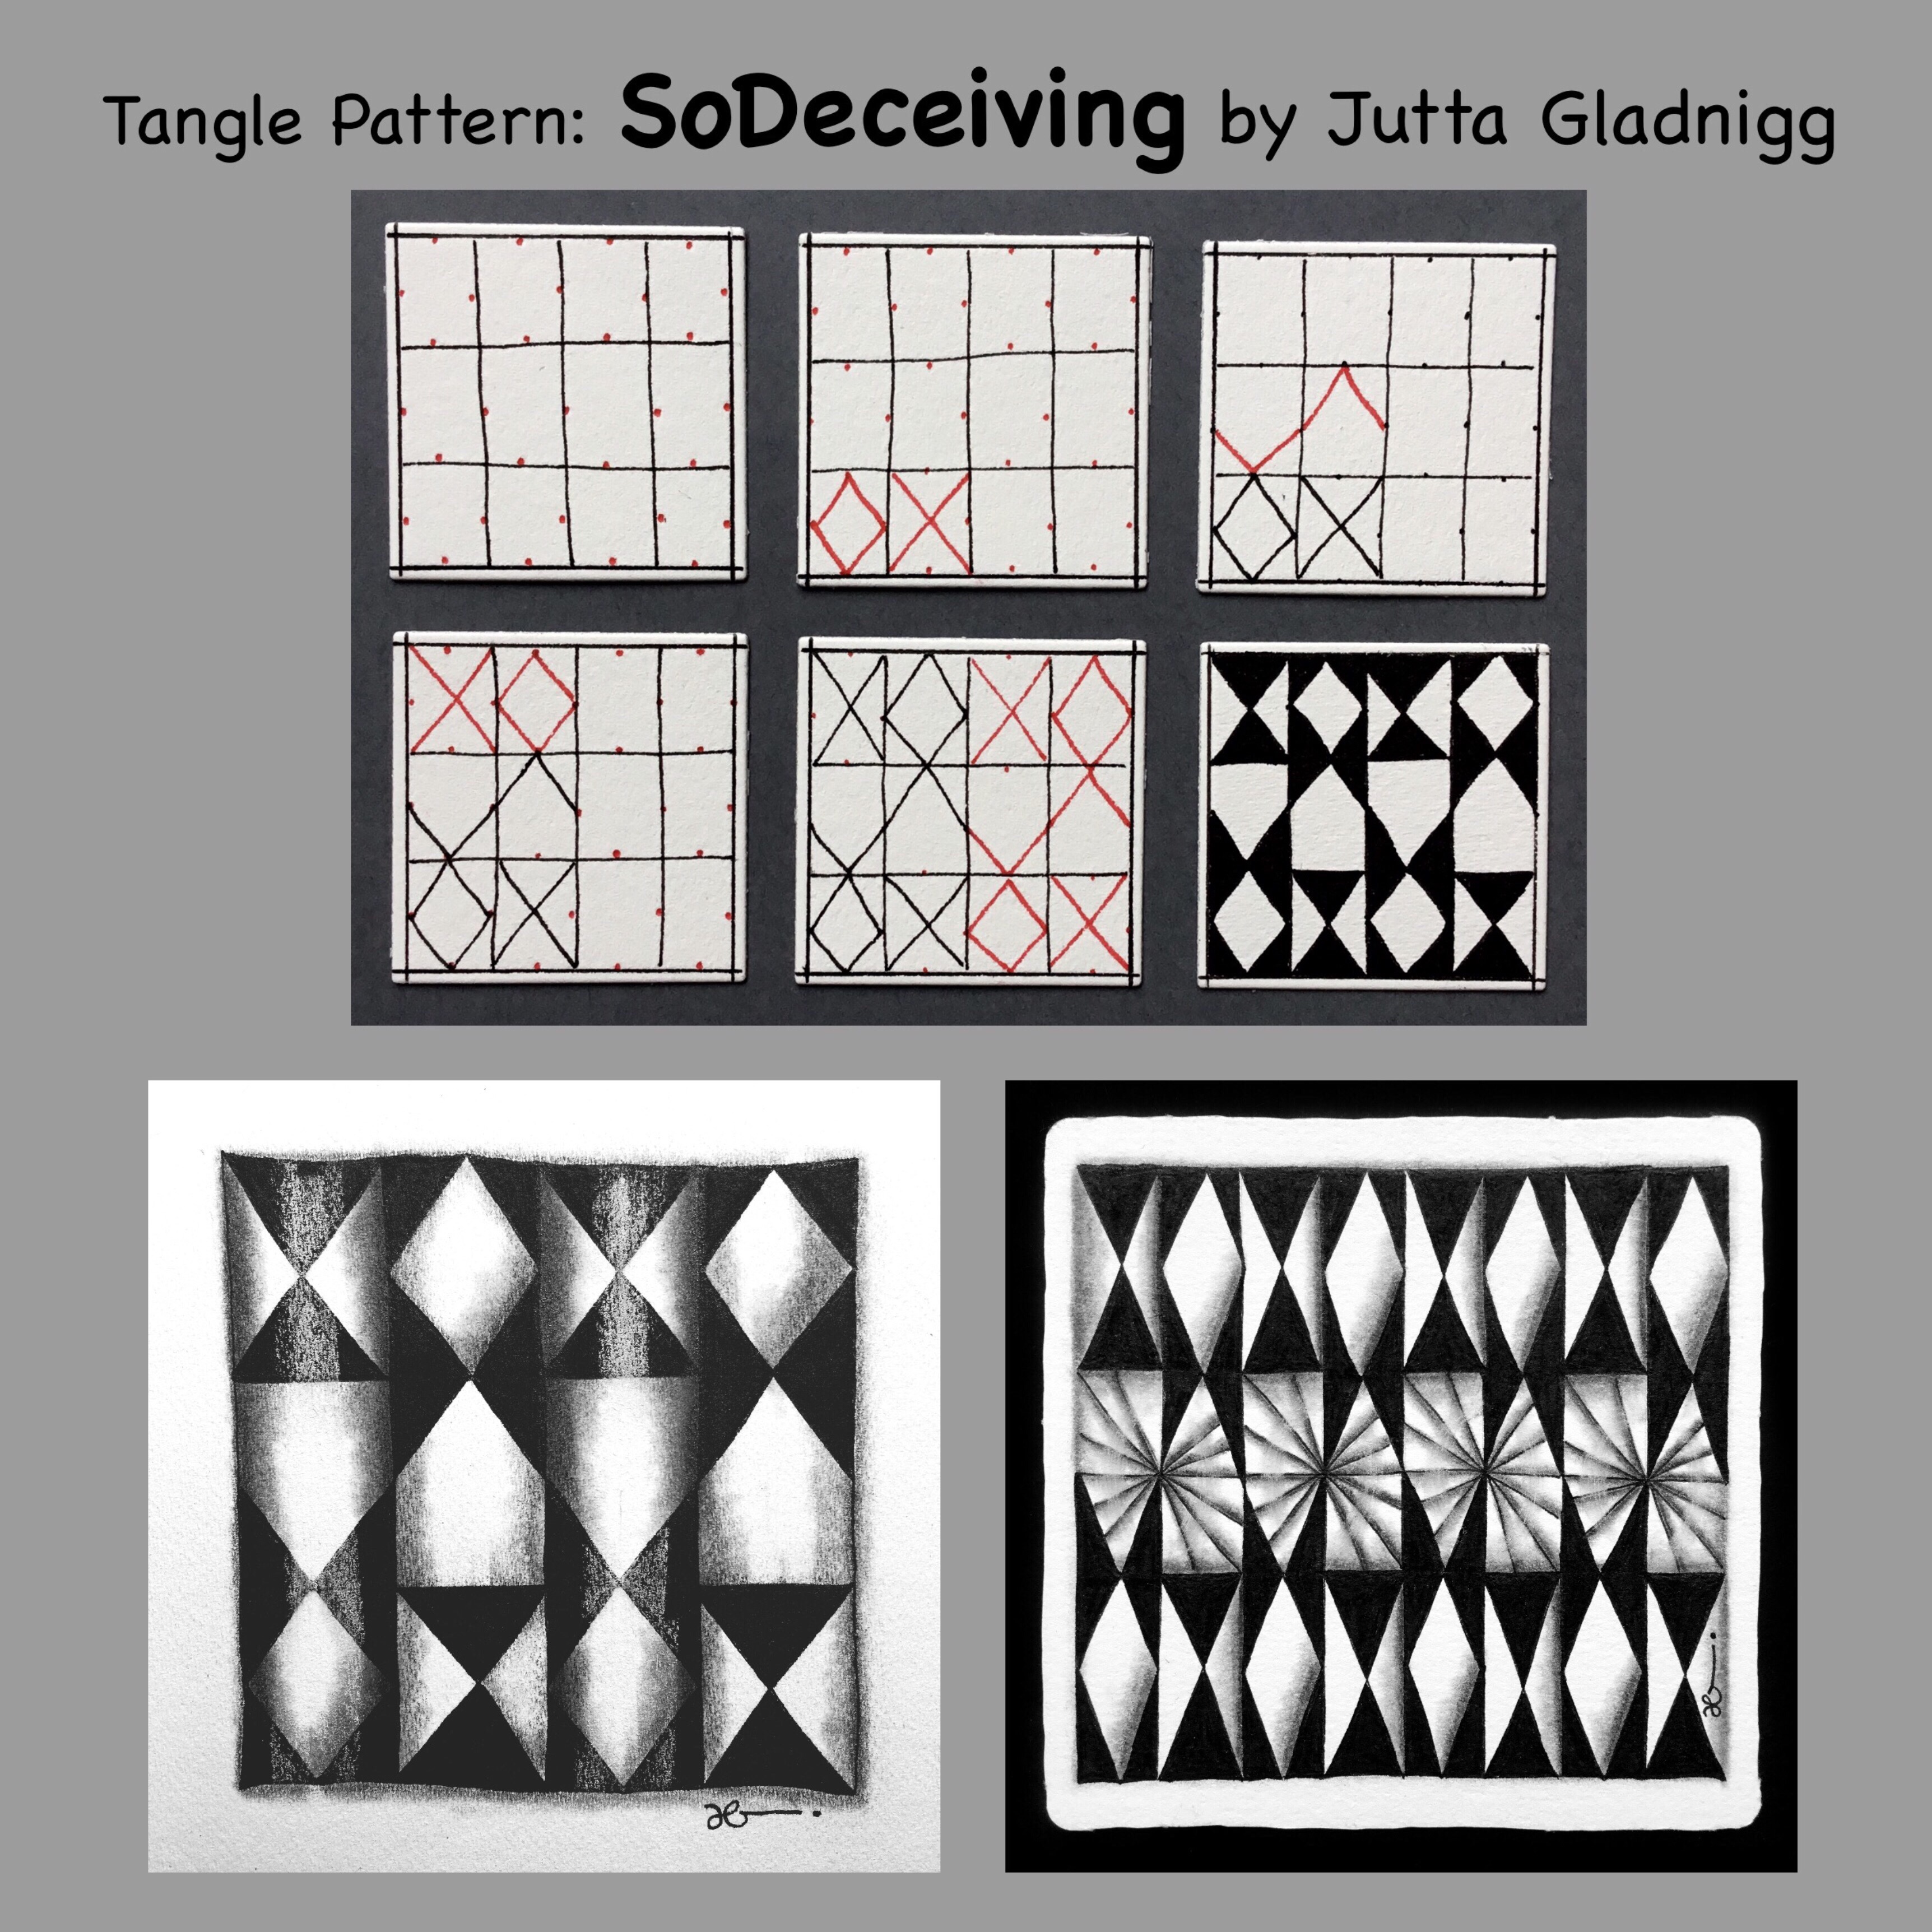
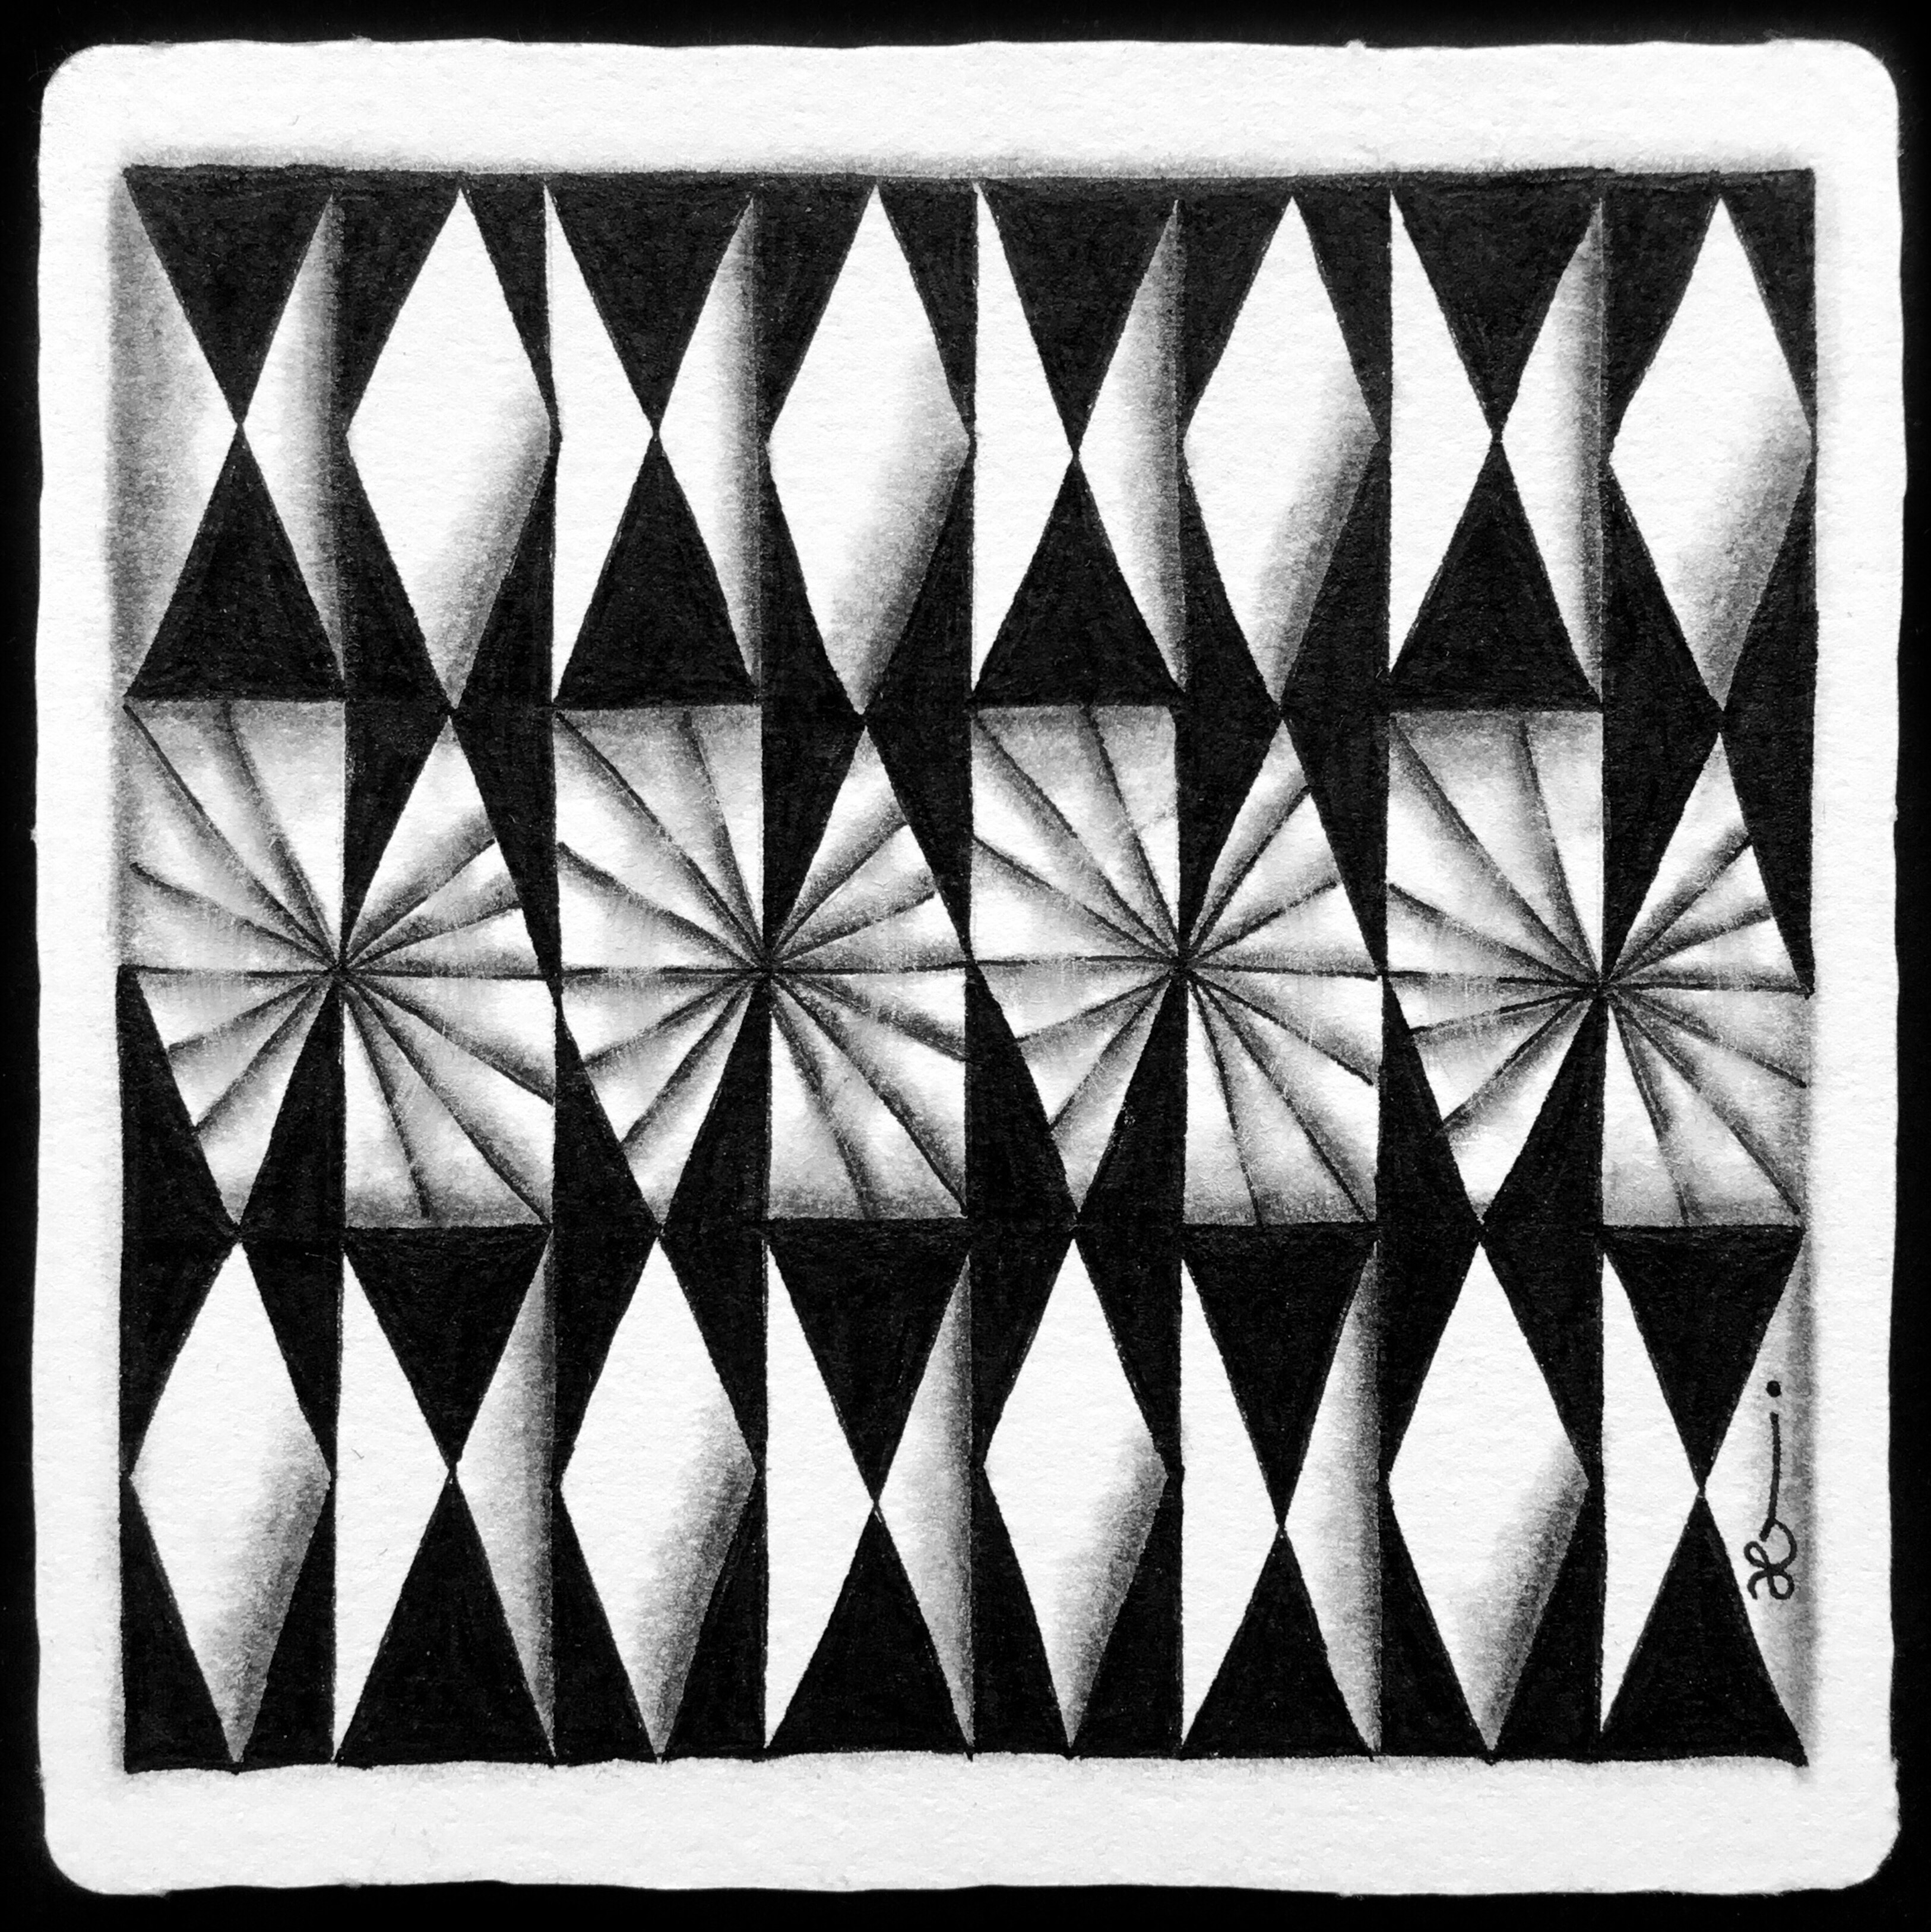
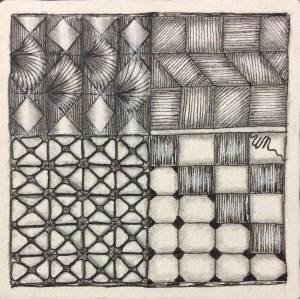
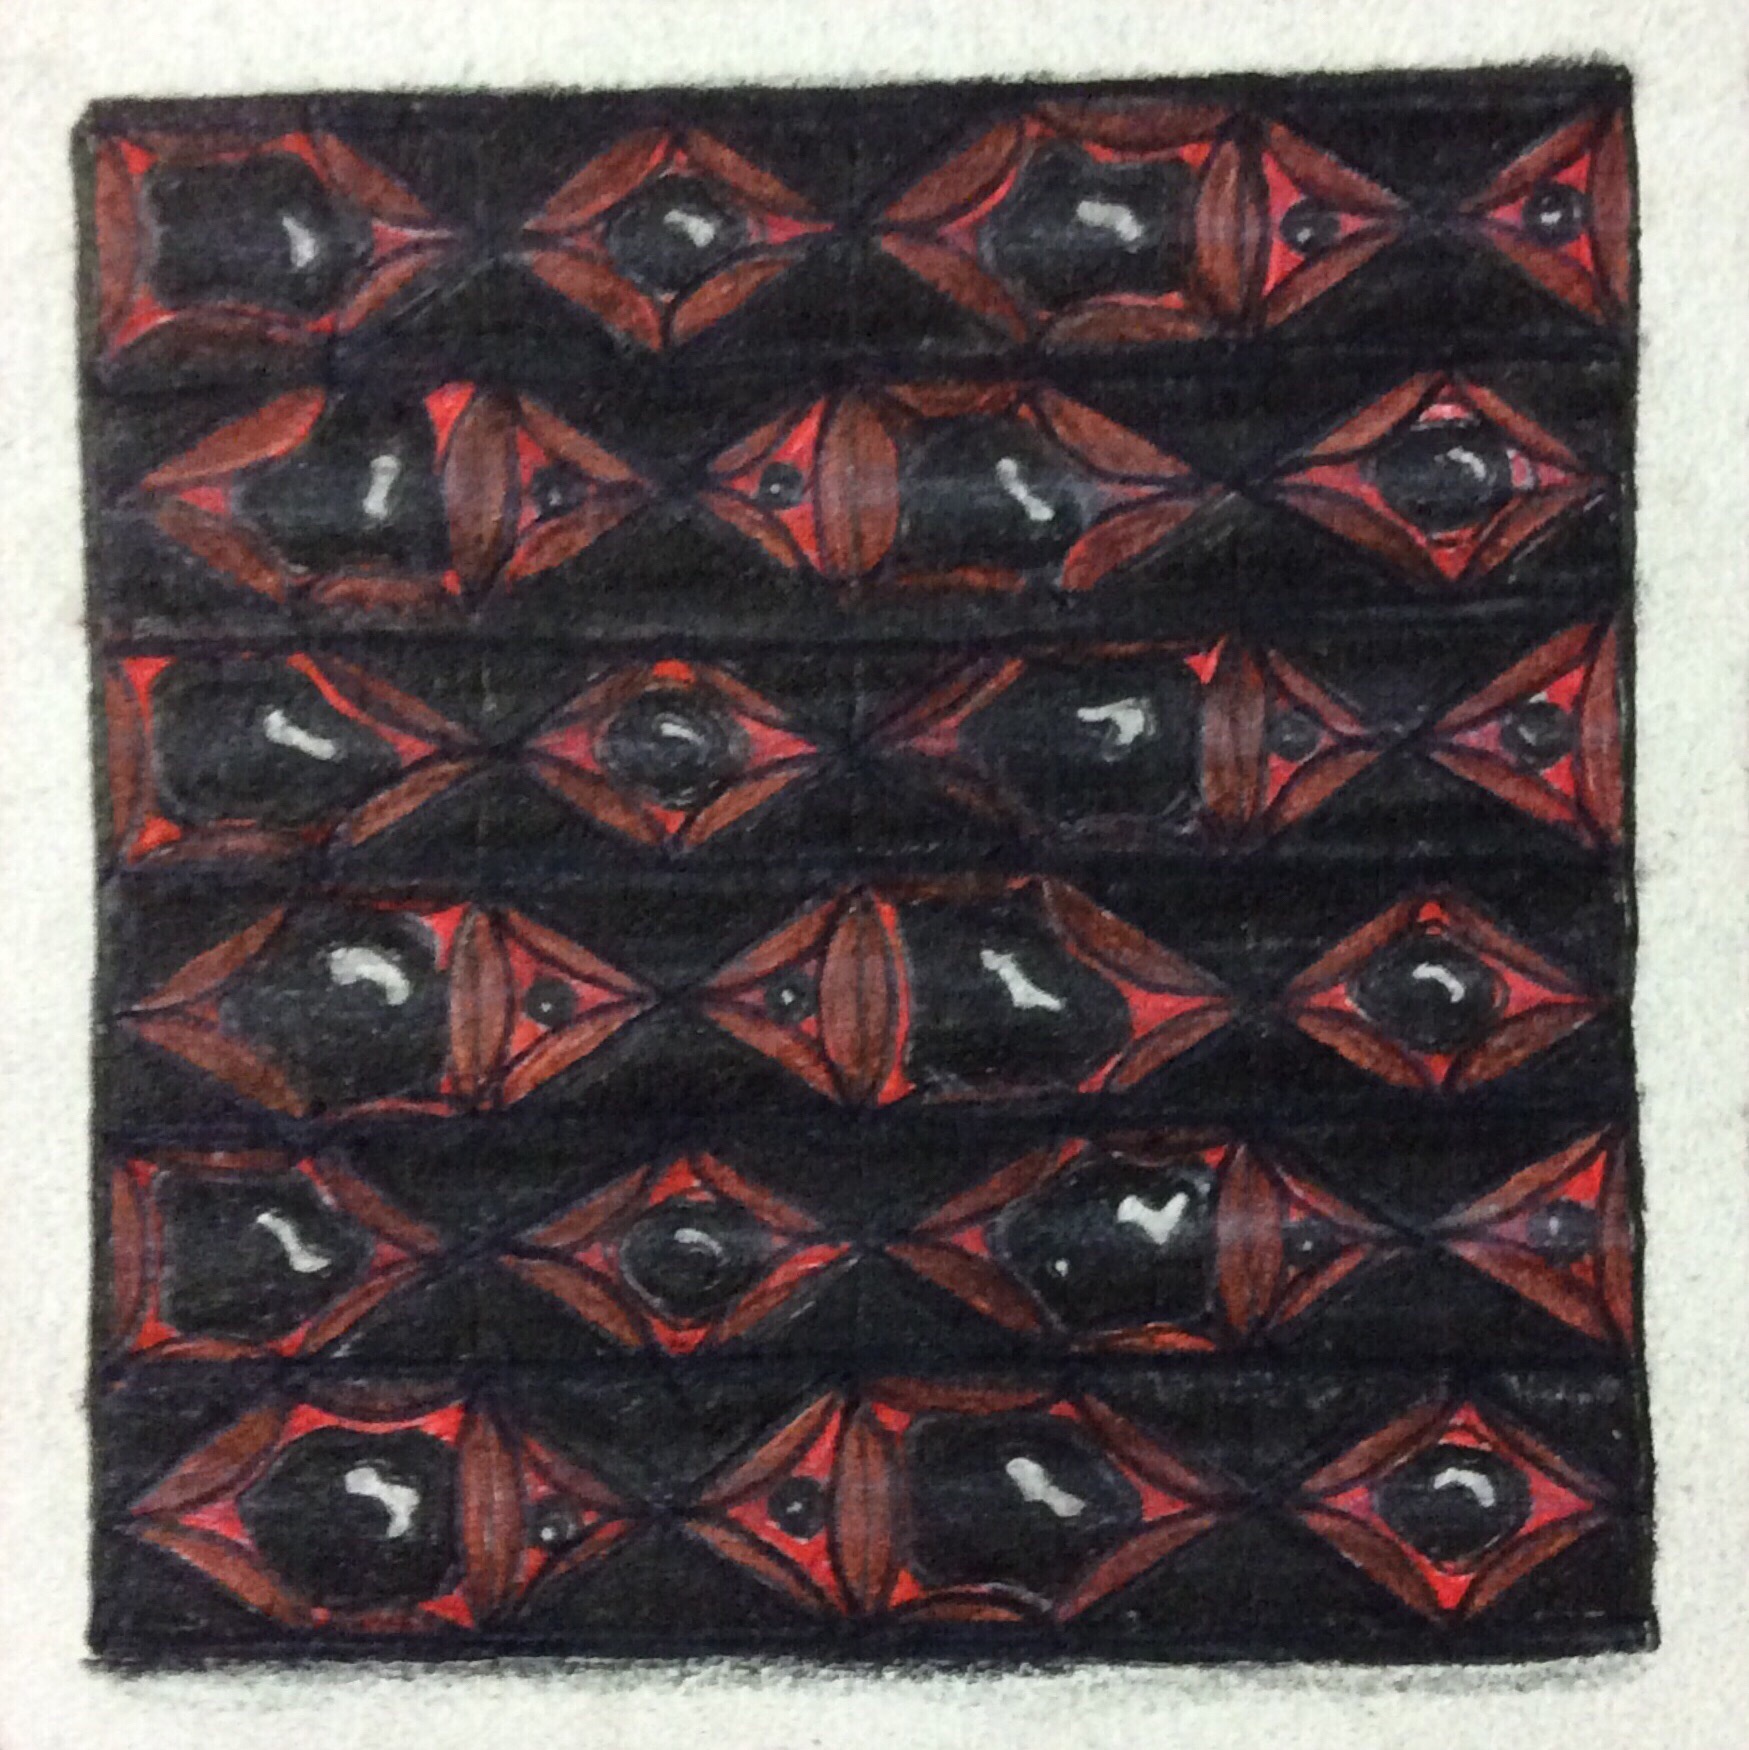
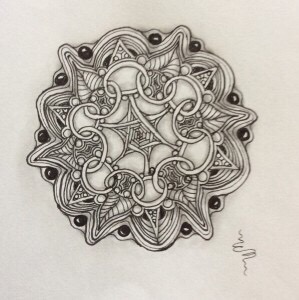
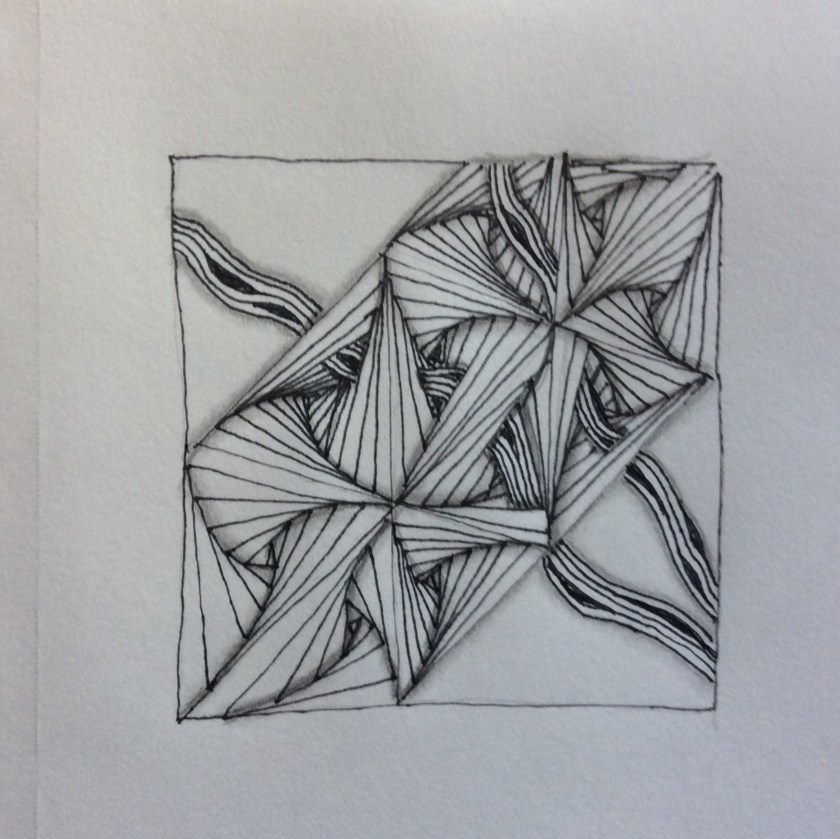
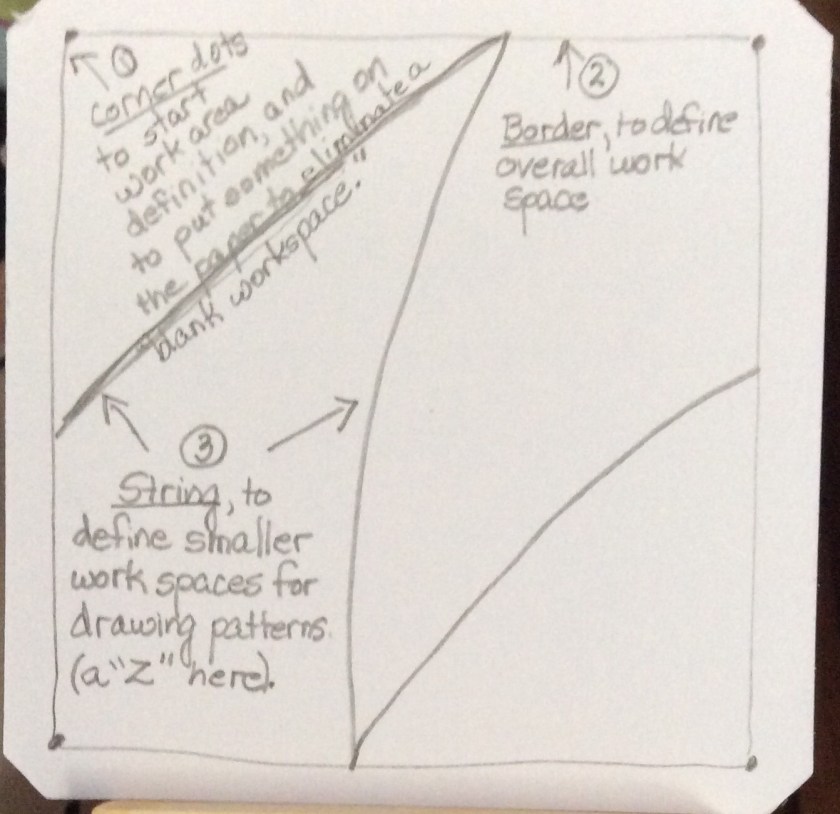
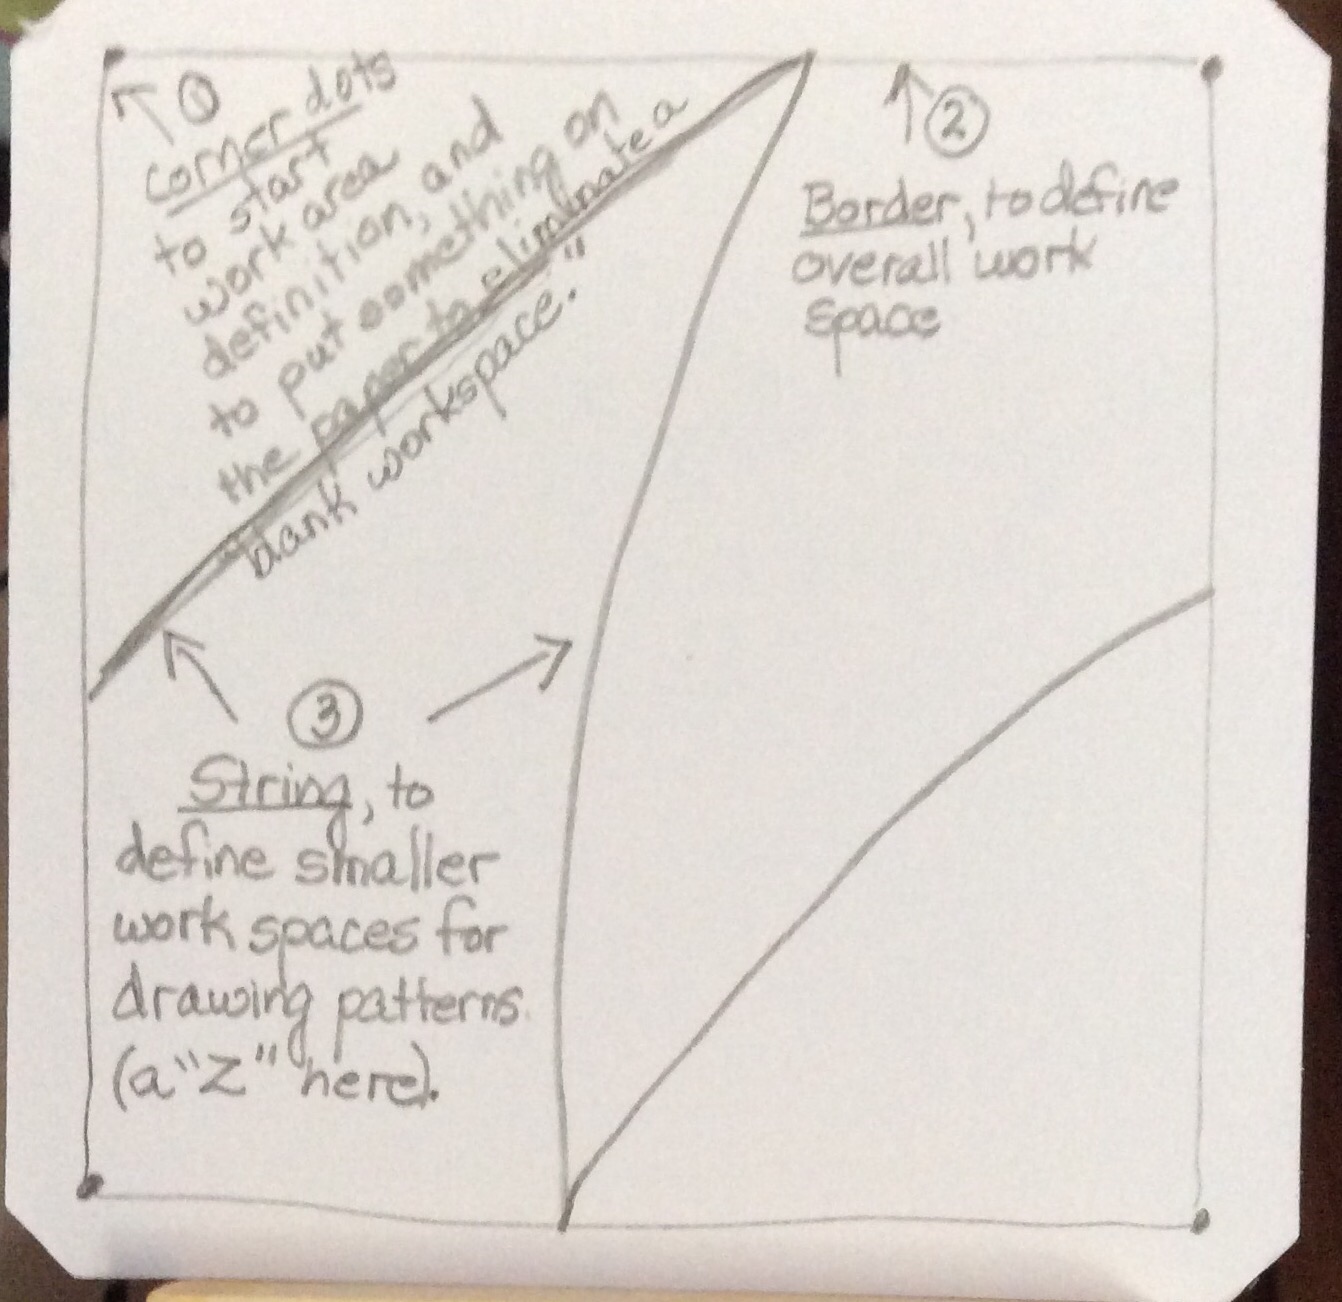
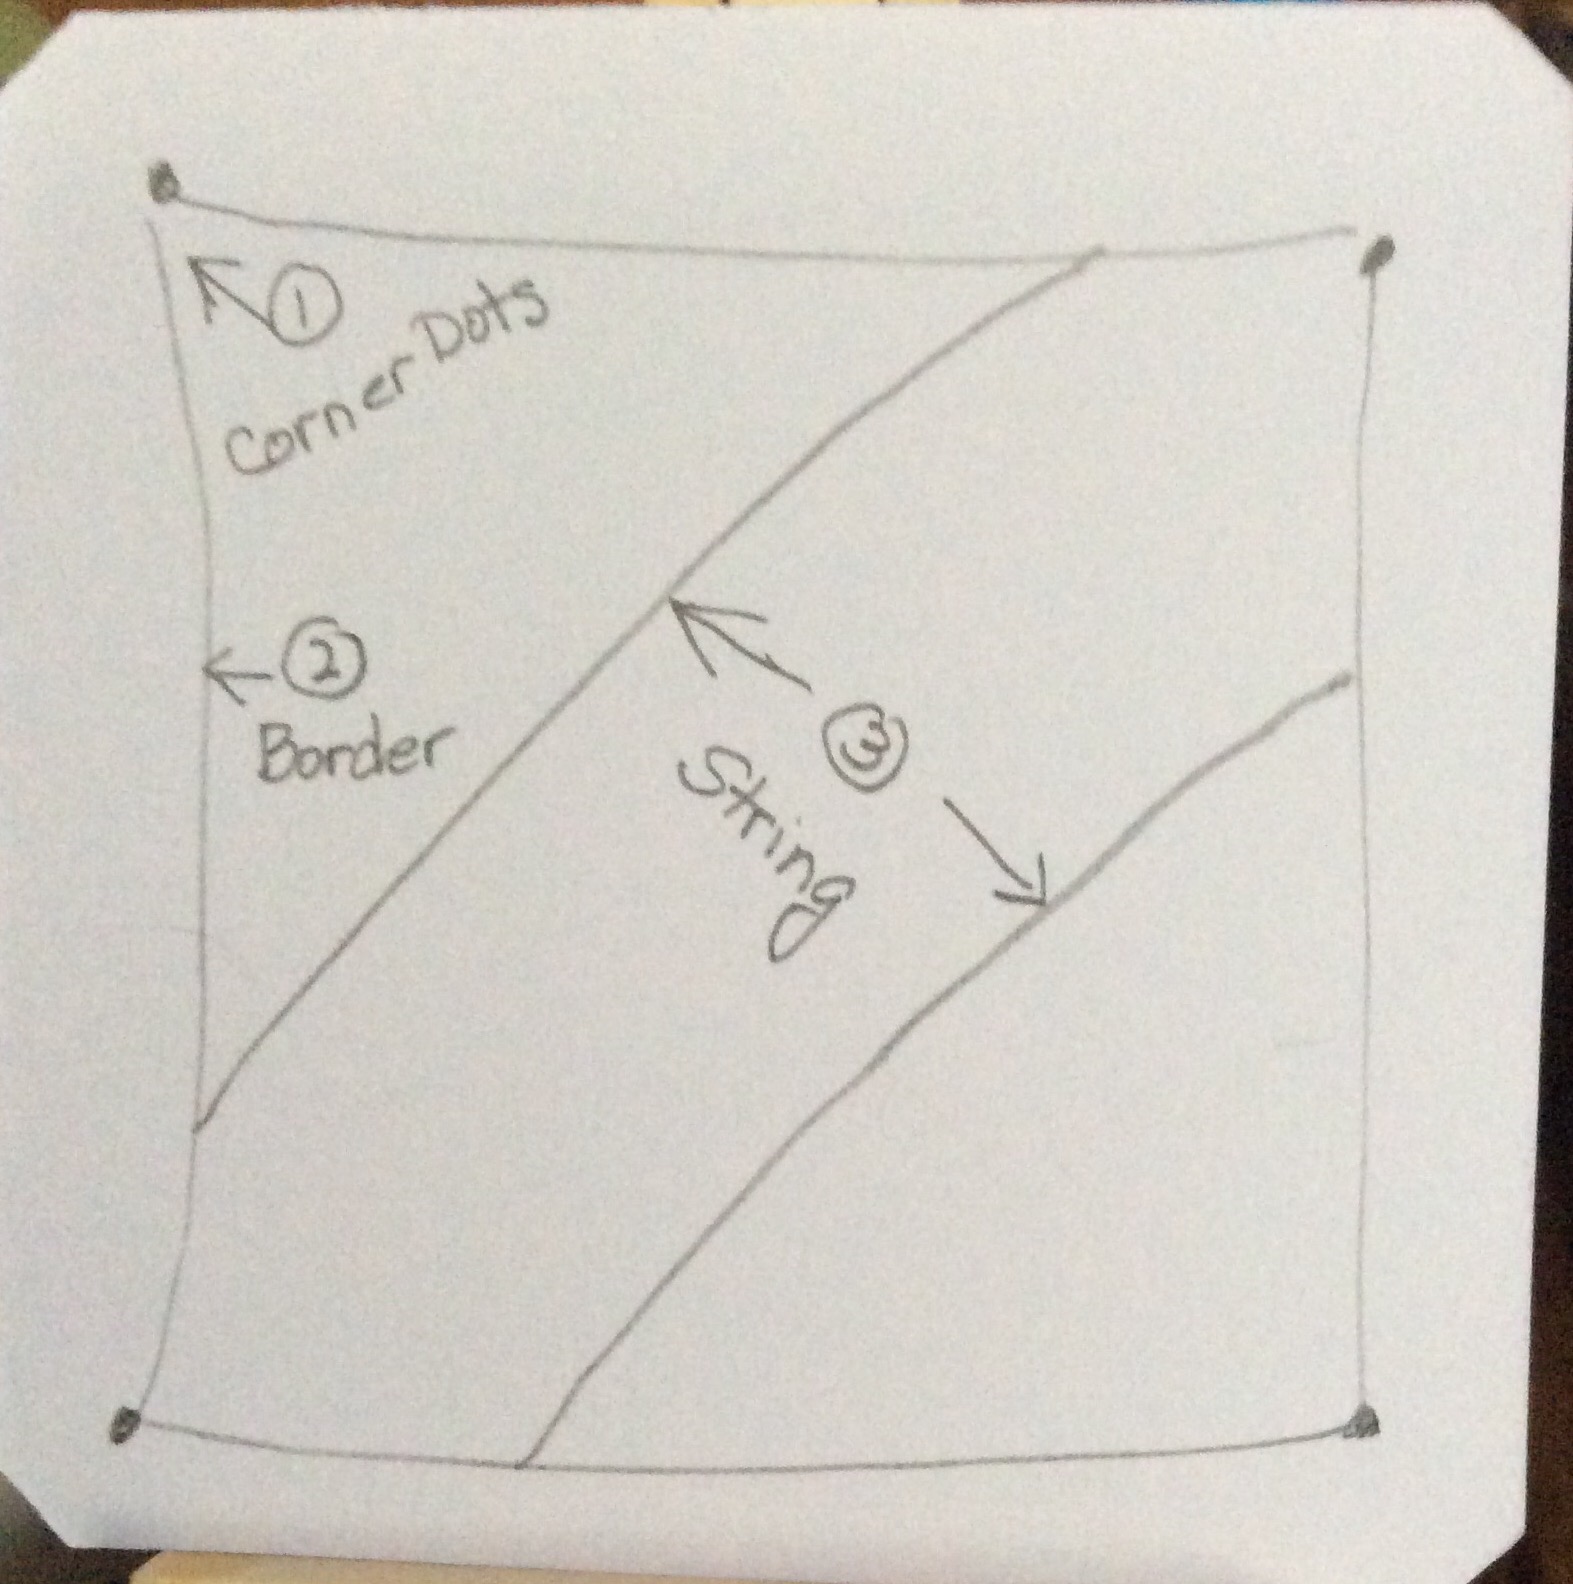
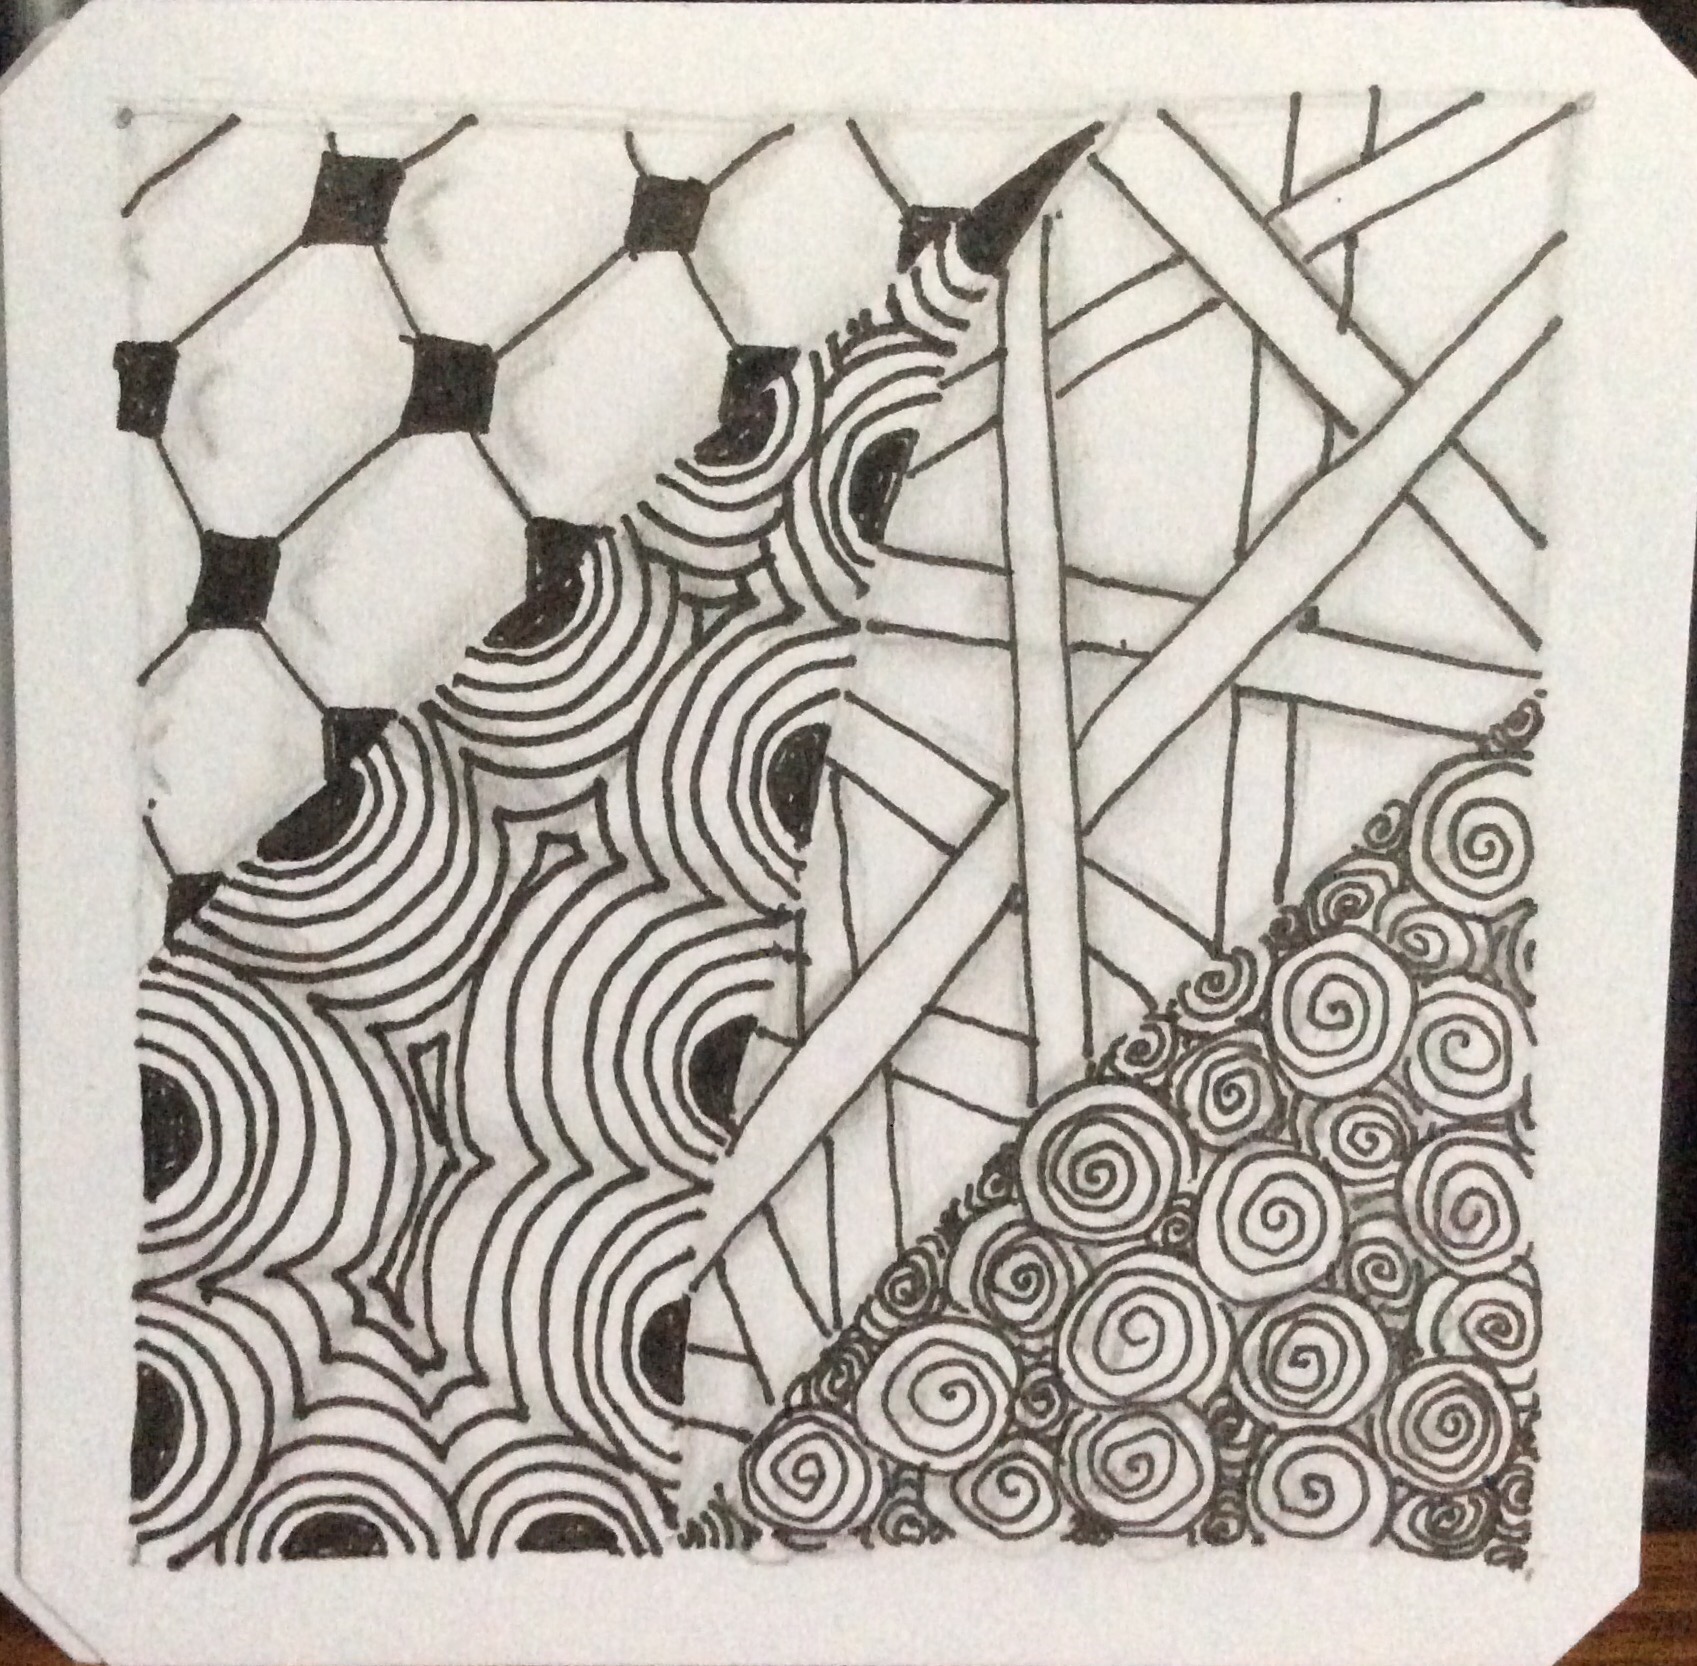
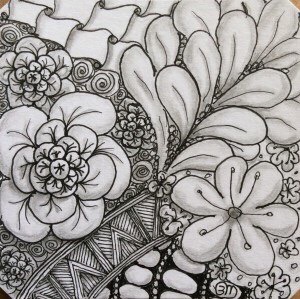
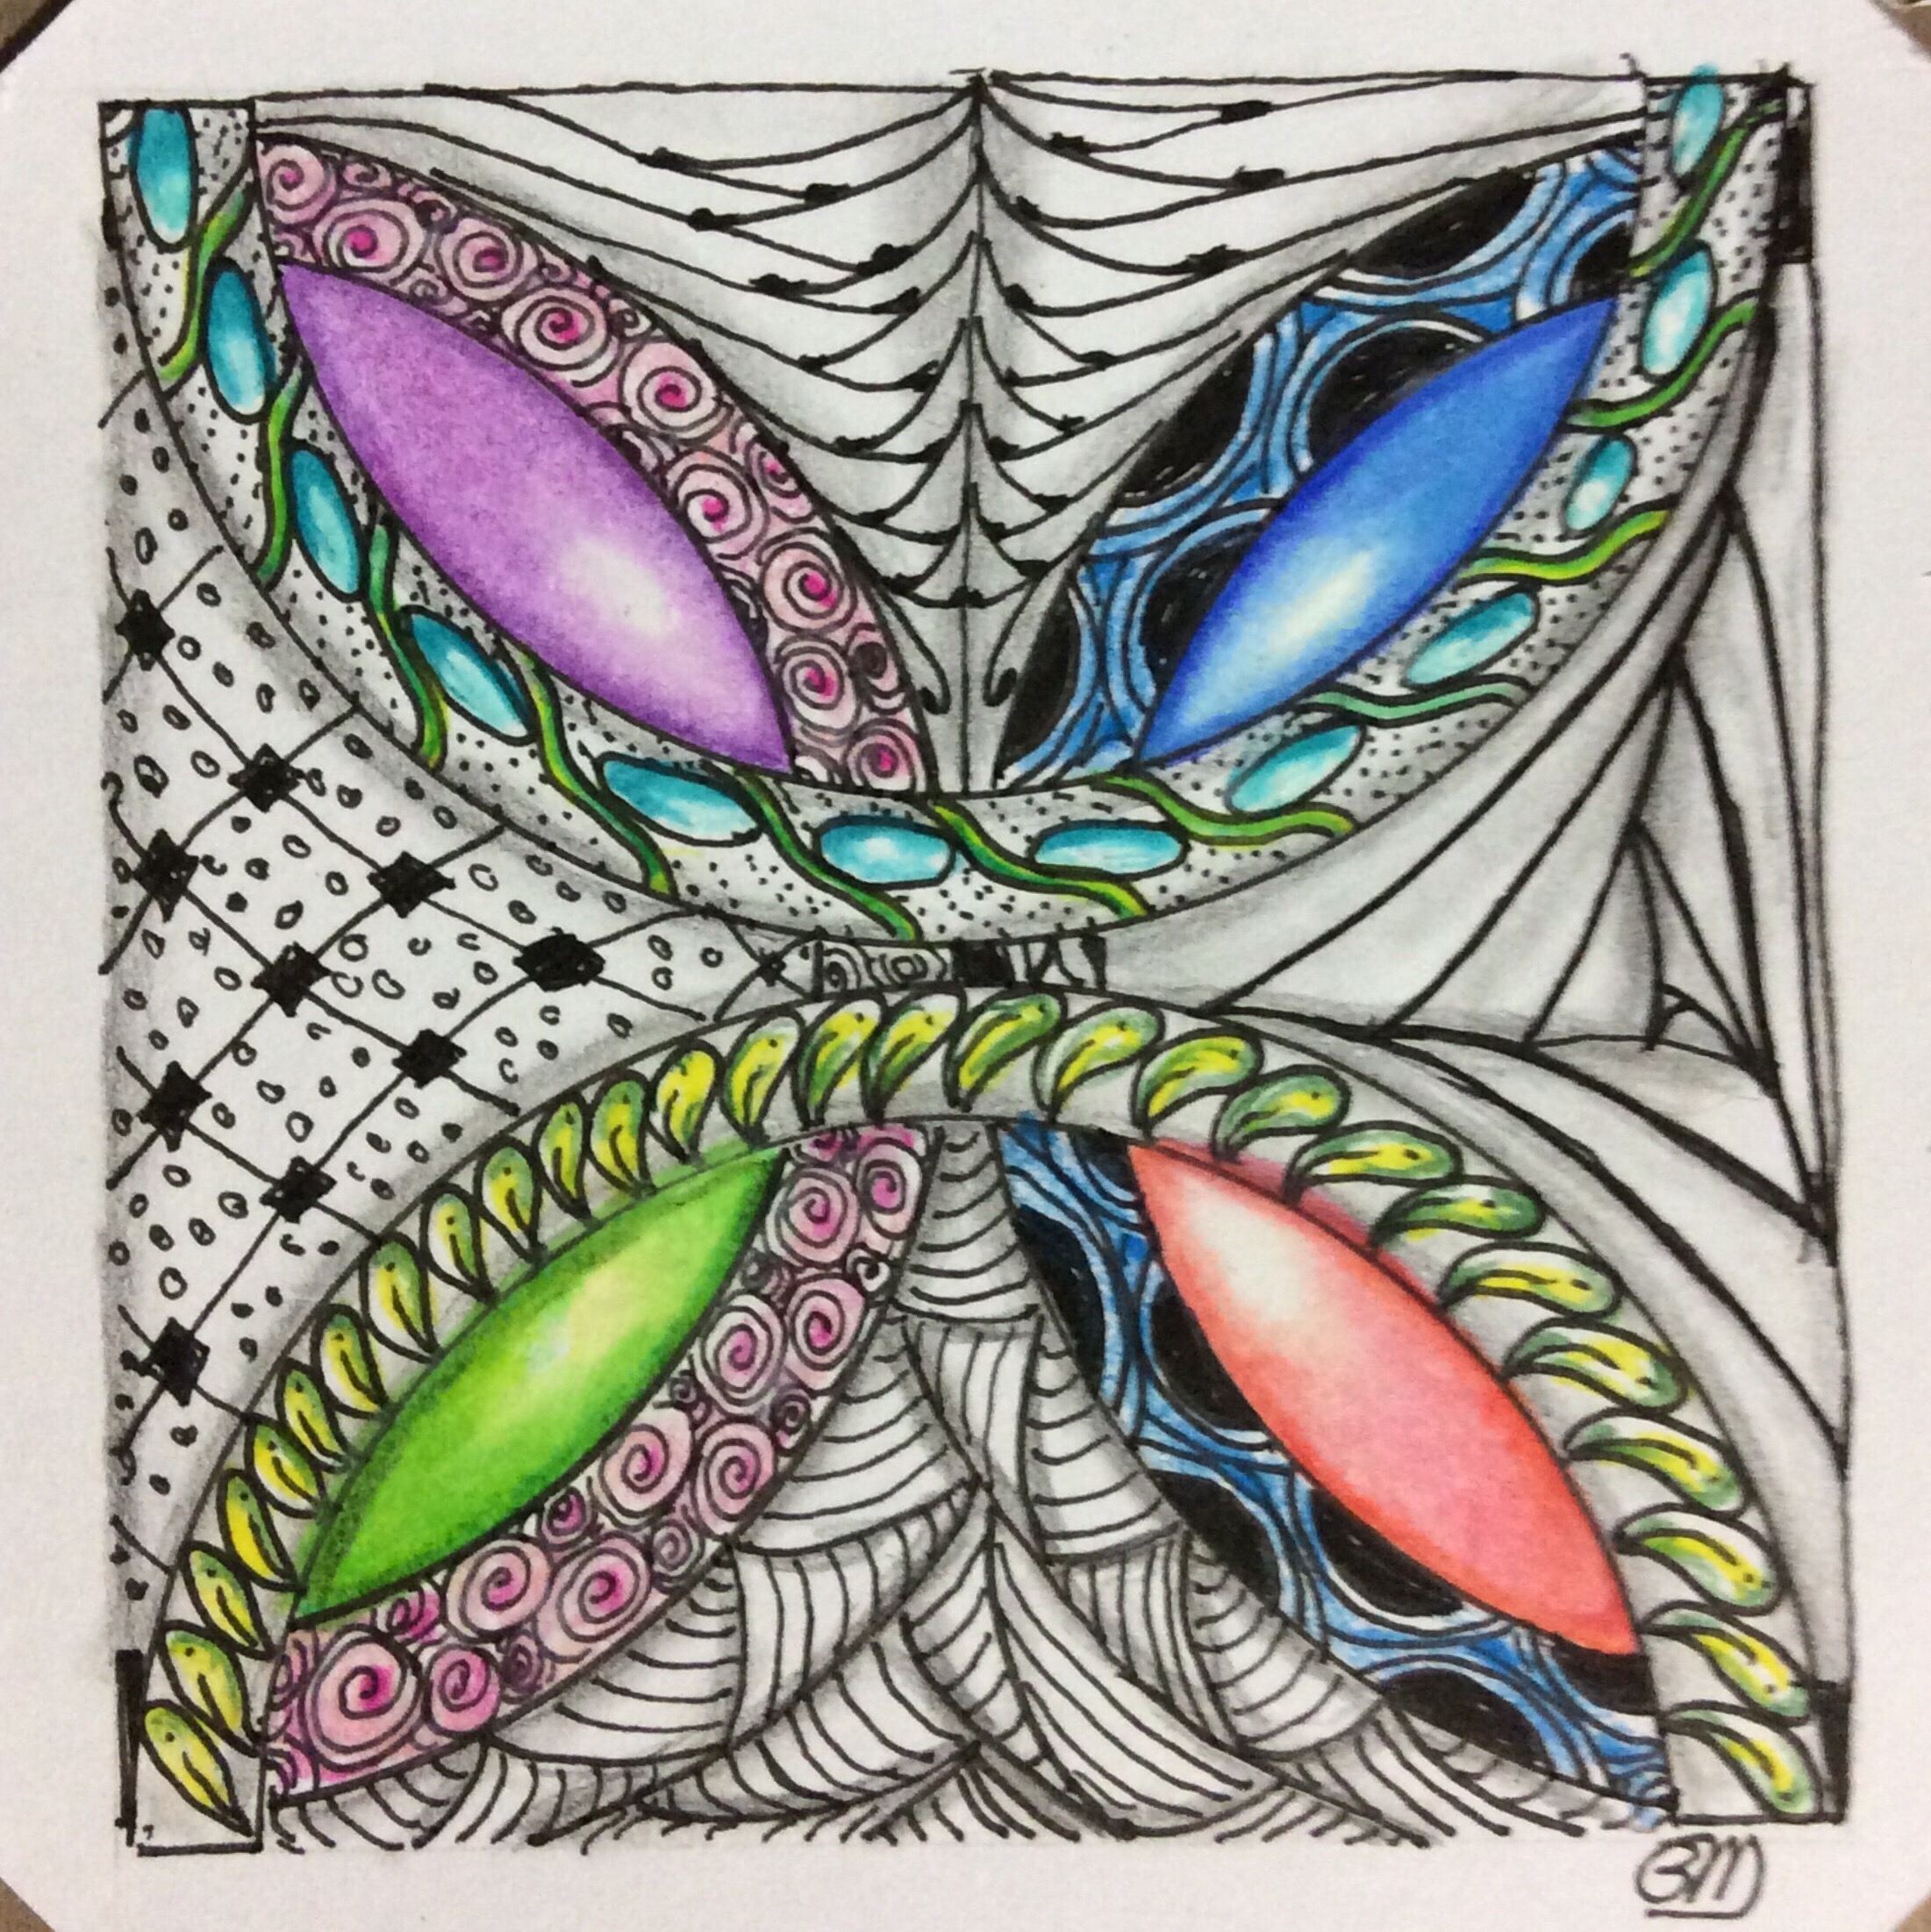
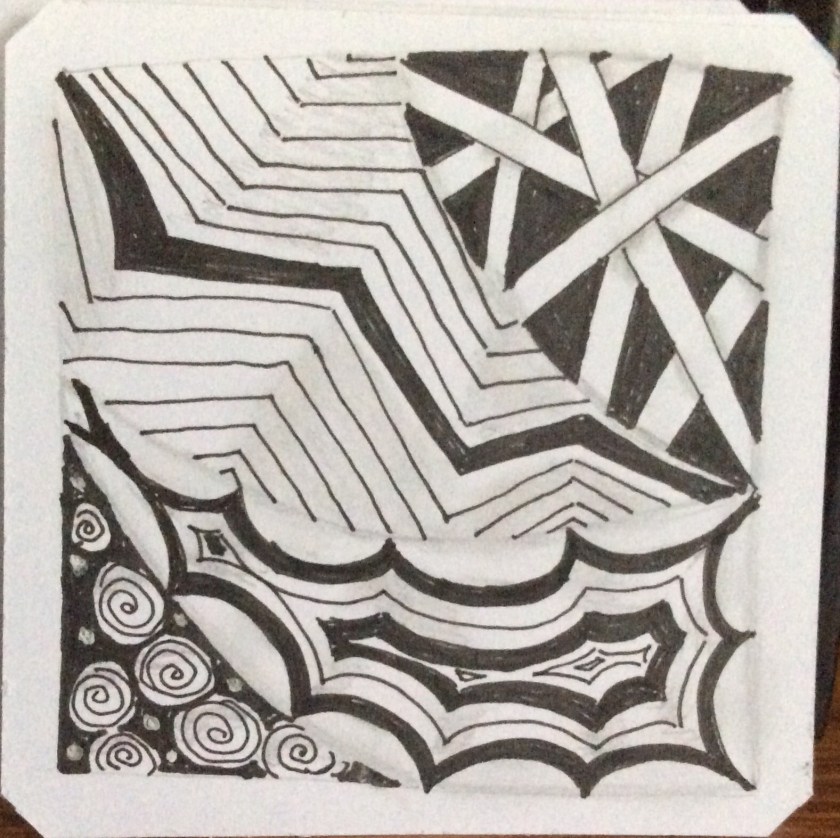
The most important thing to know about Zentangle is that it is meant to foster meditation through the almost hypnotic process of drawing repetitive patterns. The sessions can be as long or short as you want, but the 3.5 inch square “canvas” helps delimit the time factor. Even more focus is created through the use of “frames” and “strings,” which delimit the work area more and create spaces in which to draw different patterns. More on frames and strings another day, though. Today I want to discuss getting started.

Materials 

Materials for tangling are minimal: a fine-line black marker (Sakura’s Micron 01 is the official pen) or other very fine indelible pen, a 2B graphite pencil without eraser, a 3.5″ square paper called a tile (or even a small sketchbook or notebook page–or paper napkin), and a small artist blending stump or tortillion. That’s it. These few materials allow you to tangle anywhere–your car at the school pick-up lane, the grocery check-out line, a lunch space in a cafeteria, at home watching TV, at the bank in Sint Maarten (bring 10 tiles!)–anywhere. 

Most materials can be purchased at local art shops or from a Certified Zentangle Teacher. Official and supplementary materials can be obtained online or from the official Zentangle site. For getting started, you want the best materials, such as those available from the official site. Good materials can make the difference between enjoyment and frustration, just as with any art form. Plus, you and your efforts are worth the best. 

However, if cost is a critical factor, substitutions can be made–practice quality tiles such as “Artist’s Tile Set” from Peter Pauper Press (available through Amazon.com), soft graphite pencil from an office supply store (2B softness is recommended for best shading–and a Numer 2 pencil is not necessarily a 2B; it is most likely a 2H, which is much less dark and makes shading more difficult), a very fine tip black marker such as a Pilot marker. The pen should not be a ball-point and should have waterproof ink that dries quickly to prevent smearing as you work. Some pens that I have tried and liked are Staedtler .3 mm pigment liners and Prismacolor .3 mm illustration markers. The Prismacolor can bleed a bit, though, and takes a few seconds longer to dry. Don’t select a marker with too broad a tip, as these can limit the size of the pattern you can draw. 

In place of a blending stump, a Q-tip can be used to smooth pencil lines in shading, although they don’t work well for tiny spaces and don’t last long. Of course, you can make your own tortillion by watching a YouTube video (search phrase: how to make your own blending stump). Here is a link to one: https://youtu.be/shb07jyr68I

Talent: optional

Artistic talent is optional. For example, I have trouble drawing stick figures, but I can create a small masterpiece. The artwork isn’t intended to look like anything; Zentangle is non-representational. All you need is the ability to draw a few simple lines and curves. 

Learning: Workshops and books

The best way to learn about Zentangle is to participate in a local workshop or class taught by a Certified Zentangle Teacher, or CZT. You can find CZTs in your area by visiting the official Zentangle site, Zentangle.com. (On the island of St. Martin, I will be a CZT by early May, 2017.) The second best way to learn Zentangle is to purchase the Zentangle Primer, vol. 1, available from many CZTs or from the official site. The book and the starter kit provide everything you need to start you off and keep you going for some time. A DVD that comes with the kit helps you learn the most important aspects of tangling quickly–like a quick-start tutorial on a new computer or cell phone. Although the book seems a bit pricey at abut $50, buying less expensive books on Zentangling will not provide you with even half the information, and you will end up investing in the Primer anyway. The kit is also not cheap, but the quality of the included materials is high and the box containing everything is meant to store your materials for a very long time.

I went through the “money-saving” process. I didn’t want to spend the money on the Primer, and opted to buy One Zentangle a Day by Beckah Krahula from Amazon. The cost ($23 suggested price, less than $14 on Amazon) is about a quarter of the Primer price, and it was a great book to get me started. However, it only takes you so far before you want–and need–more. 

So next I invested in a series of thin books, Zentangle # (where # is a book number from 1 to 12), by Suzanne McNeill, CZT. Each of these, set up in workbook fashion and each dealing with a separate aspect of Zentangle–mostly as an artsy craft basis and starting point for hobbies like scrapbooking and jewelry making–is full of ideas and some inspiration. However, each one costs about $9, and there are twelve books in the series. That brings the cost up to $108, with no information about the relaxation and meditation aspects of Zentangle. (Interestingly, Krahula’s book touches on almost all of these craft ideas at a fraction of the cost, and she now has a new book covering crafts and tangling as an art form.) Granted, the full set provides hundreds of tangle patterns, most of which are the author’s creations. But you can get patterns and the directions to draw them for free by visiting TanglePatterns.com

In addition to these, I purchased several Kindle books on Zentangling. In all, I probably spent close to $200 on books. Once I bought the Primer, I realized that it had more information between its covers than all of the others combined–especially on the meditative aspects, which the other books gloss over if they mention them at all. 

Moreover, you can’t outgrow the Primer. It was designed to inspire and help you grow, both as a tangler and as an individual. Even the most successful CZTs continue to refer back to the book for all sorts of reasons, including inspiration for developing new patterns. 

Zentangle is a method.

Here is the thing about Zentangle. It is a method. It is a way of calming and centering the tangler. One of the primary tenets of Zentangle is that there are no mistakes. Any mistake is actually an opportunity. For example, tangling is done in indelible ink on a 3.5″ square artist tile. If the pen slips or a pattern is started “wrong,” the stray mark or mis-drawn line should become part of the overall work. The theory is that you can’t re-do aspects of your life; you need to pick up from where you are and do something positive with a mistake. You move forward. For this reason, erasers are frowned upon. Besides, it is next to impossible to erase permanent ink. The best thing to do is work an error into your work in a new and creative way. You may even come up with a whole new pattern! 

Lastly, for today…

Certainly, tangling is as much about learning new patterns and experimenting with layouts as it is about meditation. Most tanglers practice some patterns (for hours sometimes) in a sketch book before incorporating them as part of a meditative creation. After all, you don’t want a meditation interrupted because you can’t remember how to draw a seemingly complex pattern. A lot of time also gets spent playing around with learned patterns to see how they fit together best, or how to shade a pattern to best set it off in a tile, or even use certain patterns to act as shading or depth enhancement.  (One Zentangle a Day discusses the tonal values of different patterns to create interest, depth, and texture in a work.) But all this effort is to bring flexibility and ease to a meditation session so you can concentrate on the meditation and let the art happen.

More information on Zentangle is coming in future posts.  

Until next time, Happy Tangling! 

#educ_dr

Posted in Art, Meditation, Zentangle

Tangle in SXM!

Welcome to TangleSXM!

Tangle with me!

Zentangle®, the hot meditation through drawing method, is coming to the island of Saint Martin, serving residents and visitors to the countries of St. Martin and Sint Maarten!

img_0304-1The Zentangle Method® is a world-wide phenomenom of meditation through drawing patterns. Watch this site for more information on local workshops, community offerings, and official announcements.

Organizations and school groups in St. Martin/St. Maarten that are interested in exploring how tangling with the Zentangle Method® can help their membership, please contact me at Ellie@tangleSXM.com.

In the meantime, follow this blog for information on all aspects of the art of Zentangle®.

Happy tangling!

Ellie Miller, Certified Zentangle Teacher-in-training