Posted in Zentangle

Make a Tangling Calendar

Looking for a way to help you make time for tangling every day? How about a calendar?

There are two ways to go with tangling calendars: 1) buy an “official” Tangle-a-Day calendar created annually by Certified Zentangle Teacher (CZT) Carole Ohl (2019 calendar is US$ 22.50, plus shipping, available online from this vendor ) or make your own using a sketchbook (from about US$10.00 at art shops or office supply stores in Sint Maarten) or even unlined paper, if price is a major consideration). Top Carrot restaurant in Simpson Bay/Cole Bay has a beautiful assortment of sketchbooks from about $12 or $15.

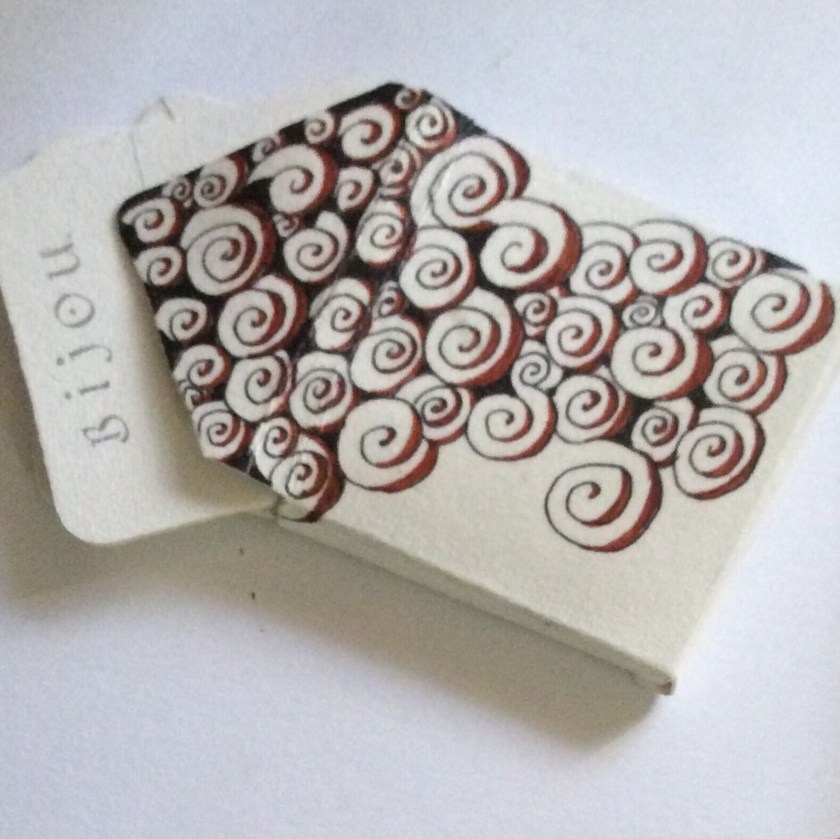
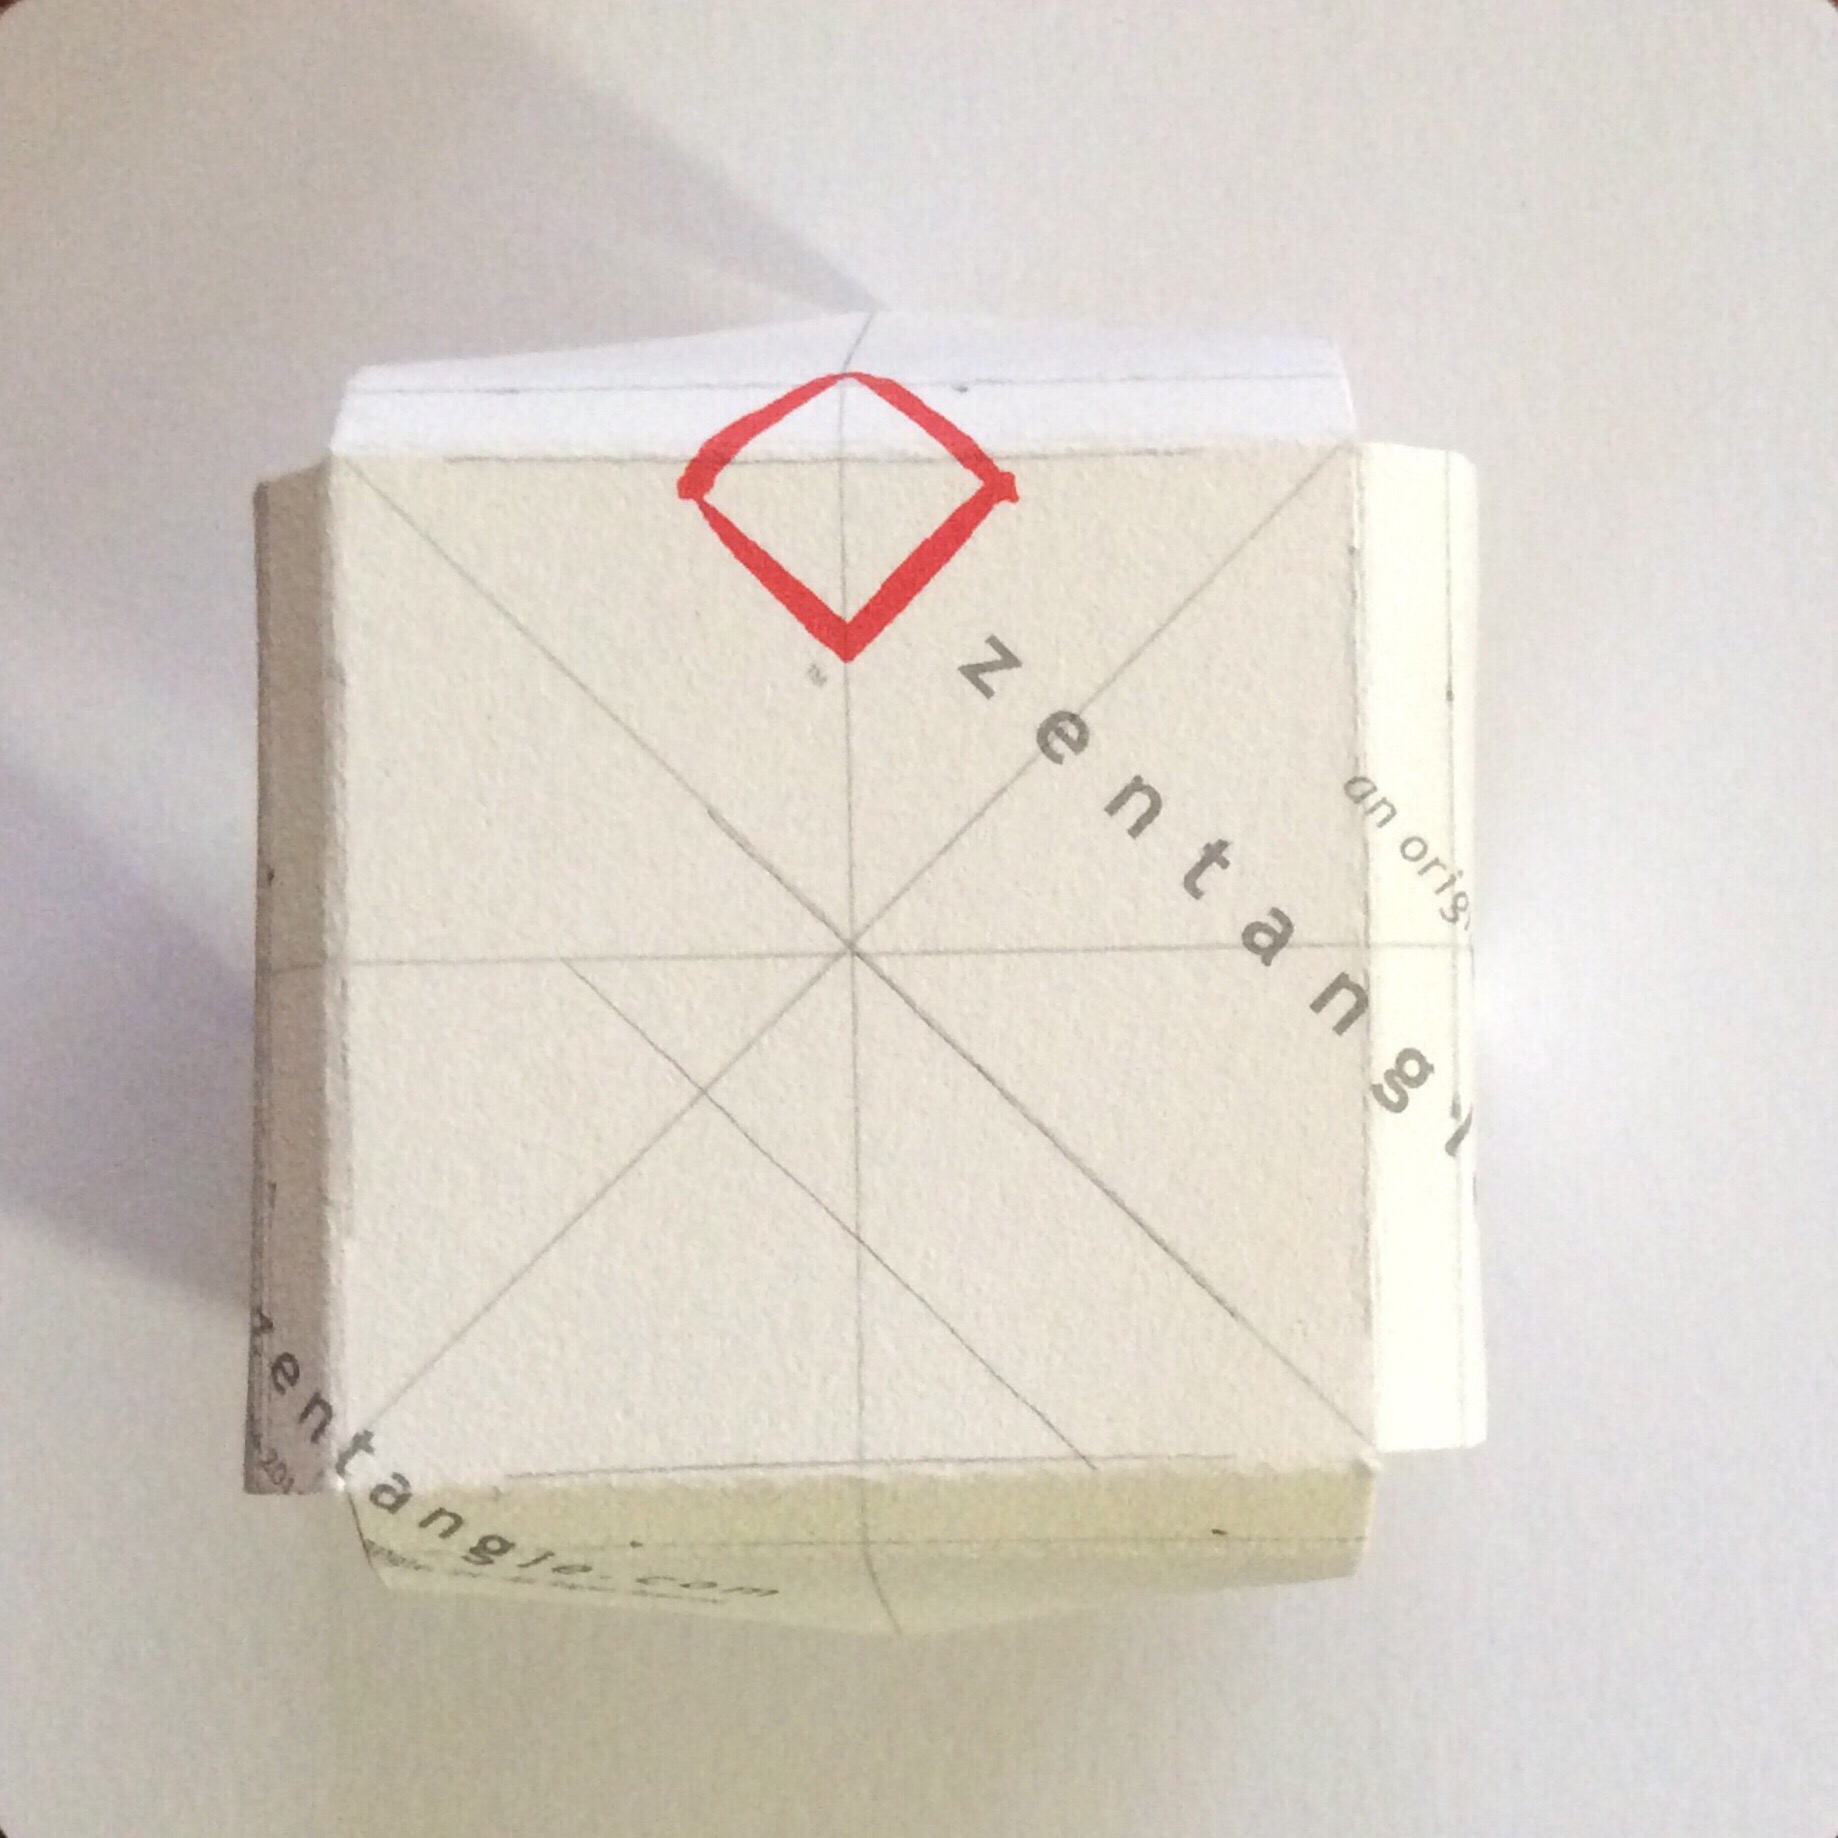
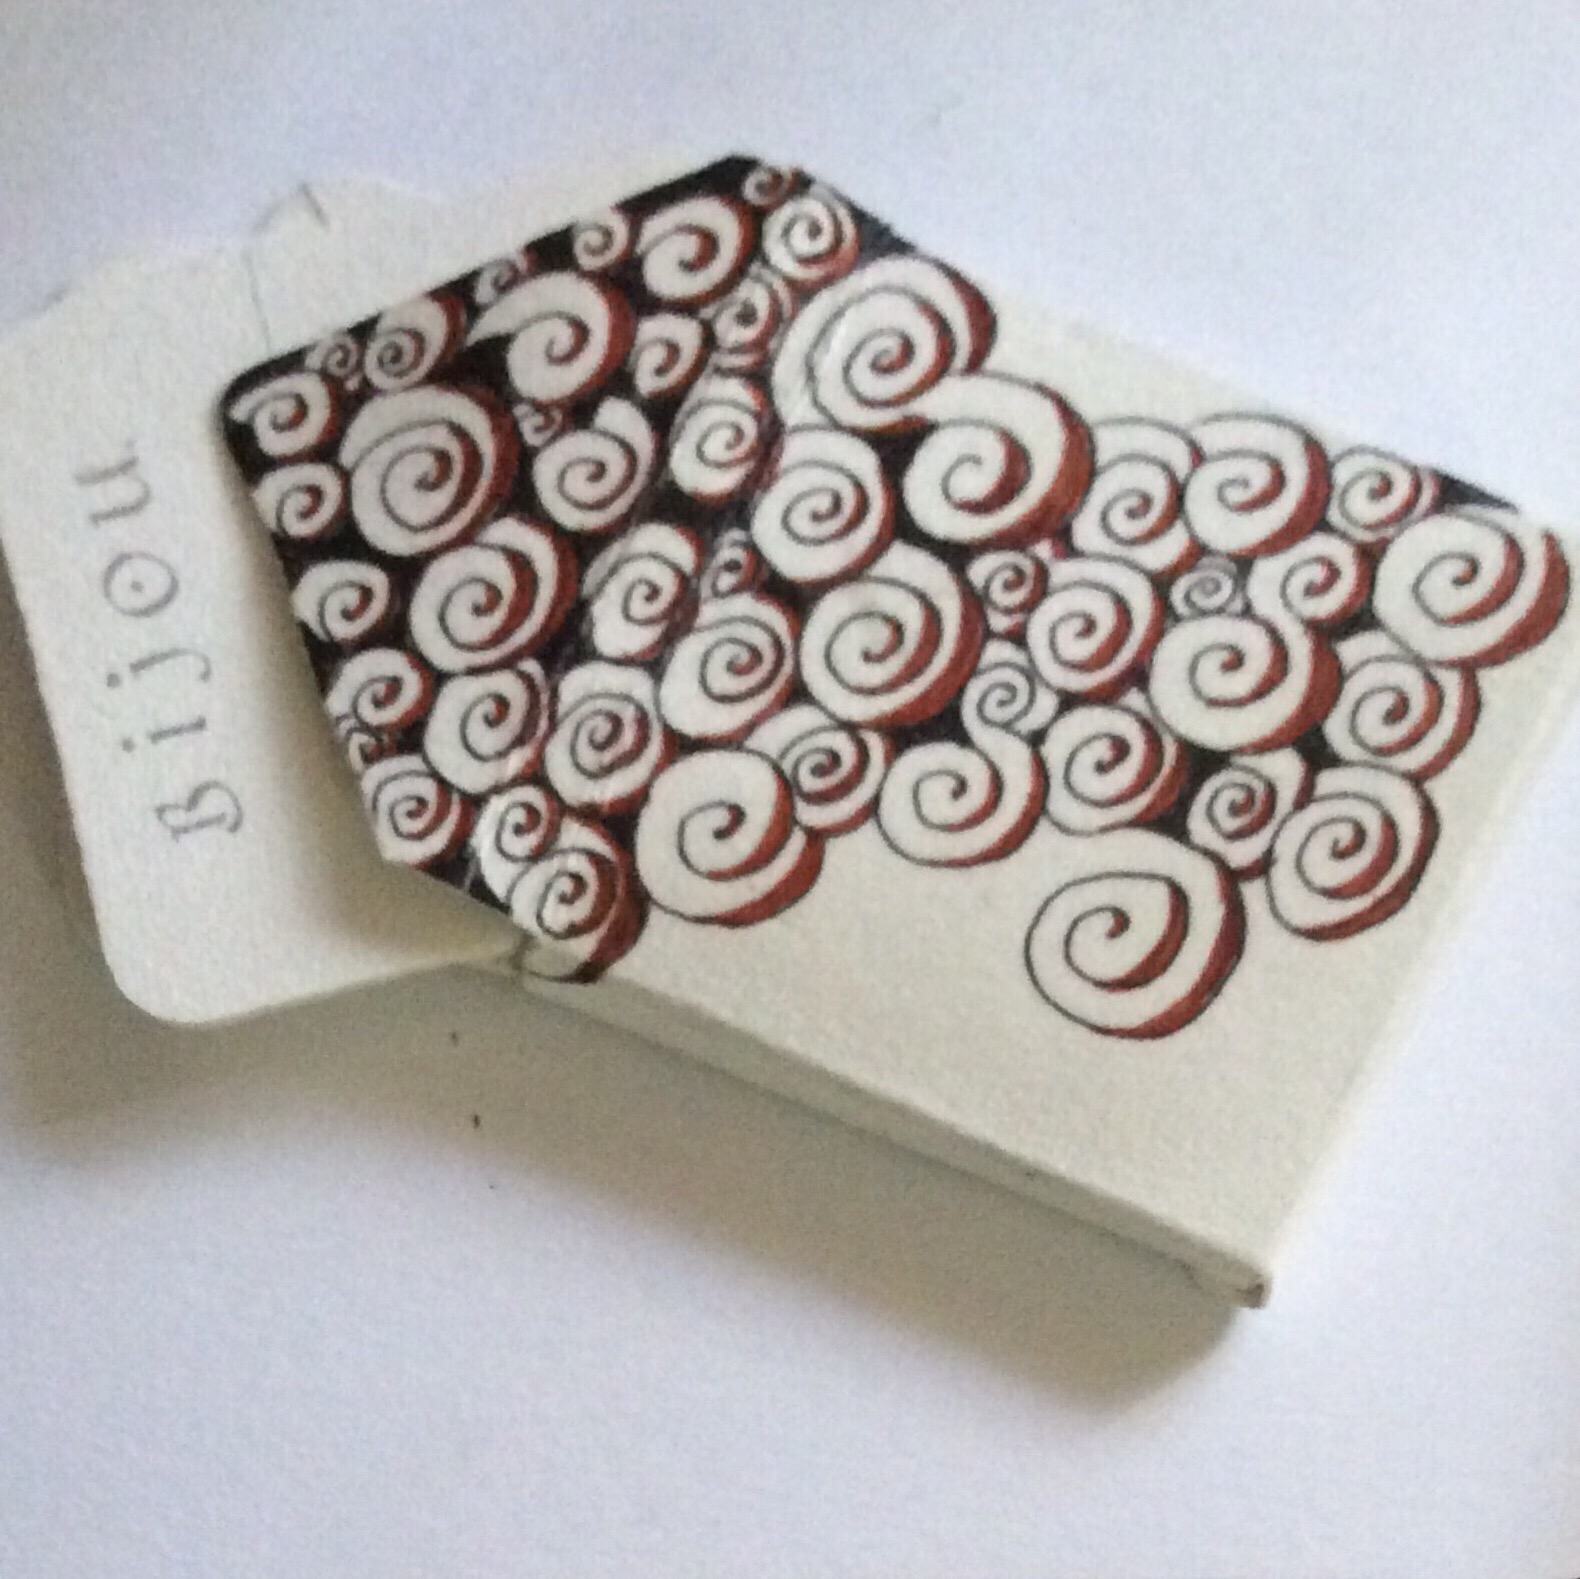
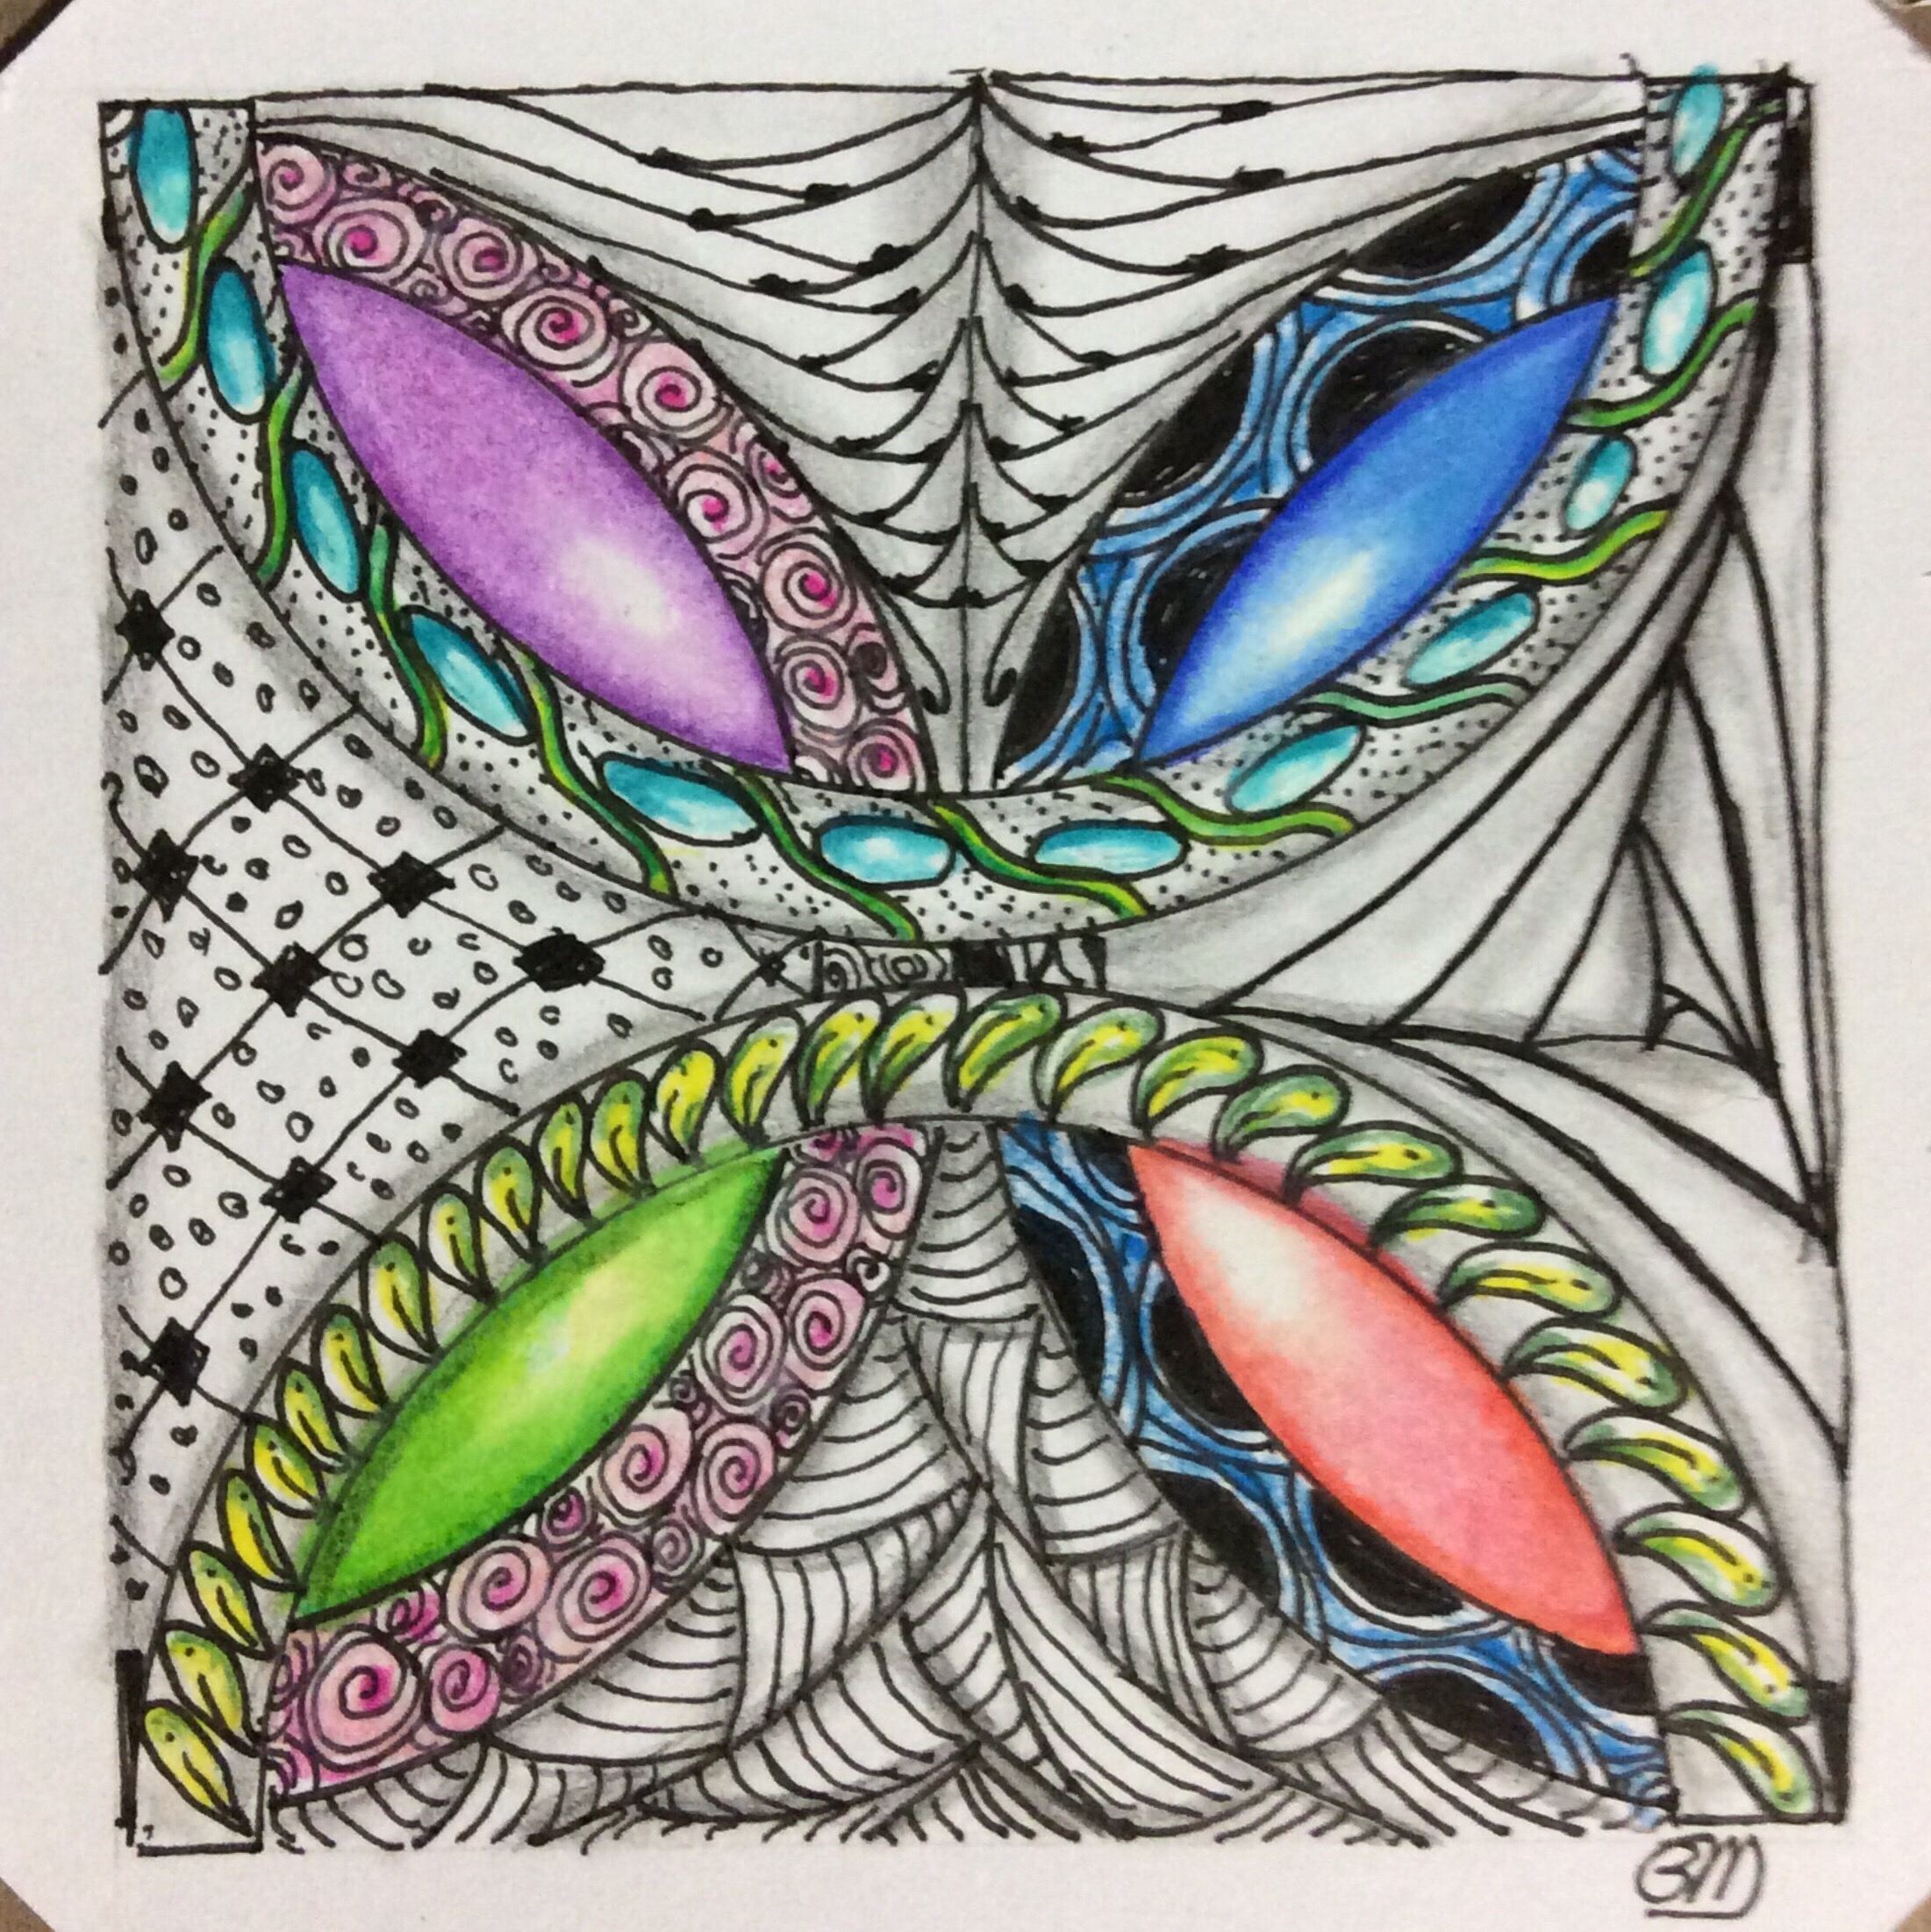
Here are the cover and a sample tangling page from Carole Ohl’s calendar.

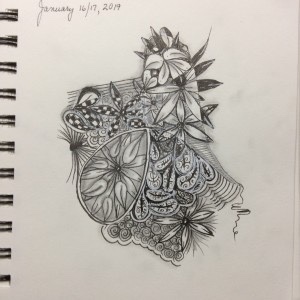
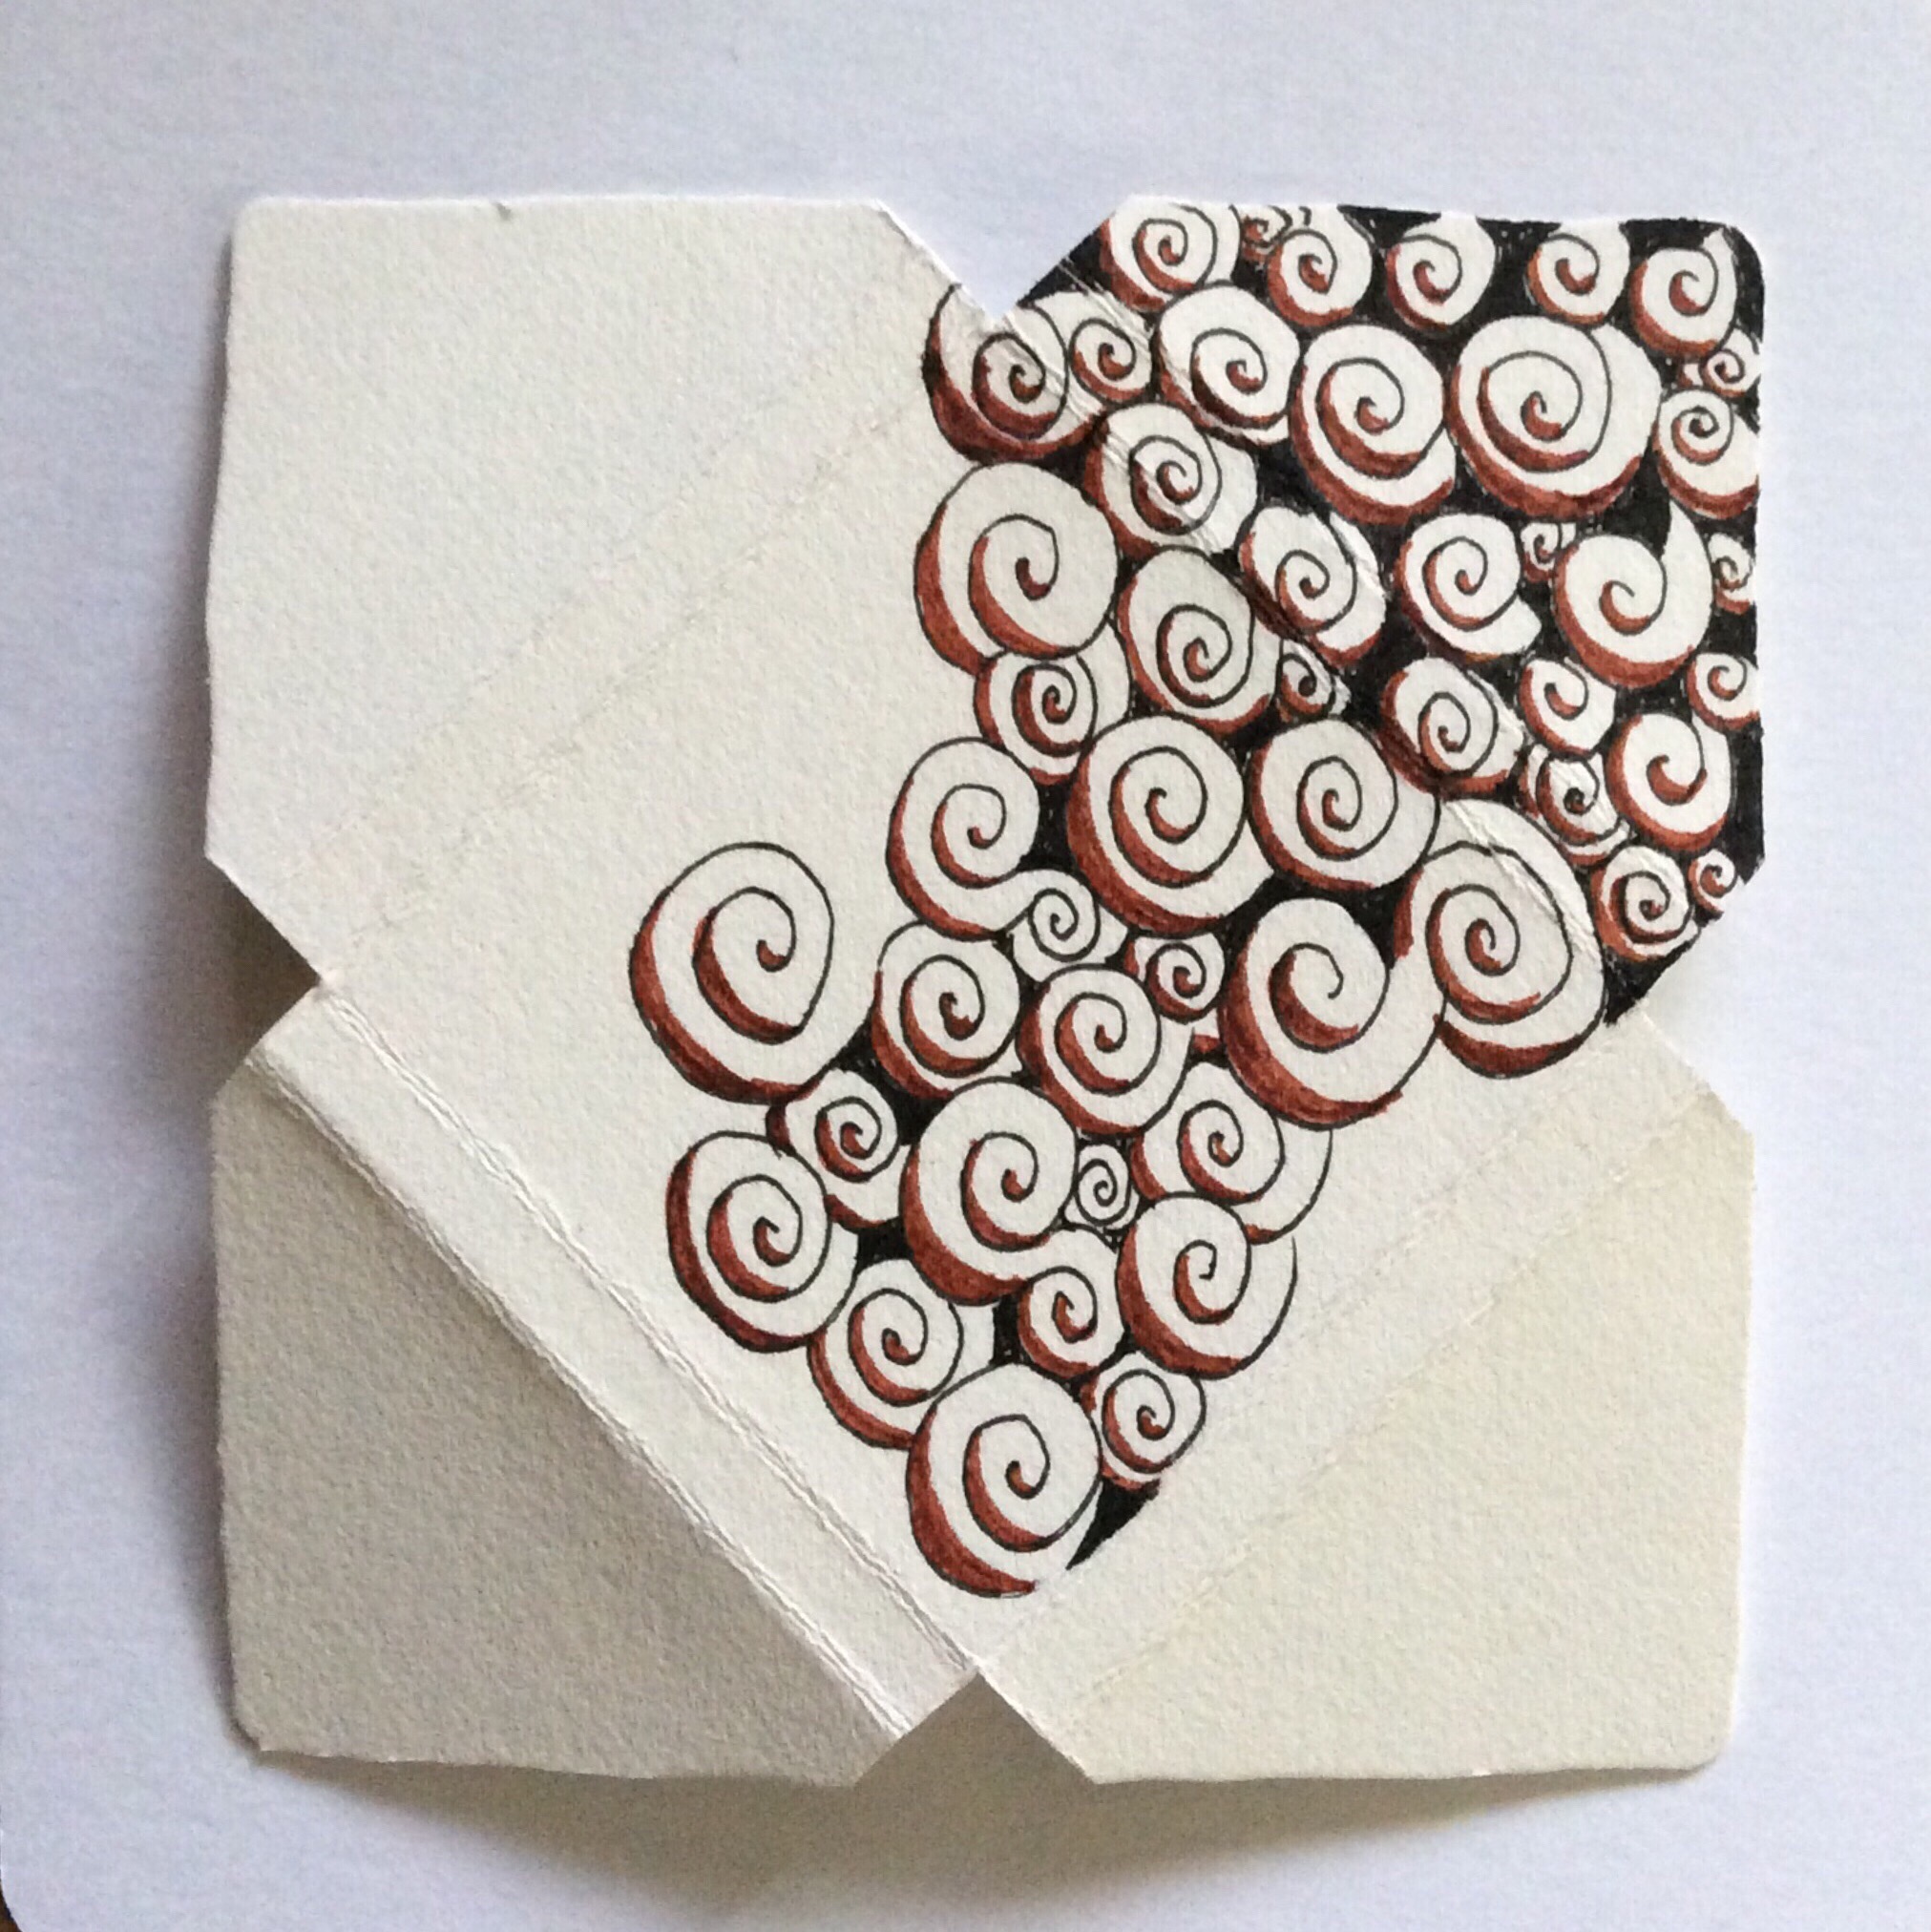
The spiral-bound calendar measures 5×8 inches, and is printed on a decent quality of drawing paper. The pre-drawn tangling spaces are about 2.5 inch square (about 6.5 cm) under the date. Many tanglers tangle the numbers, too, or increase the tangling space by simply tangling over the numbers as though they aren’t there because the lines are printed in gray to resemble graphite pencil. It is also easy to tangle two or three days together. Below are some examples from my own calendar, showing individually and multiply tangled squares on a page.

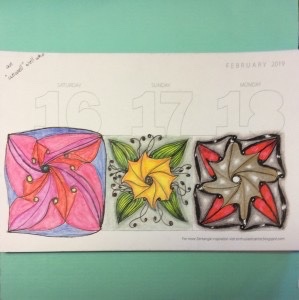
These calendars are really convenient for tangling each day, but have two drawbacks. First, the cost is fairly high. Second, if you tangle across multiple squares, you can’t erase the printed lines if they get in the way of your tangling, especially if you are using a large, open pattern. Certainly, you can cover the lines with ink or color pencils or pens. But if the pattern ends up straddling the line, sometimes even shading won’t cover them. I realized that today as I tangled this page, where the number lines cut right through parts of the tangling that I couldn’t or didn’t want to shade:

So I worked up a page in a sketchbook to sort of replicate the calendar using pencil to separate the days. The pencil can be blended into shading or erased from a string or pattern.

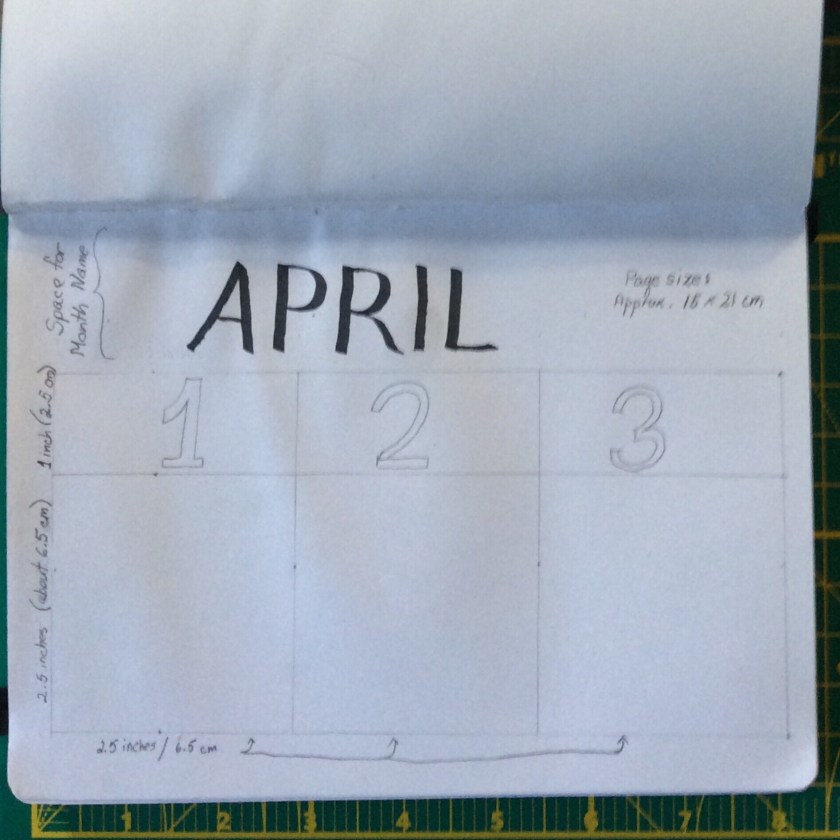
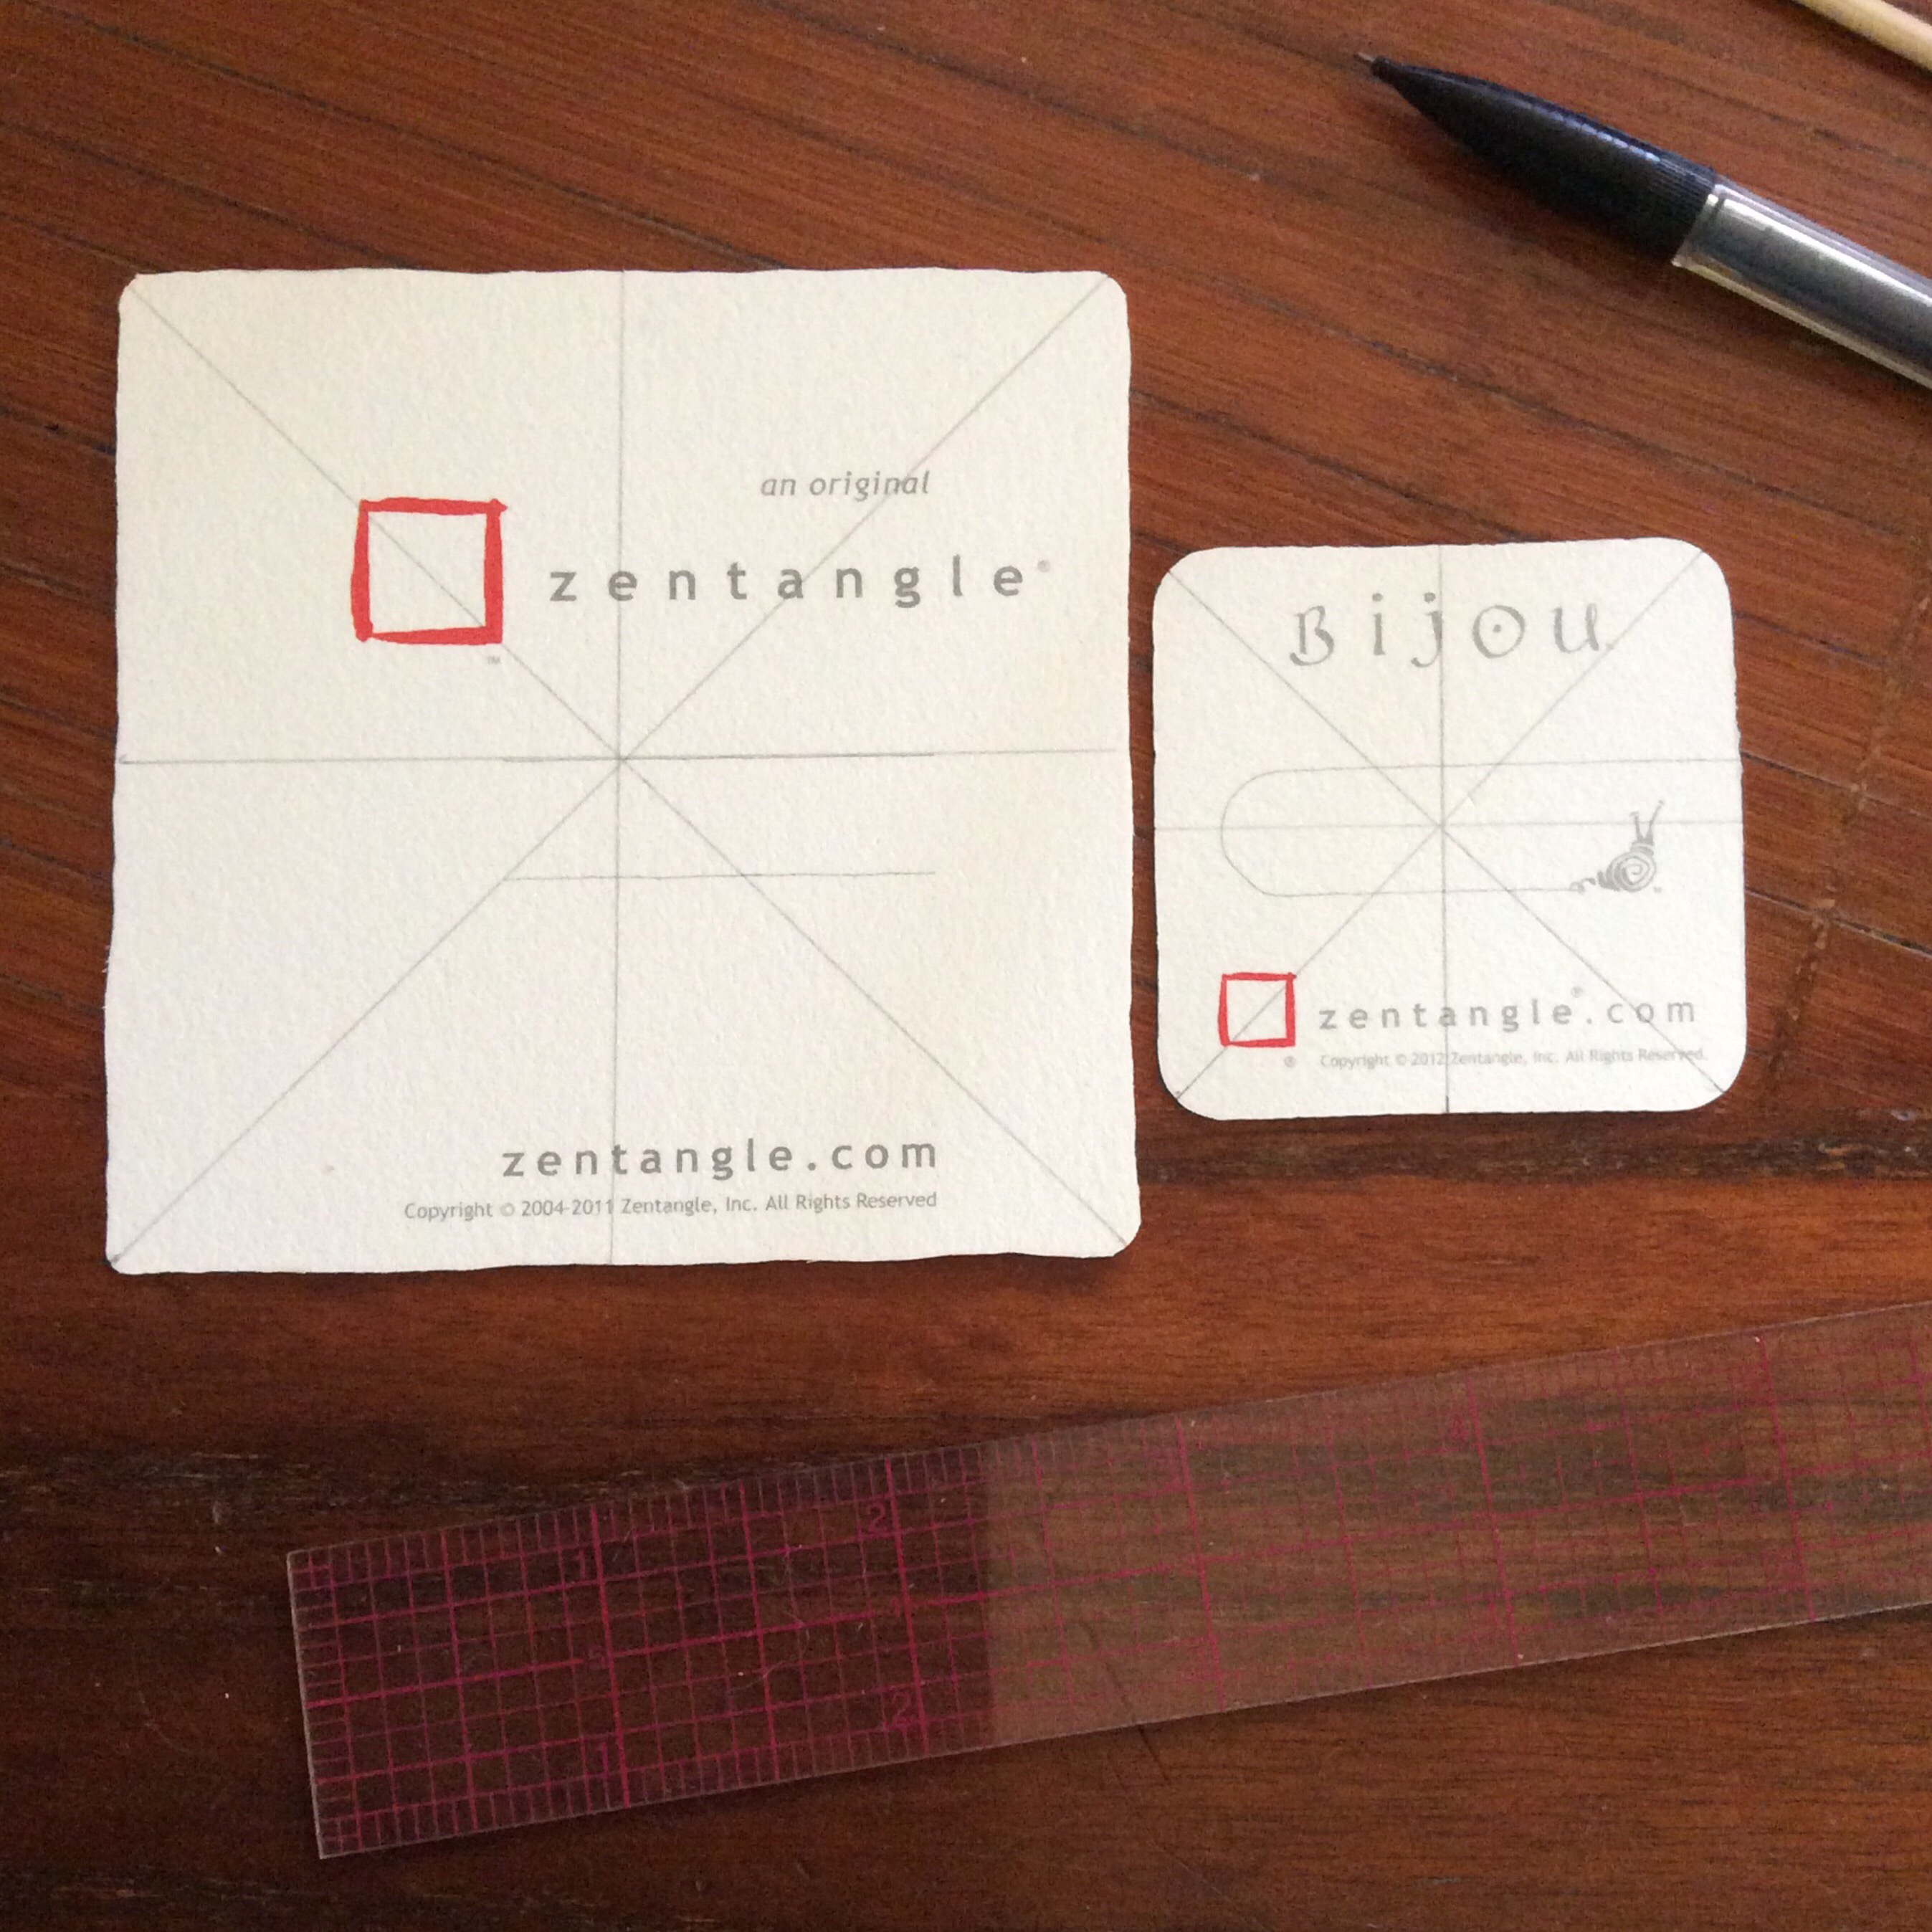
The approximate page size of this sketchbook is 15×21 cm, or about 6×8.25 inches. I measured off and centered across the page three blocks that measure about 2.5×2.5 inches (6.5×6.5 cm) near the bottom of the page, added an inch (2.5 cm) for the date numbers, and left the top open for the month name, if I want to add it. Everything is drawn in pencil so I can erase or blend in date or border lines if I want so they don’t interfere with whatever patterns I tangle there.

Like in the printed calendar, you can start the first of the month on a new page, or you can simply add it to the end of the previous month’s last page–especially for months with 31 days. In the printed calendar, the 31st day is always on its own page, with plenty of white space to keep tangling.

Although the printed calendar has some lovely tangles on a few separator pages, another drawback is that the pages are printed on both sides. If your tangle has large areas of black ink, or if you use markers or watercolors, there can be bleed-through to either the next page or to tangles you have already drawn. Creating your own calendar gives you the option to choose whether your pages are one-sided or two-sided. If you decide to use one-sided pages, make sure your sketchbook has more than 120 sheets, or buy two sketchbooks, or choose a larger size sketchbook that allows you to draw more calendar squares on a page.

That’s all there is to creating your own beautiful tangle-a-day type calendar!

Good luck!

Until next time, happy tangling!

Dr Ellie, CZT

Posted in Zentangle

Fixing focus on busy tiles

The longer I tangle, the more I believe the Zentangle Method®️ is becoming more of an art form and less of a meditative mindful experience. When in the right frame of mind, Tangling becomes not only meditative as I mindfully draw one line or curve after another, but it has become a way to come to terms with stuff in my life, especially the less than positive or happy stuff. To me, it becomes almost like prayer, but with honest reflection, and often possible sets of solutions.

Most Certified Zentangle Teachers (CZTs) feel as I do–that Zentangle should remain a meditative Method, using mindfulness in tangling, and giving the heart and spirit–and, of course, the mind and body–a bit of calm and respite in a chaotic world. Tangling helps one focus on the patterns, which later translates into focus on tasks and activities. And it is focus that this post is all about.

Today a new technique came to my mind for focusing on specific elements of a rather cluttered looking tangle. The process occurred to me as I was tangling a piece that started out as a good idea, but then became “muddied”. What I mean by that is that suddenly I could not easily discriminate one type of “leaf” from another. I was taught two ways of making elements stand out–1) thicken the outline or heavily shade the form, or 2) aura the form to make it stand out. Well, in the middle of a muddle, adding an aura is almost impossible. And if the forms are intended to have equal ‘weight’ in the design, heavily shading one causes the one next to it to melt into the background. Neither was what I wanted, and it was too late to aura. So what to do?

Let me show you the result (remember, this was a practice and not intended for sharing, so don’t laugh, please).

I can’t blow it up any larger, probably because I have too little space on my iPad, but even at this size, you can see each individual element–some behind others, and some simply sharing the spotlight in an area, as though each leaf were equal there. You might also notice that as borders are crossed, the petals change. They may go from white to black, or to checkerboarded, or half white and half black, or even tangled with printemps (the spiral-like figures inside leaves or outside as background. That is because my “string” divided sections into “pattern areas.” And all that is what made the work look completely cluttered and blob-like. Wish I had thought to take a Before photo, but it’s well after midnight, and I just didn’t think of it in time. But here is how I separated all the leaves without touching the overall design.

First, I outlined each leaf with a 08 Gelly Roll white gel pen. The white ink in this particular pen is opaque enough to cover black if used slowly and carefully, without a lot of pressure on the pen. In a few cases, I outlined inside the original shape to give it better visibility so it would not melt into an adjoining leaf.

After allowing the white ink to dry–it takes about a minute, but here in humid St Maarten, it could take longer, so be patient–I outlined the shapes again in black ink, as much on top or tight against the white ink. I was surprised by how much this process drew out the individual petals, especially from busy background areas.

Since black ink over white gel ink takes a while to set and dry, I waited some more.

Once I was sure the inks had dried completely, I used the graphite drawing pencil (softness 2B) to push the background where it belonged–in the back. I used a fairly heavy hand to darken the background as much as possible, taking care not to get graphite on the black portions of any leaves. Remember to use more side than point as you are doing this. Next, use a tortillion or blending stub or even a cotton swab to spread the graphite into the background and even it out.

Lastly, I shaded my petals as usual, applying graphite to the outside for depth and shadow, and to inner areas to give them dimension. Don’t get too carried away or you will create a second blob. For the most part, shade these areas as you would if you didn’t have the darker background. You will know if you need more shadow, so add several lighter coats rather than one thick and heavy coat.

And voila– a vastly improved tangled piece, with the focus back on your petals, bringing them forward by letting them stand out.

This can work whenever your items blend instead of separate. I got the inspiration for this from a book by Eni Oken’s, who has a beautiful blog and sells wonderful books on drawing techniques specific to tangling. I only have a few, but they left an impression on me that allowed me to take things a step in another direction. As you gain experience, it is amazing how your mind focuses on using techniques learned for one thing and applying them in a whole new way. My inspiration came from Eni’s book on making white seem to sparkle on black tiles.

Hope this helped.

Happy Tangling!

DrEllieCZT

Posted in Zentangle

Bijou Tile Holder

Earlier this week, I posted a picture on the Zentangle Mosaic® app of a holder I made out of an Apprentice tile (4.5 inches square) to keep my brand new 2.5-inch square business cards from VistaPrint®. 

This post caused several people to ask how I made the holder, and I promised to post directions here on my blog. 

Thinking back to a four-piece bijou puzzle I tangled for Valentangle2017 on Facebook, I thought it might be better to create a bijou-sized holder instead of the business card holder. Where the business cards are 2.5 inches square and need the larger Apprentice tile, bijou tiles are only 2 inches square, so a standard 3.5 inch square tile is plenty large to make a holder. No matter what size holder you need, the procedure is the same.

Step 1: Mark the center and diagonal lines.

Mark centers and diagonals.

With a pencil, find and draw the diagonals and centers on the backs of both your “final size” tile and the tile from which you will make the holder. Measure for accuracy. Your tile will resemble a squared round pizza.

Step 2: Line up the two square tiles, then trace.

Align diagonals with center lines as shown; trace bijou.

Turn your bijou 45 degrees, and match up the bijou’s diagonal lines to the standard tile’s center lines, and the bijou’s center lines to the larger tile’s diagonals. It may not be a perfect match, but match as closely as possible. Once the lines are matched, trace the bijou onto the larger tile. 

Step 3: Re-draw 3/16-ths of an inch away.

Draw a 3/16-inch frame around the bijou tracing.

Aura the bijou outline 3/16-ths of an inch away from the center on all sides. 

Step 4: Score for folding.

Score just outside pencil lines.

Line up a ruler or other straight edge tool with the drawn lines. With your favorite paper scoring tool (I use a bamboo skewer), score just outside the pencil lines, going from one edge of the larger tile to the other. Do this for the bijou tracing and for its frame. 

Step 5: Fold along scored lines.

Fold along the scored lines. Trim away corner pieces.
Fold along all of the scored lines. At the corners, there will be extra paper. Trim away this extra space with two inward snips along the main fold lines. Cut no further than the inside folds. 

Step 6: 

Sharpen creases.

Re-fold the tile so the clean side is to the outside. Sharpen the fold lines by pressing on them again with your fingers or with a smooth hard object for a sharper crease. 

Step 7: Tangle.

Fold out tile and tangle as desired.

Unfold the box and tangle it any way you like. Remember that three flaps will fold over each other in the box to contain the bijou tiles. You may want to wait until the holder is glued together before tangling the back.

Step 8: Cut some filler.

Cut some filler to make gluing, tangling on the back, and closure cutting easier.

Before going further, take some time to cut some bijou-sized filler for your holder. I generally fold a newspaper page several times and cut out a section the same size as what I plan to fill with–such as bijou tiles or business cards. While you are at it, cut a piece of waxed paper or baking parchment to the same size. Slide this between your filler and the flaps. The filler makes it easier to glue the flaps together and later tangle the box, as well as provide a surface to cut into if you plan to make a flap tuck for your holder. The square of waxed paper or parchment keeps the filler from being accidentally glued inside the flaps when the glue spreads out inside. 

Sometimes, I just carefully wrap bijou tiles or cards in waxed paper and slip them into the holder before gluing. This works best if I use tiny wafer-thin magnets as a closure. The waxed paper does nothing to prevent the X-acto knife from cutting into a good tile or business card!

Step 9: Glue flaps together.

Glue three flaps together, envelope-style.

Overlap the two side flaps and glue them together. Next, bring up the bottom flap and glue it in place so the section resembles an envelope. This is far easier to do and let dry with filler inside. 

For gluing, I use the same thing I use to seal my artwork–Mod Podge® Matte water-based sealer, glue, and finish. It works great as a glue and as a sealant to protect the paper from wearing too quickly, and to keep my artwork looking fresh longer. 

Once the glue is dry, you may want to tangled the back. You can wait until after you have sealed your holder, but you will need to seal the work again, as even Micron® ink can smear when used over the Mod Podge. 

Step 10: Seal your work.

Seal the paper.

To protect your artwork and to extend the life of your holder, seal the entire surface–front, back, sides–with a protective sealer such as Mod Podge Matte or Mod Podge Glossy. Using an inexpensive art brush, cover the front and sides with the sealer, wipe away excess at the edges with a damp cloth, and allow to dry completely. 

When dry, flip the holder over and brush the back with sealer. Wipe away any excess, as with the front. If you like, erase any pencil marks from the inside of the loose top flap piece, and seal it, too.

Give the holder time to dry completely before continuing. Mod Podge is dry to the touch in minutes, but could take half an hour or longer to dry through layers. 

Step 11: Flap closures.

Cut out flap tuck, if desired.

Once everything is completely dry, fold the top flap over, and make marks to either side of where you want to cut a flap tuck. Using a straight edge and an X-acto knife, cut two parallel lines close together through all thicknesses. 

I didn’t wait long enough, and the damp glue not only got all over the knife edge, but also created some problems for cutting through damp paper fibers. The result is a slit that is more ragged than it would have been if I were a little more patient. 

If you prefer to use magnets or Velcro as fastenings, this would be a good step to apply those closures. 

Step 12: Decorate back, if not done earlier.

Decorate back, if not already done.

All I wanted to do was add a bit of printemps around the flap tuck. You may choose to tangle the whole back, if you haven’t done so in an earlier step. I was going to leave the back untangled, except for the flap which I tangled with the front. However, I got finger smudges along the flap tuck because I cut too soon. I wanted to cover them up a bit. 

And the holder is done!

Completed bijou tile holder

Hope this gives you some ideas about what can be done with tiles, other than draw on them. There are so many beautiful, creative art works by tanglers all over the Internet. Maybe you will add to them to inspire others!

Until next time, Happy Tangling!

Posted in Art, Meditation, Zentangle

What is Zentangle? Part 2

The most important thing to know about Zentangle is that it is meant to foster meditation through the almost hypnotic process of drawing repetitive patterns. The sessions can be as long or short as you want, but the 3.5 inch square “canvas” helps delimit the time factor. Even more focus is created through the use of “frames” and “strings,” which delimit the work area more and create spaces in which to draw different patterns. More on frames and strings another day, though. Today I want to discuss getting started.

Materials 

Materials for tangling are minimal: a fine-line black marker (Sakura’s Micron 01 is the official pen) or other very fine indelible pen, a 2B graphite pencil without eraser, a 3.5″ square paper called a tile (or even a small sketchbook or notebook page–or paper napkin), and a small artist blending stump or tortillion. That’s it. These few materials allow you to tangle anywhere–your car at the school pick-up lane, the grocery check-out line, a lunch space in a cafeteria, at home watching TV, at the bank in Sint Maarten (bring 10 tiles!)–anywhere. 

Most materials can be purchased at local art shops or from a Certified Zentangle Teacher. Official and supplementary materials can be obtained online or from the official Zentangle site. For getting started, you want the best materials, such as those available from the official site. Good materials can make the difference between enjoyment and frustration, just as with any art form. Plus, you and your efforts are worth the best. 

However, if cost is a critical factor, substitutions can be made–practice quality tiles such as “Artist’s Tile Set” from Peter Pauper Press (available through Amazon.com), soft graphite pencil from an office supply store (2B softness is recommended for best shading–and a Numer 2 pencil is not necessarily a 2B; it is most likely a 2H, which is much less dark and makes shading more difficult), a very fine tip black marker such as a Pilot marker. The pen should not be a ball-point and should have waterproof ink that dries quickly to prevent smearing as you work. Some pens that I have tried and liked are Staedtler .3 mm pigment liners and Prismacolor .3 mm illustration markers. The Prismacolor can bleed a bit, though, and takes a few seconds longer to dry. Don’t select a marker with too broad a tip, as these can limit the size of the pattern you can draw. 

In place of a blending stump, a Q-tip can be used to smooth pencil lines in shading, although they don’t work well for tiny spaces and don’t last long. Of course, you can make your own tortillion by watching a YouTube video (search phrase: how to make your own blending stump). Here is a link to one: https://youtu.be/shb07jyr68I

Talent: optional

Artistic talent is optional. For example, I have trouble drawing stick figures, but I can create a small masterpiece. The artwork isn’t intended to look like anything; Zentangle is non-representational. All you need is the ability to draw a few simple lines and curves. 

Learning: Workshops and books

The best way to learn about Zentangle is to participate in a local workshop or class taught by a Certified Zentangle Teacher, or CZT. You can find CZTs in your area by visiting the official Zentangle site, Zentangle.com. (On the island of St. Martin, I will be a CZT by early May, 2017.) The second best way to learn Zentangle is to purchase the Zentangle Primer, vol. 1, available from many CZTs or from the official site. The book and the starter kit provide everything you need to start you off and keep you going for some time. A DVD that comes with the kit helps you learn the most important aspects of tangling quickly–like a quick-start tutorial on a new computer or cell phone. Although the book seems a bit pricey at abut $50, buying less expensive books on Zentangling will not provide you with even half the information, and you will end up investing in the Primer anyway. The kit is also not cheap, but the quality of the included materials is high and the box containing everything is meant to store your materials for a very long time.

I went through the “money-saving” process. I didn’t want to spend the money on the Primer, and opted to buy One Zentangle a Day by Beckah Krahula from Amazon. The cost ($23 suggested price, less than $14 on Amazon) is about a quarter of the Primer price, and it was a great book to get me started. However, it only takes you so far before you want–and need–more. 

So next I invested in a series of thin books, Zentangle # (where # is a book number from 1 to 12), by Suzanne McNeill, CZT. Each of these, set up in workbook fashion and each dealing with a separate aspect of Zentangle–mostly as an artsy craft basis and starting point for hobbies like scrapbooking and jewelry making–is full of ideas and some inspiration. However, each one costs about $9, and there are twelve books in the series. That brings the cost up to $108, with no information about the relaxation and meditation aspects of Zentangle. (Interestingly, Krahula’s book touches on almost all of these craft ideas at a fraction of the cost, and she now has a new book covering crafts and tangling as an art form.) Granted, the full set provides hundreds of tangle patterns, most of which are the author’s creations. But you can get patterns and the directions to draw them for free by visiting TanglePatterns.com

In addition to these, I purchased several Kindle books on Zentangling. In all, I probably spent close to $200 on books. Once I bought the Primer, I realized that it had more information between its covers than all of the others combined–especially on the meditative aspects, which the other books gloss over if they mention them at all. 

Moreover, you can’t outgrow the Primer. It was designed to inspire and help you grow, both as a tangler and as an individual. Even the most successful CZTs continue to refer back to the book for all sorts of reasons, including inspiration for developing new patterns. 

Zentangle is a method.

Here is the thing about Zentangle. It is a method. It is a way of calming and centering the tangler. One of the primary tenets of Zentangle is that there are no mistakes. Any mistake is actually an opportunity. For example, tangling is done in indelible ink on a 3.5″ square artist tile. If the pen slips or a pattern is started “wrong,” the stray mark or mis-drawn line should become part of the overall work. The theory is that you can’t re-do aspects of your life; you need to pick up from where you are and do something positive with a mistake. You move forward. For this reason, erasers are frowned upon. Besides, it is next to impossible to erase permanent ink. The best thing to do is work an error into your work in a new and creative way. You may even come up with a whole new pattern! 

Lastly, for today…

Certainly, tangling is as much about learning new patterns and experimenting with layouts as it is about meditation. Most tanglers practice some patterns (for hours sometimes) in a sketch book before incorporating them as part of a meditative creation. After all, you don’t want a meditation interrupted because you can’t remember how to draw a seemingly complex pattern. A lot of time also gets spent playing around with learned patterns to see how they fit together best, or how to shade a pattern to best set it off in a tile, or even use certain patterns to act as shading or depth enhancement.  (One Zentangle a Day discusses the tonal values of different patterns to create interest, depth, and texture in a work.) But all this effort is to bring flexibility and ease to a meditation session so you can concentrate on the meditation and let the art happen.

More information on Zentangle is coming in future posts.  

Until next time, Happy Tangling! 

#educ_dr