About ten months ago, I came across Zentangle as I was researching forms of meditation, especially those I could somehow learn on my own. I had recently lost my mother, and I felt life imploding on me even though we had not been as close as we once were. Being still is more than difficult for me–it is impossible. I have more than a touch of Attention Deficeit Disorder (ADD) and need to move or be doing something if I want to concentrate. So most meditative methods seem to be out for me. I had thought about Tai Chi, but I live on a tiny island, where offerings are few. Then I came across Zentangle, and got interested in the idea of meditating through repetitive drawing of patterns.
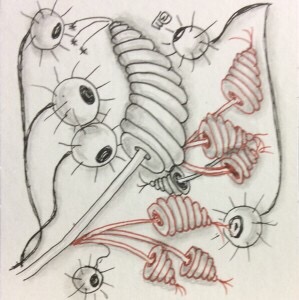
A Primer Lesson 1 tangle from my files.
No one will ever accuse me of having even the slightest artistic talents. I took drawing lessons a few years back to learn perspective and techniques; the lessons helped, but talent was clearly lacking. So Zentangle’s claim that artistic abilities were not necessary intrigued me. I had to learn more.
According to the official web site, Zentangle.com, the best way to learn the Zentangle method is to attend classes offered by a Certified Zentangle Teacher (CZT) in my area. Well, the island of St. Martin in the Caribbean Sea is small, and Zentangle hasn’t made it this far. I live in Sint Maarten, the Dutch country on this tiny island. The French side has a slightly smaller population. Even between the two countries, the total population is barely that of a small town back in the States. It is not surprising that there are no CZTs here, even though there are plenty of them in the Netherlands. Clearly, I would be on my own.
The second best method of learning to tangle, according to the web, is to purchase the official book. Instead, I bought a copy of a book called One Zentangle a Day, basing my purchase decision on the far lower cost compared with that of the official Zentangle Primer. I ordered One Zentangle from Amazon, along with the recommended pen, 3.5-inch square artist tiles, tortillions, and 2B pencils. Once I had everything together, i started experiencing Zentangle.
Each day, I poured my morning coffee and got out my book. Often, it took me longer than a day to complete a lesson, as I found myself getting frustrated with my apparent inability to draw even the simplest shapes and patterns. Clearly, I was doing something wrong, as I was not getting the expected benefits. As I “meditatively” journaled my journey into tangling on my writing blog (Write of Passage)–or maybe I was critiquing?–I began to notice a change in my attitude toward the process. It was actually working!
As I tangled my way through the book, I kept reading up on Zentangle. Finally, I broke down and purchased the official Zentangle Primer: volume 1 from the web site. Before making this purchase, I bought several e-books on tangling, and even a set of workbook-like books. By then, I had spent close to 4 times the cost of the Primer.
A tile from Primer Lesson 2As it turned out, The Primer is all I really needed! The Zentangle method and philosophy is clearly laid out, including the celebratory nature of The Zentangle method and process. The reasoning behind the steps of the method is clearly defined, beginning patterns are illustrated as “step-outs” (which provide breakdowns of drawing even some very complex patterns!), and easy to follow lessons provide a framework for drawing. Even methods of shading and highlighting are included to add depth and dimension to basically flat drawings. Patterns, as presented, progress logically so that elements and methods from an earlier pattern are clearly evident in patterns of greater complexity. Best of all, entire charts of “fragments” to be used in rectangular, triangular, and circular grid spaces provide ideas and jumping off points for working on one’s own–including development of one’s own patterns and fragments. Everything a beginner needs to get started correctly is in the Primer, and web sites for inspiration and more advanced patterns are listed for the adventurists.
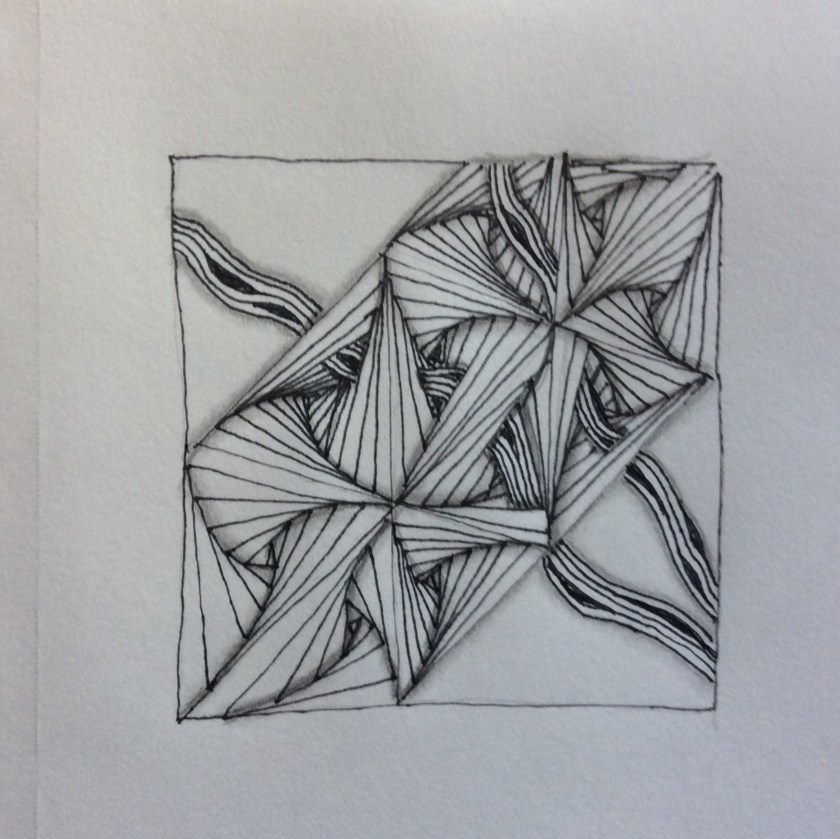
My work is not fancy, although I have learned to experiment with different materials and media for an occasional artistic touch. Tangles who understand the Zentangle method and process see the work for what it is and are not influenced by fancy patterns and flashy colors. That’s not to say fancy tiles have no place; it’s just that the simple process, simple tools, and simple black ink reduce the process to its essential elements–simple, controlled, relaxing, meditative strokes. The Zentangle motto is “Anything is possible one stroke at a time.” The products of advanced tanglers attests to the creative processes released by this clean and simple methodology. A “3Z” tile recently completed for the Valentangle2017 challenge on FB
At this point, I have been tangling for ten months, and using the Primer for about half that time. When I need to touch base with my center or need to relax, I reach for a tile, my Micron pen, my 2B pencil, and a torillon. I go through the eight steps discussed in two previous posts. And I begin to lose myself in the process of Zentangle. I don’t have to be home to tangle, and the small size and simple tools are so portable that a “kit” can be carried easily in a pocket or bag so I can tangle anywhere. As I tangle, thoughts pass through my mind. As in any meditation, some are let go, others are contemplated while part of my mind focuses on drawing a pattern or two. Sometimes, I need to tangle more than one tile to get full benefit. Sometimes I lose concentration and need to set a tile aside. Sometimes, an “artsy” inspiration comes to me for later or immediate attention. Each time I create something new. Each time, I learn something new about the process, pattern manipulation, or myself. When I make a mistake, I incorporate it into the process and move on. In Zentangle, there are no mistakes, only opportunities–for growth, for change, for coping, for living, for learning.
Simple tools, simple process, celebratory appreciation, meditation–all while producing a miniature work of art.
In a Part 3 of this series, I discussed the first four of eight steps in the Zentangle® method. These are 1) Gratitude and Appreciation, 2) Corner Dots, 3) Border, and 4) String. Today’s post will talk about the other four: 5) Tangle (or Draw), 6) Shade, 7) Initial and Sign, and 8) Appreciate. I will also talk about some of the intangible aspects of Zentangle that make it different from doodling and traditional arts.
Just a word… this is a lengthy post because it covers a lot of information–about what goes into each step and materials. Bits and pieces will be covered in future posts in more detail, and one at a time. In general, this is an overview of the next four steps of the Zentangle Method, and of the very few materials you need to get started. On to the discussion…
Steps 2 through 4 are done in pencil for reasons that will become clearer in a minute. For Step 5: Tangle (or Draw, depending on the age of the source; Tangle is the more recent step name), a pen is used. Using the pen, the tangler fills in the spaces created with the border and the string in Steps 3 and 4. The patterns used are generally those that are recognized by the Zentangle community as being either official Zentangle patterns or those created and shared by tanglers around the world. These can even include your own pattern designs! Step-outs, or step-by-step illustrations on how to draw the patterns, can usually be found on the internet. The largest repository of Zentangle step-outs is TanglePatterns.com. Although some of the patterns (or tangles, if you prefer) look extremely complex, they are easy to create by following the steps in a step-out. When first starting out, it is generally best to stick with a handful of tangles until comfortable with the Zentangle method.
Step 6 is when shading is added. Shading within and among patterns gives the tangled tile dimension and texture, not to mention movement. The difference between an unshaded tile and a shaded one is like the difference between a simple flat road map and the satellite view in Google Maps. There are recommended ways to shade particular patterns, but experimentation is the best learning tool.
In Step 7, Initial and sign, the tangler adds a “chop” of their initials on the front of the tile. (I will talk a bit about the chop in a later post.) On the back of the tile, the artist signs his or her full name. This step locks in one’s ownership of the finished piece. You created this little masterpiece, and, just like any artist, you sign it to let the world know you created it.
Finally, the pen is set aside and the artist studies the composition, rotating the tile to view the work from all angles. This is Step 8 in which you Appreciate what you have created, and decide how you want it displayed. You have put time and effort into your work, and you have set your mind free to wander or contemplate as you drew. Now that you have finished, you can study how the part of your mind that was concentrating on the drawing helped you create something unique and personal. Appreciate what your meditation has helped you create.
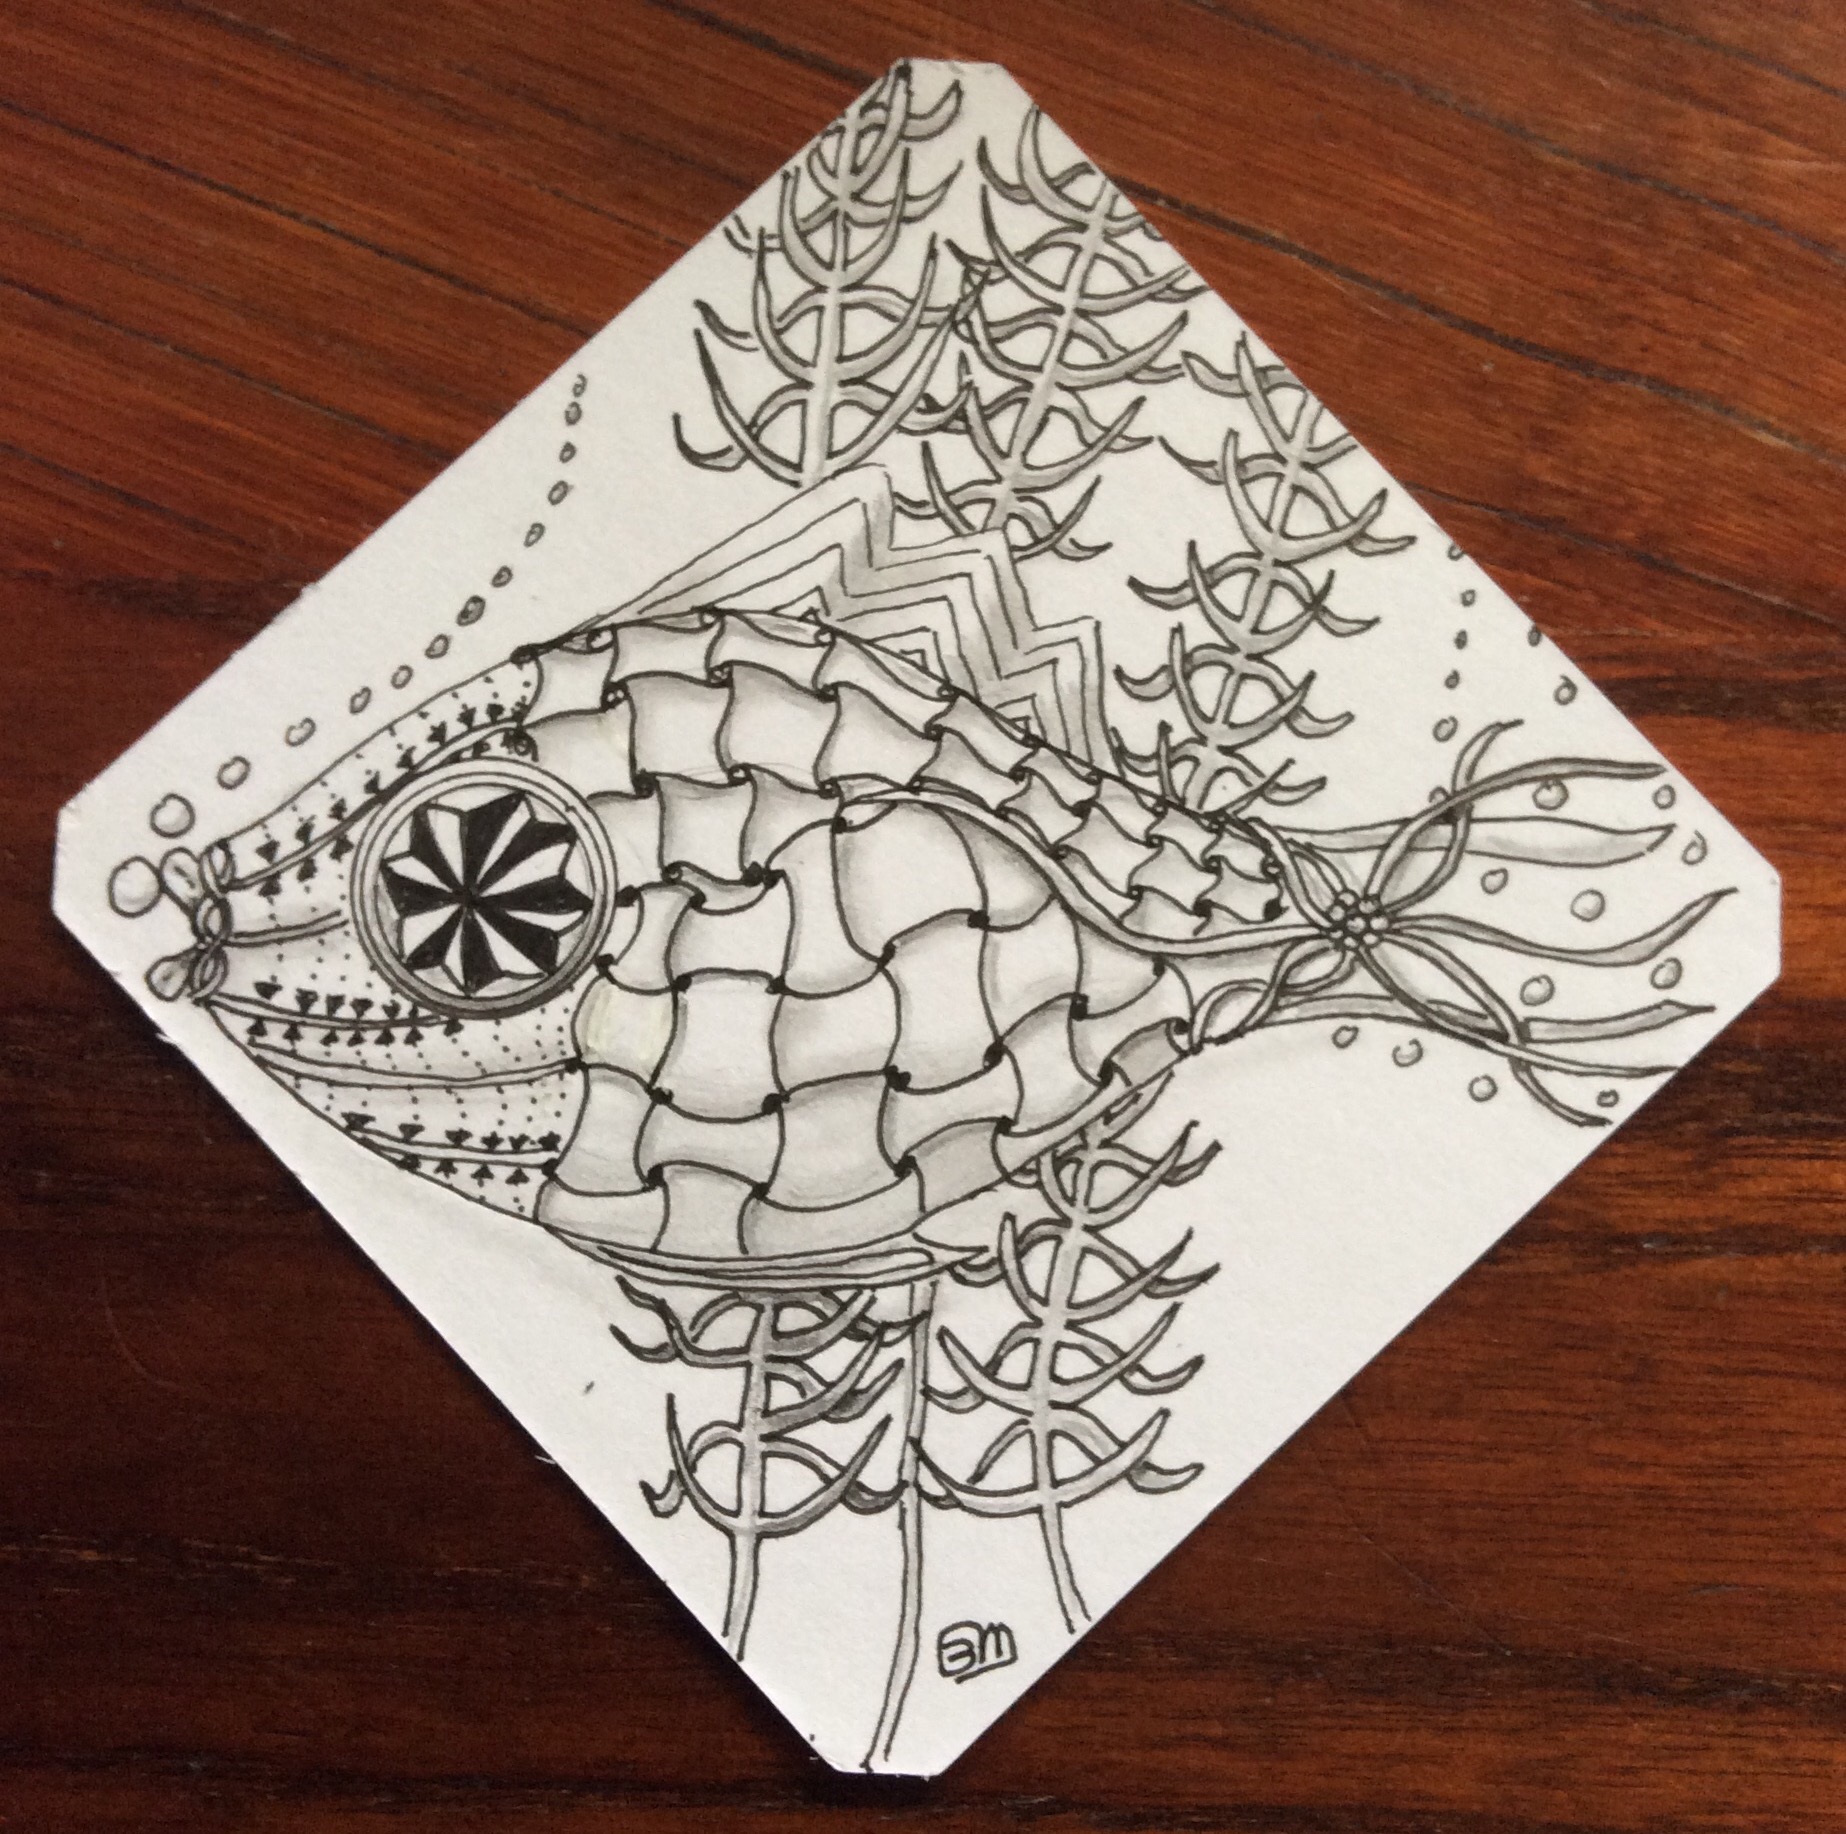
That is all there is to creating a Zentangle tile. The composition of the tile is “non-representational;” that is, it is not meant to be of something. In fact, if you are tangling with a picture in mind, chances are you are creating a ZIA–Zentangle Inspired Art. Many professional artists are now adding Zentangle patterns to their work to add fresh interest or texture. For example, one of my earliest attempts at a ZIA is a simple fish that one would never find in nature. Because I had intended to draw a fish, and because it has an obvious direction from which it should be viewed, it represents something, even if it was something from my imagination. Although the entire picture is done using Zentangle patterns, it is not a Zentangle. It is a ZIA.
Every stroke on this tile makes up a Zentangle pattern, but this is NOT a Zentangle!A Zentangle may look like something real at the end, but the work itself is done without any particular object or subject in mind. Rather, a Zentangle is the result of your mind wandering around, but making suggestions of what patterns to use to fill the spaces created by your border and string(s). If I hadn’t intended to create a fish, then the tile would have been a Zentangle. But what are the chances that an obvious fish would come out of just drawing patterns? It is possible that a fish-like shape would emerge from the process, but unlikely that a clearly outlined fish would emerge.
So another aspect of a finished Zentangle is that it can be viewed and appreciated from any angle. That is, what started out as “top” with your first strokes may end up being a side in its most complementary position. Tanglers rarely draw from one tile position. Instead, they “spin” the tile for ease of drawing certain patterns, or to more easily fill in an empty space. Some tanglers find it easiest to draw certain strokes from left to right, for example. If the composition wants the pattern to go in a new direction, the artist turns the tile so that it is in the best position for the line or curve to be drawn in the favored direction. Experienced tanglers are constantly spinning their tiles as they work. Besides, because the patterns themselves are non-representational and non-directional, it matters little how the tile is aligned as the patterns are being drawn–except as needed to complete a pattern, of course.
A word about materials…
Although tangling–the process of drawing the Zentangle patterns–is generally done with a Micron® 01 black pen, any fine-tipped porous marker can be used. The finer the line, the better, especially for adults. The Micron 01 is recommended for a lot of reasons: it dries immediatelymso it does not smear or bleed, it is archival quality and will not fade ever, it draws one of the thinnest lines at an affordable price, and it is waterproof. The final quality becomes more important as the tangler begins to experiment with the addition of media such as watercolor or colored markers. The Micron 01 will not bleed into color or other treatments. A lot of pens that I have tried claim to be waterproof, but adding watercolor or artist marker over a drawn line can cause the black to bleed into the color, pretty much messing up whatever effect the i was going for.
Because the line of a Micron 01 is so fine (.25 mm line width) the ink dries instantly. Wider fine line markers–even the Micron brand–take a bit longer to dry and might smear accidentally when the hand brushes it or shading is added too soon. The Micron 01 also produces an instantly waterproof line. Several other artist quality brands take from an hour to a day to resist bleed when other media are applied. During experimentation, I have had inks bleed blue or brown into watercolor or artist ink. Having a tile ruined because of bleeding is frustrating, even if the addition of something else can “save” the work. It is hard enough to incorporate an unexpected line from the jerk of a hand or loss of concentration. To have a piece that is completed except for the addition of a bit of watercolor can ruin a meditation, even though the work can be saved–it is no longer what one expected.
For shading, a 2B drawing pencil is recommended. The 2B hardness is dark enough to add dimension to tangles, but light enough so that it can be blended smoothly. Using too dark (too soft) a graphite lead can leave the shading looking sooty when shadey is the desired effect. Also, the softer the graphite, the more likely it is to smear accidentally.
Not all 2B pencils are the same, however. It is a good idea to purchase several brands of 2B drawing pencil to figure out which works best for you. Some brands (or classes within the same brand) are darker or lighter. There are no industry standards about how dark or soft a 2B is. It seems that every brand determines its own 2B degree of softness, probably based on the hardness or softness of the other graphite pencils in its line.
It is also a good idea to have a 2H pencil for drawing corner dots, borders, and strings. More than likely, you want these to “disappear” into your finished work rather than have the line stand out. Erasers are frowned upon in Zentangle, as the idea is that, in life, you can’t always undo a mistake. So the motto, “There are no mistakes,” becomes a metaphor for life. As such, tanglers do not erase. Instead, they incorporate the flaw into the piece by changing the outcome of a pattern, even if it seems to be a cover-up. The point is to move on by using the mistake to create something new or different, and going on from there. Back to the 2H pencil, though. The pattern drawn in black ink hides the lighter graphite line of a 2H, or the 2H border or part of the string is easily blended into the shading of the piece.
For blending graphite into shading, a tortillion or blending stump is generally used. You can use your finger, but the graphite on it might transfer onto the tile exactly where you do not want it. It is easier to keep clear areas clean with a blending tool.
The only other thing needed for Zentangle is something to draw on. The recommended surface is a square paper artist tile that measures 3.5″ by 3.5″. The official tiles, which can be purchased from Zentangle.com or from a CZT (Certified Zentangle Teacher), are recommended for a number of reasons. The paper is high quality that professional artists use. It is also strong and thick enough to use with watercolor and markers without buckling or allowing bleed-through of inks or watercolor. The smoothness (“tooth”) of the paper is perfect for ink and graphite art, and is wonderful for watercolor.
Although the official tiles are a bit more expensive than other available tiles on the market, it is best to use the best quality materials you can afford. This is true for any art, not just Zentangle. Lower quality materials can effect the outcome of work at any level of expertise. It is generally more difficult to work with lower quality materials, and this can negatively affect the enjoyment of the art form. Plus, you are worth a few cents more per tile. Or for a pen or pencil…
Bottom line: anything can be used for tangling. Some tanglers draw everything into a sketchbook or unlined journal. From experience, I can tell you that it is easier to compose a tangle on a tile because there is nothing to interfere with the drawing process–no coils, no change in surface height, no difficulty in spinning the work. Otherwise, any notebook or piece of paper can be used for tangling–even glass or fabric or other surfaces. The internet has many examples of everyday items that have been tangled, whether to hide marks or to simply beautify a too-plain object or area. All you need is the special tools for working on the particular surface: china paint, fabric markers, wood-burning tools–whatever the surface calls for. Zentangles can even become the focal point of jewelry or holiday ornament. Lots of ideas can be found on the internet and in books, as well as at CTZ-led workshops and classes in your area.
Zentangle is world-wide. There are few places on Earth near which a CZT can’t be found. Although there is much information available on the internet or in books, the best way to learn how to tangle, expand your tangling horizons, and experiment with new techniques and materials is with a CZT (Certified Zentangle Teacher). If you are on the island of St. Martin in the Caribbean, you can tangle with me. Just contact me at ellie@tanglesxm.com. Everywhere else, check out Zentangle.com for a listing of CZTs in your country or near your home. I won’t be a CZT until May of 2017, but we can always have some tangling fun together before that time.
Until next time, when I tell you why I tangle, Happy Tangling!
Instead of “what is Zentangle? Part4,” today I am posting a Zentangle tile I am submitting to a weekly challenge from “I Am the Diva,” a Zentangle blog on Blogspot.
For this challenge, each tile was to use two tangles–Paradox and Diva Dance– in an almost interwoven fashion as demonstrated by Zentangle founders Rick Roberts and Maria Thomas in a new YouTube video.
I am posting my submission to the challenge here so you can see that, for Zentangling, you really don’t need to be artistically inclined. Enjoy!
One note about the video below. Some of the Zentangle videos are available only to users of the Zentangle Mosaic app or Certified Zentangle Teachers (CZTs). If this video doesn’t work for you, there are plenty of instructional Zentangle videos from the founders and many CZTs. Hope this helps!